Moisture control for safes keeps humidity stable so your valuables stay rust‑free and dry.
If you own a safe, you need more than a sturdy door. You need control over water in the air. I have set up, tested, and fixed many home and commercial safes. I have seen steel rust, wood crack, and documents mold from bad humidity. This guide will show you how moisture control for safes works, which tools actually help, and how to keep levels right all year.

Why moisture control for safes matters
Steel rusts fast when air is damp. Paper curls. Photos stick. Electronics corrode. Wood swells or splits. All these problems start with excess humidity in a closed box.
A safe can trap moisture. Even fire safes can hold water in their insulation. When the air warms and cools, water condenses on cold steel. That is how rust spots and mold start.
Aim for a stable range. For most items, keep relative humidity near 35 to 55 percent. For firearms, 30 to 50 percent is safer. For documents and photos, 30 to 50 percent is ideal. Above 60 percent, the risk rises fast. Below 25 percent for long periods can dry wood and paper too much.
Moisture control for safes is about balance. You reduce water in the air. You keep air movement steady. You avoid rapid swings in temperature.
How moisture gets inside a safe
Moist air sneaks in. It moves through gaps, screw holes, and door seals. Every time you open the door, you exchange air. If your safe sits in a damp space, that air is wet to start with.
Basements and garages have big swings. A warm day after a cold night is the worst mix. Cold steel stays cool. Warm air touches it. Water condenses. That is dew point in action.
Fire safes use gypsum or similar boards. They hold bound water to protect in a fire. That is great for fire. It is bad for daily moisture. The board can release water into the safe. Many new owners see this and worry. Moisture control for safes fixes it.

Measure humidity inside your safe
You cannot control what you do not measure. Start with a digital hygrometer. Place it near the center shelf. Avoid the door if you can. That area often reads low.
Use a device with data logs. Wireless or Bluetooth makes it easy. Track a week to see the pattern. Try a simple salt test to check sensor accuracy if needed. Aim for daily swings under 5 percent.
Set alerts on your phone if your device allows it. If levels climb above 55 percent for more than a day, act. This feedback loop is the heart of moisture control for safes.

Methods that work for moisture control for safes
There is no one magic tool. Pick a method that fits your space, your items, and your budget. I like to mix methods for best results.
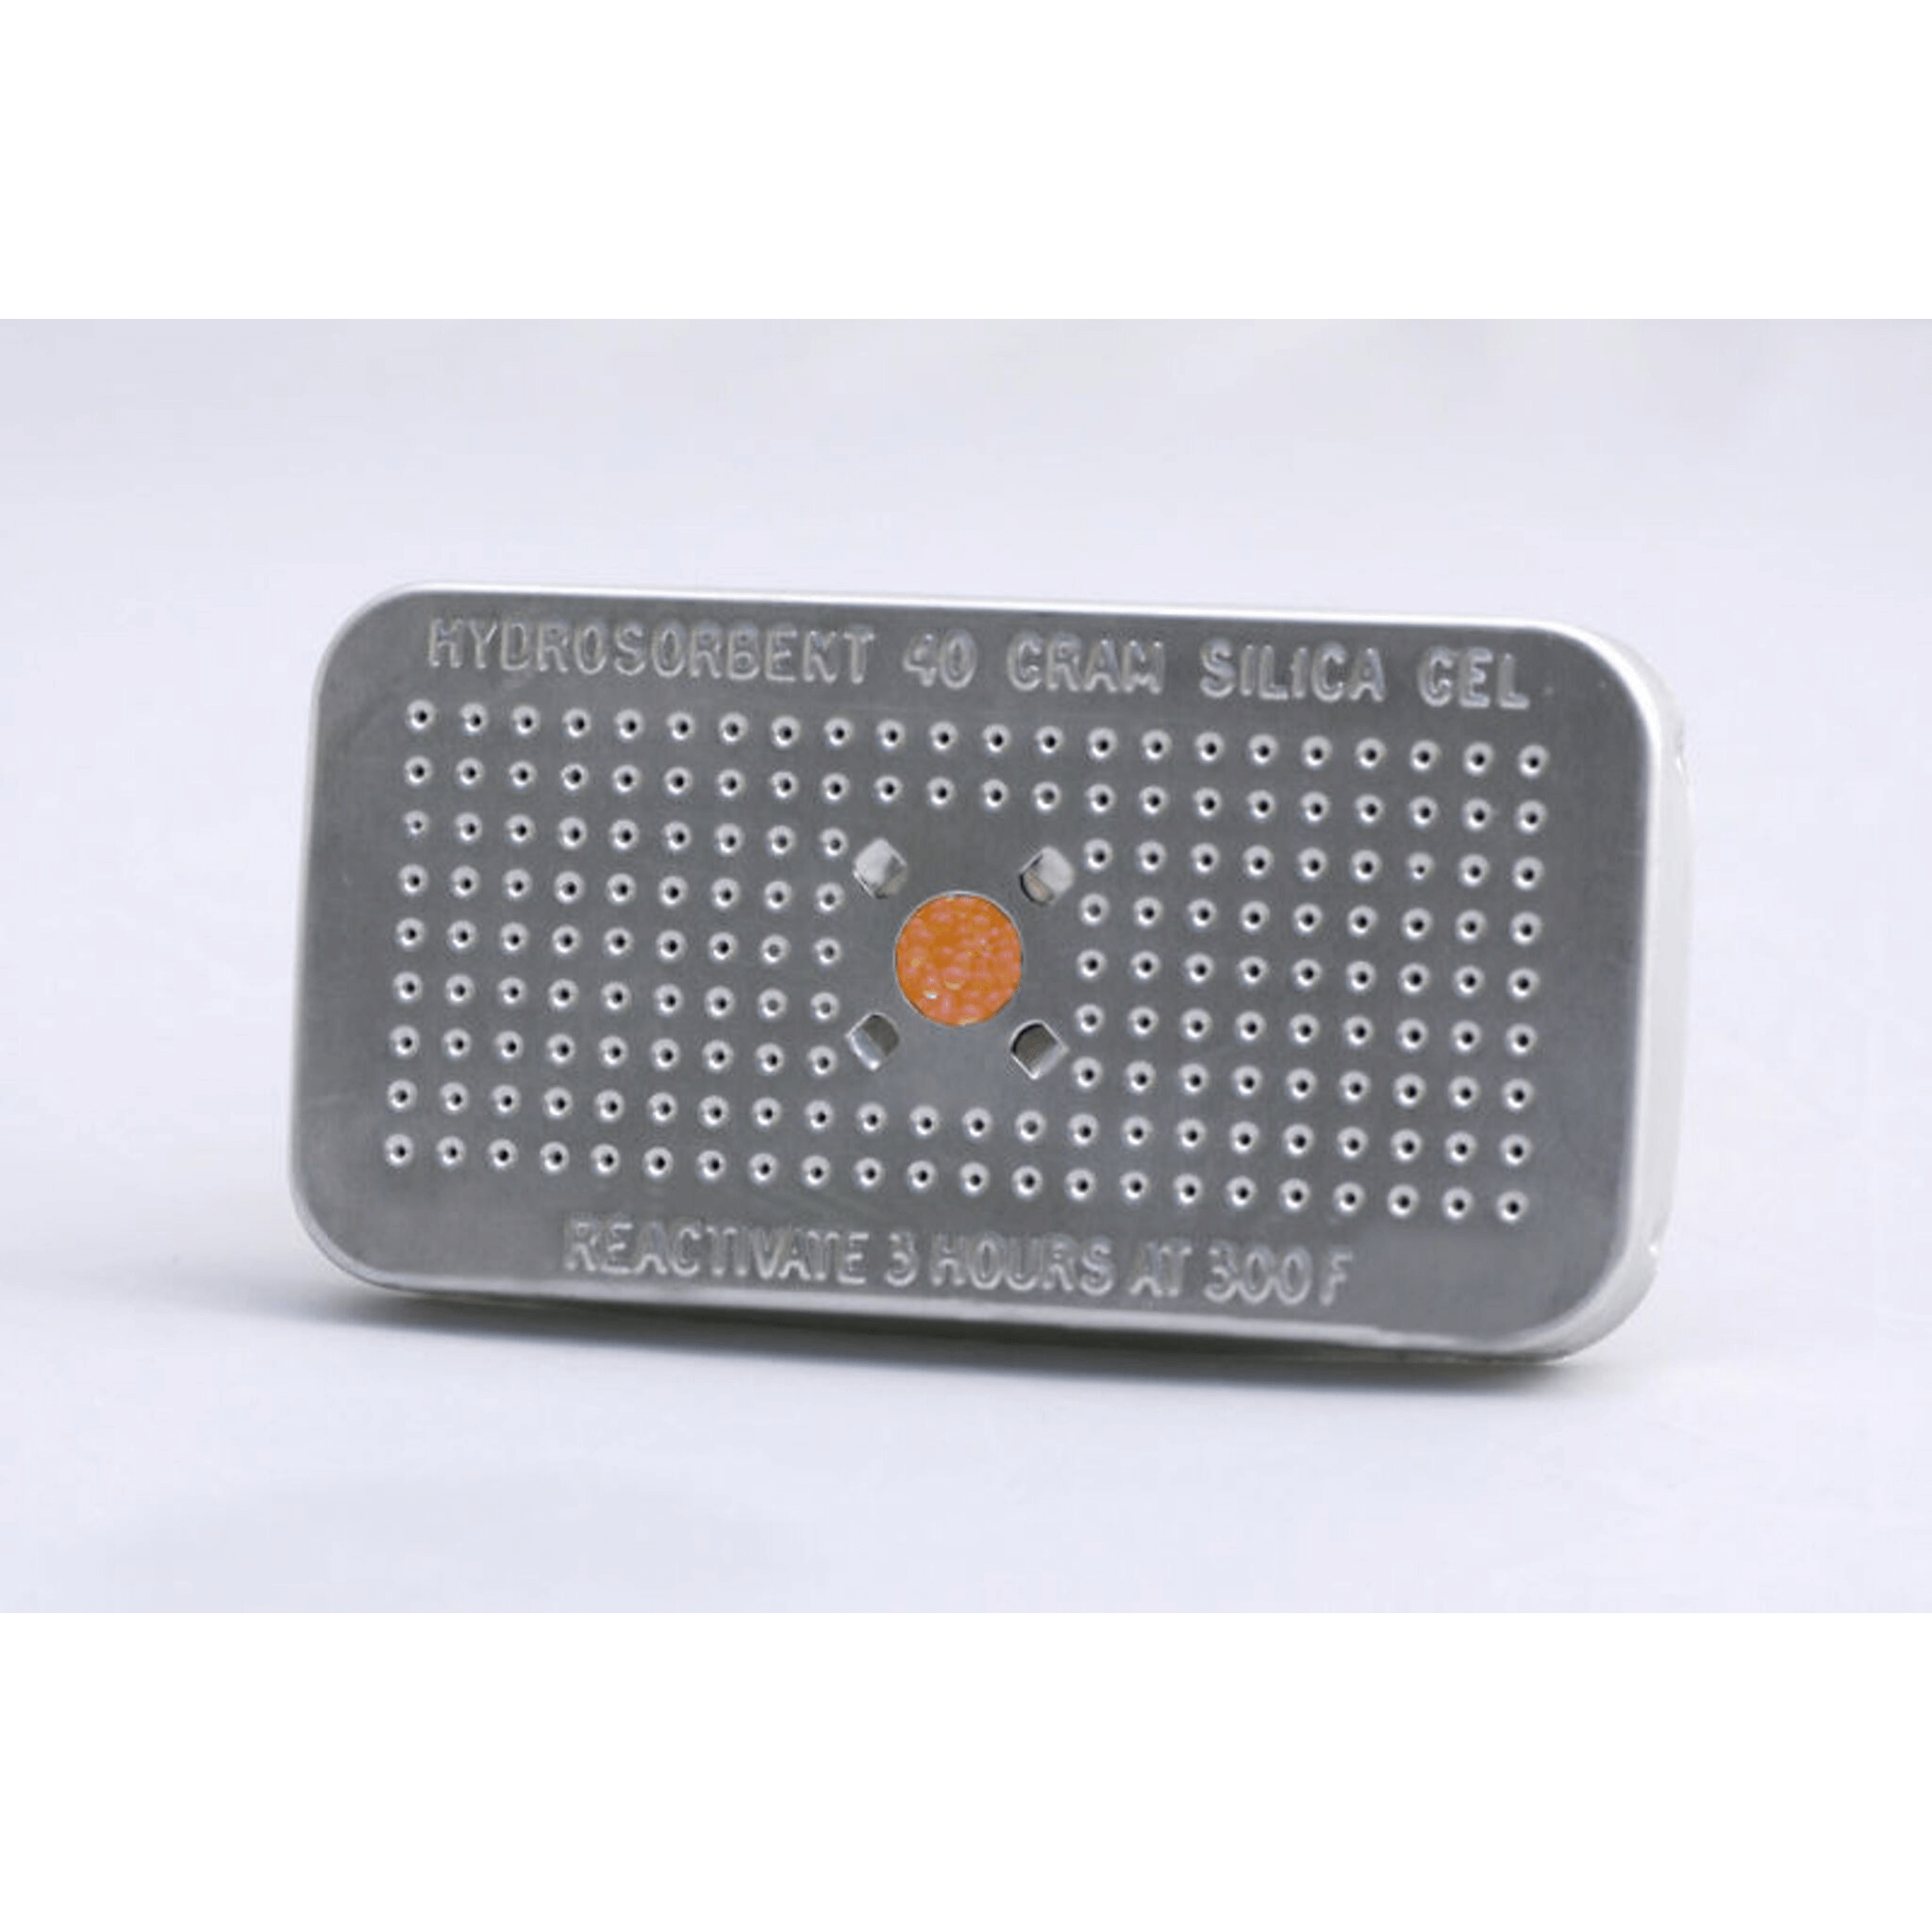
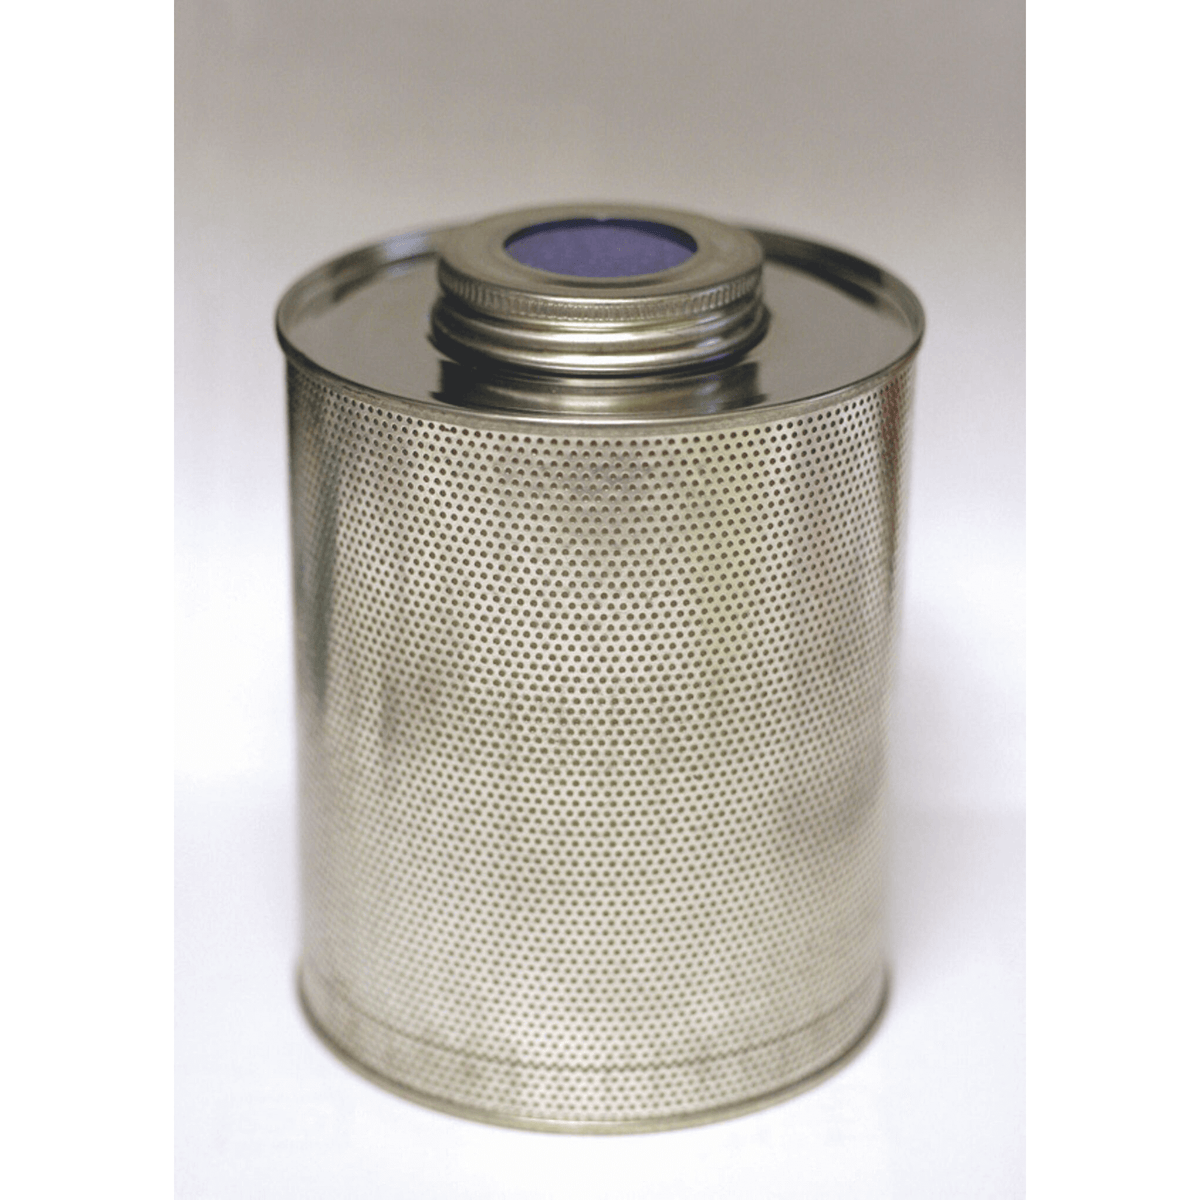
Desiccants
Desiccants pull water from the air. Silica gel is the most common. Molecular sieve works faster at low humidity. Avoid calcium chloride inside a safe. It forms a liquid brine that can spill.
Size the charge to your safe volume. A rough rule is 10 to 20 grams of silica gel per cubic foot. For a 12 cubic foot safe, start with 200 grams. Check results and adjust.
Choose canisters with color beads that change when full. Regenerate in an oven per the label. Many recharge at 250 to 300 F for a few hours. Do not overheat the case or gasket.
Good uses:
- Small safes or closets: Desiccant only can work well.
- Fire safes: Desiccant helps offset moisture from lining.
- Travel or office safes: Rechargeable packs are simple.
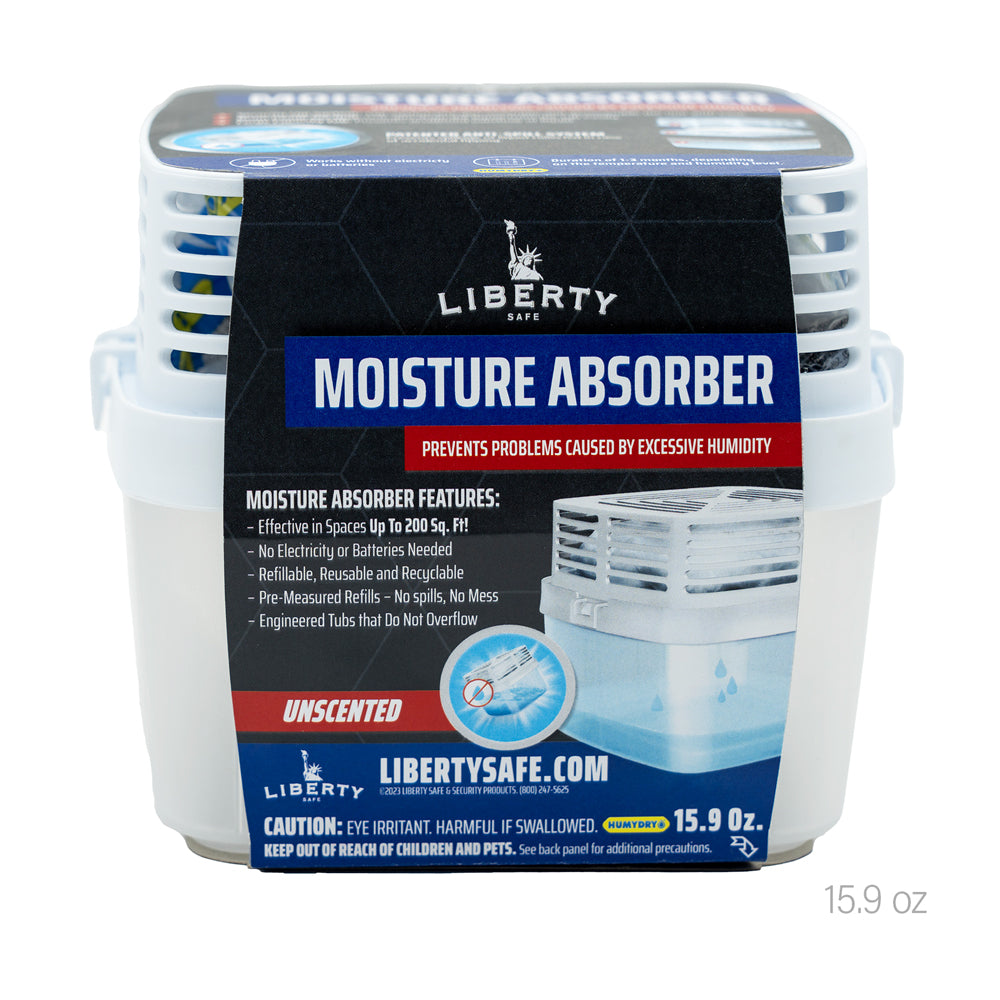
Electric dehumidifiers
Rod heaters, often called safe dehumidifier rods, keep the air and steel slightly warm. Warm air holds more water and reduces condensation. Common sizes use 8 to 18 watts. They cost only a few dollars per month to run.
Place the rod low so warm air rises. Leave a little space for airflow. PTC or ceramic heaters with thermal limits are safer. Thermo-electric units can also dry air, but they make water that needs to drain. I avoid them inside safes due to spill risk.
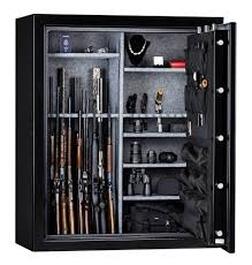
Good uses:
- Gun safes in basements: Rod plus a small fan works very well.
- Larger safes: Rod reduces cold wall dew formation.
Vapor corrosion inhibitors
VCI papers or cups release a vapor that bonds to metal and slows rust. They do not remove water. Use them as a second layer with a rod or desiccant. Replace papers every 12 to 24 months per the maker.
Protective films and oils
For firearms and tools, a thin film of rust inhibitor helps a lot. Wipe metal with a proven oil or dry film. Avoid thick grease on fine triggers. For jewelry, store gold and silver in anti-tarnish pouches.
Location and setup
Location is half the battle. Keep the safe off bare concrete. Use a mat or wood base to reduce cold transfer. Avoid the dampest corner of a basement. If you must use a basement, use a room dehumidifier for the room as well.
Seal unused bolt holes and cable pass-throughs. Better seals improve moisture control for safes by slowing air changes.
Step-by-step setup plan
Follow this simple plan. It works in homes, offices, and shops.
-
Measure your space. Find the safe’s cubic feet. Note the room’s average humidity.
-
Place a hygrometer inside. Log a full week. Open the door as you normally would.
-
Pick your method. For most safes, choose a rod heater plus a silica gel canister. For small safes, silica gel alone can be enough.
-
Install gear. Mount the rod low. Set the desiccant mid-height. Leave a small gap around items so air can move.
-
Set alerts. Keep targets near 35 to 50 percent. If you store wood stocks, aim closer to 40 to 50 percent.
-
Maintain on schedule. Recharge desiccant when the color changes or every one to three months. Dust the rod once a year.
-
Review after seasons change. Humidity shifts with weather. Tune your setup as needed.
This plan nails the basics of moisture control for safes without fuss.

Troubleshooting and mistakes to avoid
Do not rely on rice. Rice does almost nothing. Use proper desiccants.
Do not let calcium chloride drip inside a safe. It can corrode metals and stain paper.
Do not overdry wood. Very low humidity for long periods can crack wood stocks and guitar cases. Keep it near 40 to 50 percent if you store wood.
Do not forget anchor holes and grommets. Air sneaks in there. Seal what you do not use.
Do not place a Peltier unit inside the safe without a drain plan. Water cups tip. Rust will follow.
If levels still run high:
- Check the room. You may need a room dehumidifier.
- Add more desiccant. Double the grams and watch the logs.
- Upgrade the door seal if it leaks.
- Warm the safe walls more with a larger rod.

Real-world examples and lessons learned
A client had a gun safe in a cool basement. Spot rust kept coming back each spring. We added a 12 watt rod and a 500 gram silica canister. Humidity dropped from 68 percent to 44 percent in two days. No rust in three years.
My own document safe is a fire safe with a damp liner. New files felt clammy. I put in two 40 gram rechargeable packs and a small USB fan on a timer. It now sits at 42 to 46 percent. Pages stay flat and crisp.
A shop safe held precision tools. The owner ran only silica gel. It worked in winter, but not in summer. We added a room dehumidifier set to 45 percent. Tool rust stopped. Lesson learned: moisture control for safes starts with the room.
Cost, energy, and safety notes
A small rod heater uses about 0.2 to 0.4 kWh per day. That is a few dollars per month in most states. A room dehumidifier costs more but can protect many items at once.
Desiccant canisters cost little and last for years with recharging. Plan for oven time. Follow labels so you do not damage the case.
Use proper cords for any electric unit. Avoid daisy chains and long, thin extension cords. Keep paper and cloth off a heater rod. Leave air space.
Fire safes tend to run wetter at first. This is normal. Plan extra desiccant early on. You can taper down after a few months as the liner stabilizes.
Maintenance checklist you can follow
Weekly
- Check the hygrometer reading. Look for steady numbers.
Monthly
- Inspect for rust spots or musty smells.
- Recharge or replace desiccant if the color shows full.
Quarterly
- Dust the rod heater and check the cord.
- Review the log for new highs or lows.
Yearly
- Replace VCI papers if used.
- Test the hygrometer and recalibrate if needed.
- Rethink location if readings drift each season.
Keep this on your calendar. Regular care makes moisture control for safes simple and stress free.
Frequently Asked Questions of moisture control for safes
What humidity level should I keep in my safe?
Aim for 35 to 50 percent relative humidity for most items. Stay under 55 percent to reduce rust and mold risk.
Do I need both a dehumidifier rod and desiccant?
Using both works best in many cases. The rod fights condensation and the desiccant lowers overall moisture.
Will a fire safe always feel damp?
Fire safes can release moisture from their liners, especially when new. Use extra desiccant for the first months to balance it.
Can I use damp rid or calcium chloride inside the safe?
It is not a good idea. It forms liquid brine that can spill and corrode metal and stain paper.
How often should I recharge silica gel?
Recharge when the indicator changes color or at least every one to three months. The cycle depends on your room humidity and how often you open the door.
Is rice a good desiccant for safes?
No. Rice absorbs very little water from air. Use silica gel or molecular sieve for real moisture control for safes.
Where should I place the hygrometer in the safe?
Place it near the center shelf away from the door. That spot gives a more honest reading of conditions.
Conclusion
Moisture control for safes is not complex when you have a plan. Measure, choose the right tools, and keep a steady range. Small steps prevent big damage to metal, paper, wood, and electronics.
Set your target today. Add a hygrometer, a rod heater, and a good desiccant canister. Give it a week, read the logs, and make a small tweak. Your gear will thank you. If you want more tips on moisture control for safes, subscribe or drop a comment with your setup and questions.