Seal, insulate, ventilate, and dehumidify to stop garage moisture, mold, and damage.
If you care about your tools, cars, and the air you breathe, you should care about moisture control for garages. I’ve spent years fixing damp garages that rust hardware, peel paint, and invite mold. In this guide, I’ll show you what works, why it works, and how to tailor moisture control for garages to your space, your budget, and your climate.
What actually causes garage moisture?
Garages are like big lungs. They breathe damp air in and out all day. Moisture sneaks in through air leaks, wet cars, and the concrete floor.
- Warm, moist air meets cold surfaces and condenses. That is the fog on your windows and metal.
- Ground moisture wicks through concrete. Concrete is porous, so water vapor moves up even when the slab looks dry.
- Rain and snow ride in on your car. That water ends up on the floor, in cracks, and under storage.
- Leaks and poor grading push water toward the walls. Water follows the easy path every time.
- Low airflow traps humidity. Stale air lets moisture hang around and grow mold.
When I walk into a damp garage, I look first for water paths, cold surfaces, and still air. Good moisture control for garages starts with that simple check.
How to diagnose moisture in your garage
You cannot fix what you do not measure. A few cheap tools tell you a lot.
- Use a hygrometer. Aim for 40–55% relative humidity. Above 60% invites mold.
- Try the plastic sheet test. Tape a 2×2 foot plastic square on the floor for 24 hours. Wet under plastic means vapor from the slab.
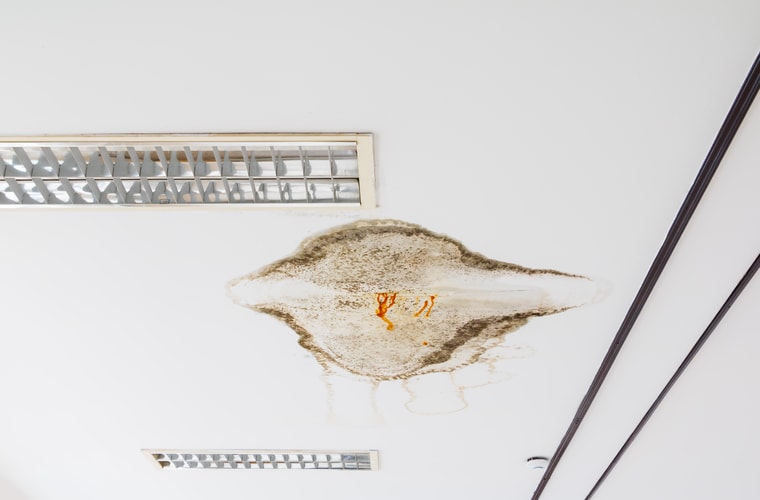
- Check for clues. Efflorescence (white powder) on walls, rust on tools, or musty smells mean moisture.
- Note weather swings. Condensation often shows up after warm, humid days or cold snaps.
- Record data for a week. Log humidity morning and evening. Patterns guide your plan.
I once logged a client’s garage at 75% RH before sunrise each day. The slab was fine. The culprit was night air blowing in through gaps and cooling the tools. That changed our fix. Accurate diagnosis makes moisture control for garages faster and cheaper.
Quick wins you can do today
These small habits reduce moisture fast and cost little.
- Air out after wet events. Open the door for 10–15 minutes after rain or washing the car.
- Dry the car before parking. A quick squeegee or towel drops indoor moisture.
- Run a box fan. Point it at wet spots until dry.
- Keep floor drains clear. Standing water is a mold party.
- Space items off walls. Leave 2–4 inches behind shelves for airflow.
- Use breathable storage. Wire racks beat solid shelves for air movement.
I keep a cheap fan on a smart plug in my own garage. After a storm, it runs for 30 minutes. It is a tiny step that helps a lot with moisture control for garages.

Seal the obvious leaks
Air carries moisture. Stop the air leaks and you slow the water.
- Weatherstrip the garage door. Replace worn bottom seals and side/top seals.
- Add a door threshold. It blocks wind-driven rain and daylight gaps.
- Seal cracks and gaps. Use caulk or foam around plates, pipes, and wire penetrations.
- Fix window leaks. Reglaze or replace brittle seals.
- Close the attic hole. Seal the access hatch so humid air does not escape up or fall down.
On a recent project, new door seals alone dropped RH by 8% on damp days. Air sealing is the cheapest step in moisture control for garages and often the biggest win.

Insulate smart and manage vapor
Insulation keeps surfaces warmer, so less condensation forms. Pair it with smart vapor control.
- Insulate walls. Use rigid foam or mineral wool with an interior air barrier for durability.
- Insulate the ceiling. If there is a room above, this also improves comfort indoors.
- Use a smart vapor retarder in mixed climates. It lets walls dry both ways.
- Avoid trapping moisture. Do not install plastic on the inside if your slab or walls are damp.
- Seal every seam. Tape and caulk act like a raincoat for air, which carries most vapor.
I prefer rigid foam on concrete walls. It keeps surfaces warm and adds a mild vapor brake. Good insulation choices are key for long-term moisture control for garages.

Control water at the slab and outside
Water always wins if you let it. Help it flow away.
- Fix grading. Slope soil away from the garage at least six feet.
- Extend downspouts. Move roof water away by four feet or more.
- Repair flashing. Stop leaks at siding, trim, and door sills.
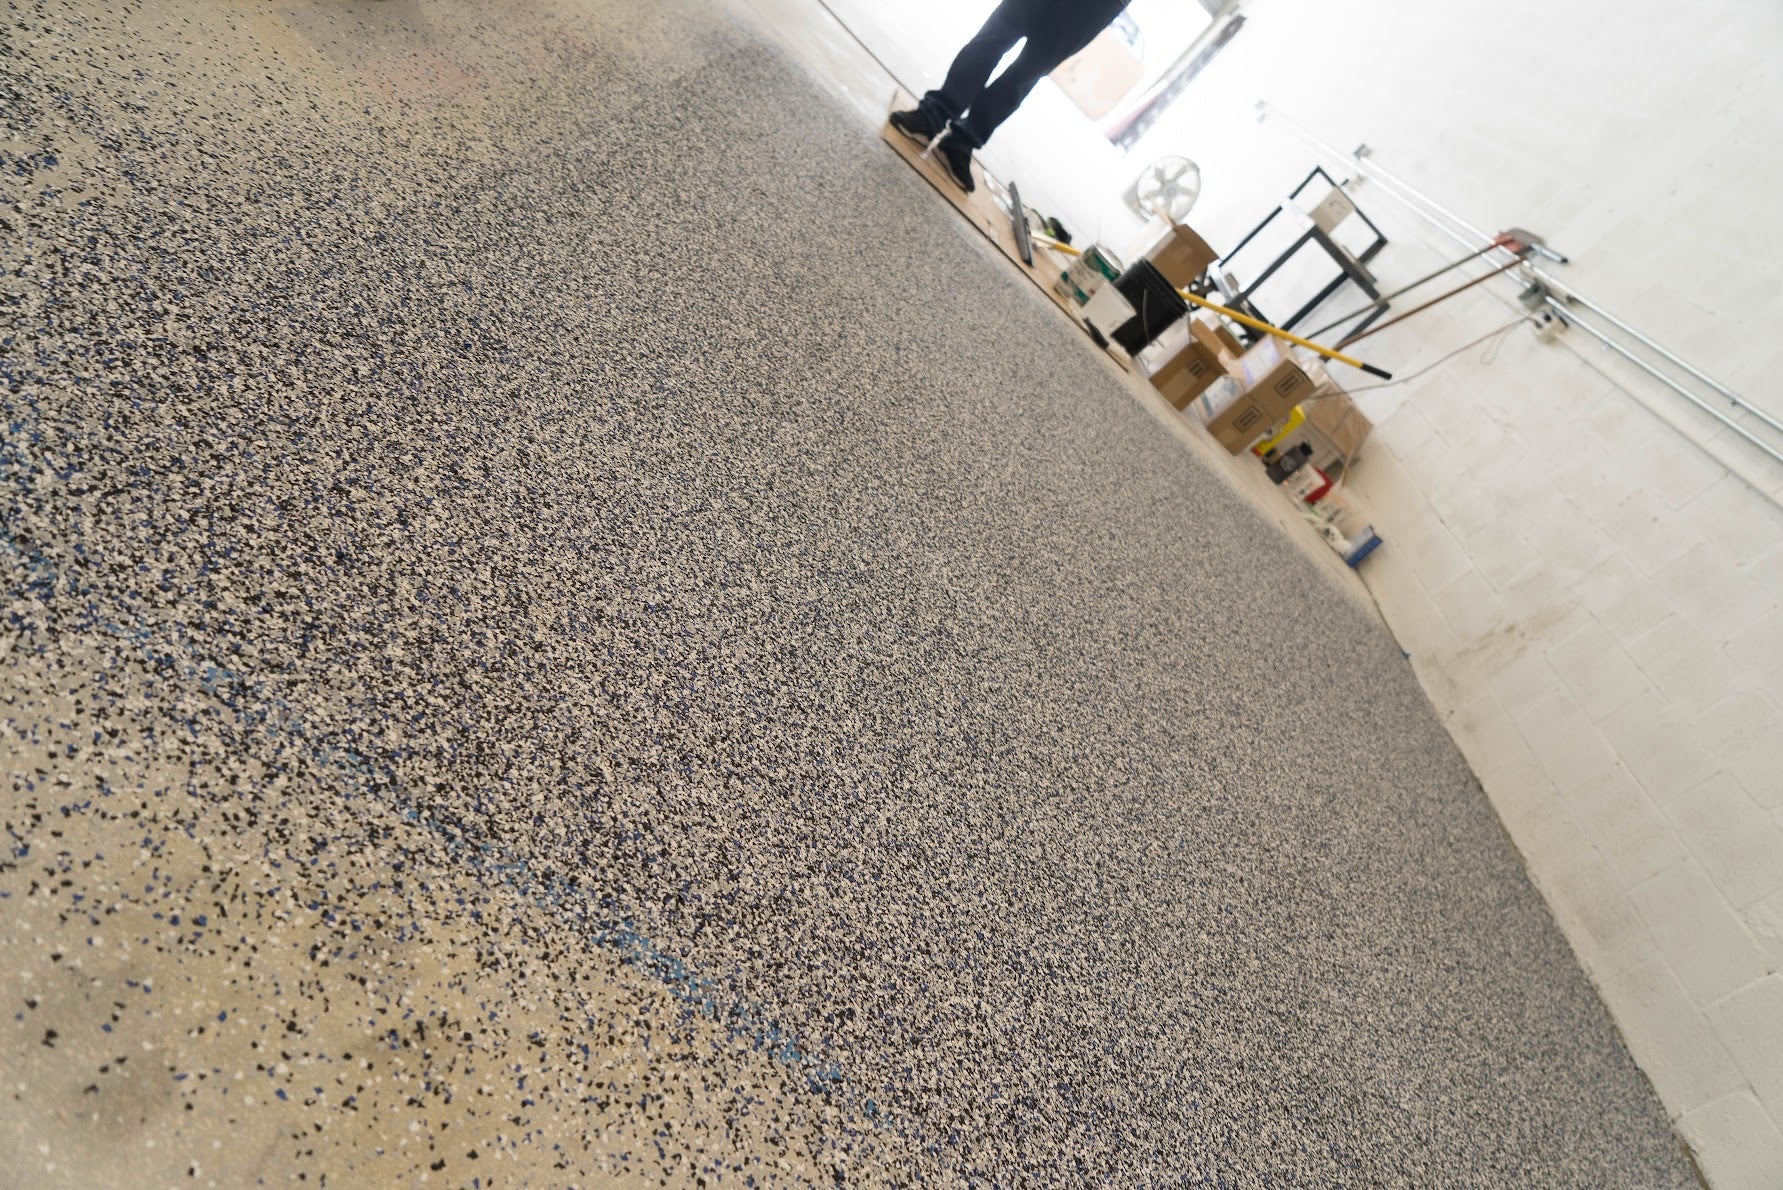
- Seal the slab. Use a penetrating sealer if vapor comes up through concrete.
- Add mats or trench drains. Catch water from cars and direct it to a drain or outside.
One client added a simple 1-inch threshold ramp and a trench drain. Flooding stopped. Those basic steps made moisture control for garages easy for them.

Use the right mechanical tools
Sometimes you need machines. Choose the right tool for your space.
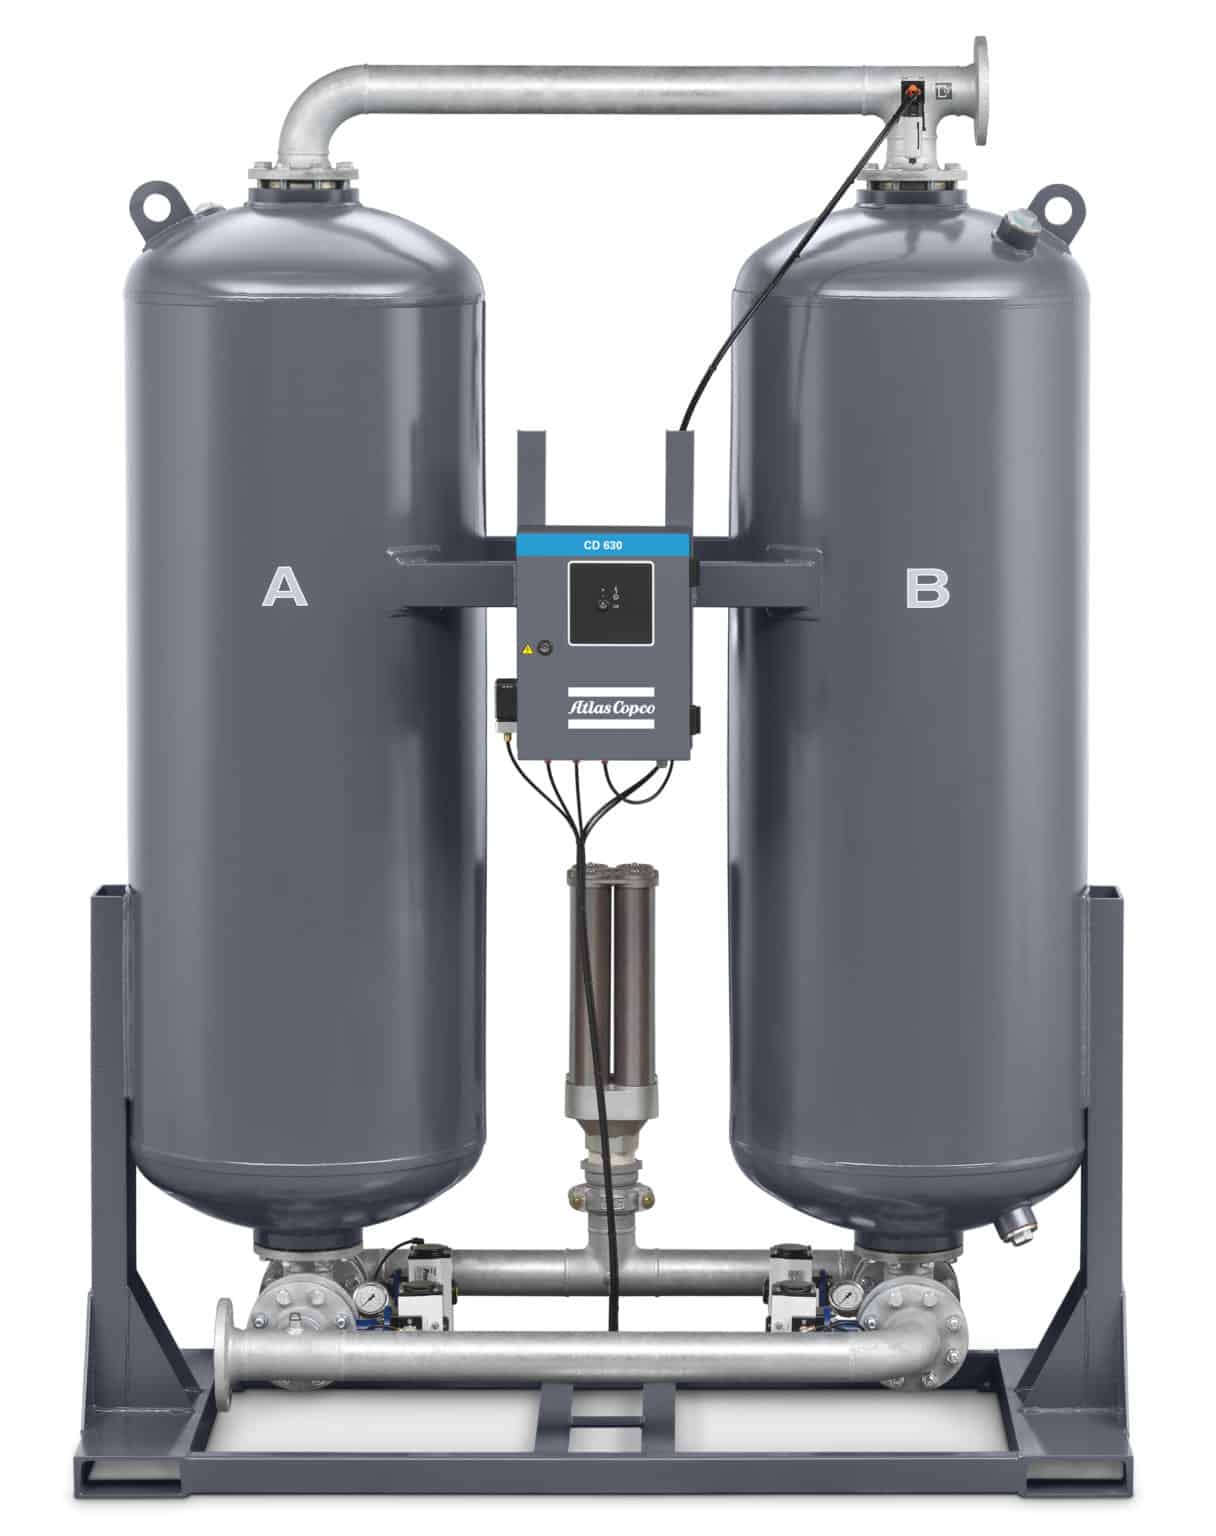
- Dehumidifier. Size to your garage. Look for a drain hose for easy use. Keep RH under 55%.
- Exhaust fan. Run 10–15 minutes after wet events. Put it on a timer or humidity switch.
- Heat helps. A small heater warms cold surfaces and cuts condensation in cold snaps.
- Mini-split heat pump. Heats, cools, and dries. Great if you work in the garage often.
- Air circulation. A ceiling or wall fan keeps air moving and prevents damp corners.
I like a 50–70 pint dehumidifier with a hose to a floor drain. Set it and forget it. It is a core tool in moisture control for garages in humid regions.

Store smarter to avoid mold and rust
What you store and how you store it can make or break the space.
- Skip cardboard. Use sealed plastic bins with gasket lids.
- Lift items off the floor. Use pallets, stands, or shelves.
- Use desiccant packs in tool chests. They control tiny spaces well.
- Oil metal tools lightly. A thin film stops rust.
- Space your stuff. More air around items means faster drying.
I once opened a client’s cardboard archive. It was a mold farm. We moved files to plastic bins and fixed the humidity. That simple step improved moisture control for garages more than any spray.
Climate-specific strategies
Not all garages face the same problem. Adjust your plan by region.
- Humid and coastal. Prioritize air sealing, dehumidifiers, and insulated doors. Add a fan on a humidity switch.
- Cold climates. Focus on insulation and air sealing. Warm surfaces stop winter condensation.
- Mixed climates. Use a smart vapor retarder. Add a dehumidifier for summer and heat for winter.
- Arid regions. You may only need air sealing and good airflow. Watch for rare storm leaks.
Local weather drives the plan. This is why moisture control for garages needs a climate lens.
Budget tiers and what to do first
You do not have to do it all at once. Stack wins by cost.
- No-cost habits. Open doors after wet events, dry the car, run a fan, declutter.
- Under $200. Hygrometer, door seals, caulk, plastic bins, box fan.
- $200–$1,000. Dehumidifier with drain hose, slab sealer, better weatherstripping, exhaust fan with timer.
- $1,000–$5,000. Insulated door, wall insulation, mini-split, trench drain or grading fix.
I tell clients to start with measurement and sealing. Those steps deliver fast gains in moisture control for garages and guide the next investment.
When to DIY and when to call a pro
Some fixes are simple. Some need a skilled hand.
- DIY friendly. Seals, caulk, hygrometer, fans, dehumidifier setup, basic storage.
- Pro recommended. Structural cracks, major grading, spray foam, trench drains, electrical for new fans or mini-splits.
- Red flags. Repeated standing water, strong musty smells, peeling paint on walls, or visible mold bigger than a sheet of paper.
When mold is widespread, call a remediation pro. Safety and proper cleanup matter. Good help supports safe moisture control for garages.
Maintenance checklist you can follow each season
A tiny routine keeps the space dry and healthy.
- Spring. Clean gutters, extend downspouts, test the dehumidifier drain.
- Summer. Check RH weekly. Run the fan after storms.
- Fall. Replace door seals. Check weatherstripping and thresholds.
- Winter. Warm the space during cold snaps. Dry snow from cars.
- Year-round. Watch for stains, rust, musty smells, and fix small issues fast.
I keep this list on my phone. Small habits pay off. They lock in moisture control for garages for the long haul.
Advanced tips and common mistakes
A few pro moves and a few traps to avoid.
- Use a smart plug. Automate fans or dehumidifiers with humidity triggers.
- Balance airflow. Exhaust out, make-up air in, without big drafts.
- Label bins with dates. You can spot slow moisture creep before damage.
- Avoid plastic on wet walls. Trapped moisture grows mold.
- Do not oversize equipment. A giant dehumidifier can short-cycle and waste power.
I once oversold a large unit to a small garage. It short-cycled and left corners damp. Right-size gear is key to smart moisture control for garages.
Frequently Asked Questions of moisture control for garages
What humidity level should I target in my garage?
Aim for 40–55% relative humidity. Above 60% increases the risk of mold and rust.
Will insulation alone stop condensation?
Insulation helps by warming surfaces, but it is not enough alone. Pair it with air sealing and humidity control.
Do I need a dehumidifier if I have good airflow?
Maybe not, but airflow depends on weather. A dehumidifier gives steady control during humid seasons.
Can I seal a damp concrete floor myself?
Yes, if moisture is modest. Use a penetrating sealer and fix drainage first.
Is a heated garage safer for tools?
Yes. Warmer surfaces reduce condensation on metal. Keep humidity in range as well.
Conclusion
Moisture problems in garages are solvable. Measure humidity, seal the leaks, manage water at the slab, and add the right mix of insulation, airflow, and drying. Start small, stack wins, and tune your plan to your climate.
Take one step today. Buy a hygrometer, replace a door seal, or set a fan on a timer. Those tiny moves add up to strong moisture control for garages, happier tools, and cleaner air. Want more guides like this? Subscribe, share your garage wins, or drop your questions in the comments.