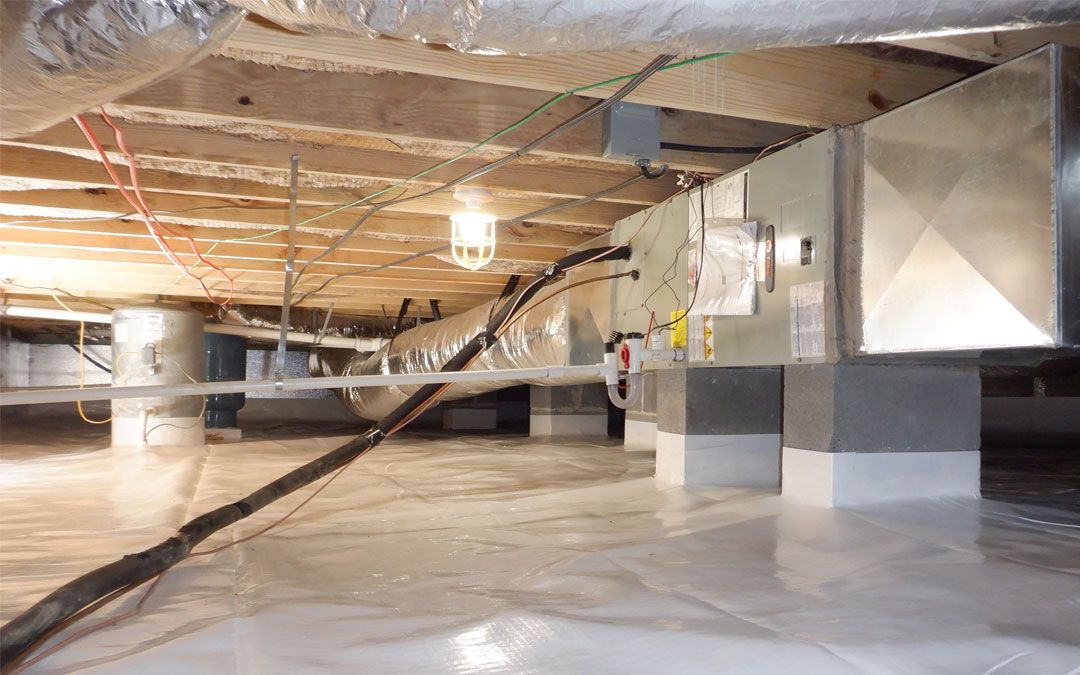
Moisture control for crawl spaces prevents mold, wood decay, and expensive repairs.
If you own a home with a crawl space, this guide is for you. I’ve solved hundreds of damp crawl spaces across wet and dry climates. Here, I explain moisture control for crawl spaces in plain language, with steps you can follow and mistakes to avoid. Stick with me, and you’ll know exactly what to do and why it works.
Why moisture builds up under your home
Moisture control for crawl spaces starts with root causes. Water sneaks in three main ways. It can run in, leak in, or drift in as vapor. Soil holds water. Open vents pull in humid air. Plumbing can drip. Even normal air can hit cool surfaces and turn to water.
A few numbers help. Mold can grow when wood stays above 20% moisture. Relative humidity above 60% also raises risk. The sweet spot in a crawl space is 45% to 55% relative humidity. Keep wood moisture near or below 12% to 16%.
Here is what I see most in the field:
- Poor grading that slopes toward the house lets rain flow inside.
- Short downspouts dump water at the foundation.
- Missing or thin vapor barriers let ground moisture evaporate up.
- Open vents invite hot, wet summer air.
- No dehumidifier in sealed spaces leaves humidity unchecked.
Source: baycrawlspace.com
Why excess moisture is a big deal
Moisture control for crawl spaces protects health and the structure. Wet air feeds mold and dust mites. Spores can ride up into your living space. That can trigger allergies or asthma.
Wood rot weakens joists and sills. Insulation can sag and hold water. Termites and carpenter ants love damp wood. Your energy bills can climb too. Humid air takes more energy to heat and cool.
Inspect and measure first
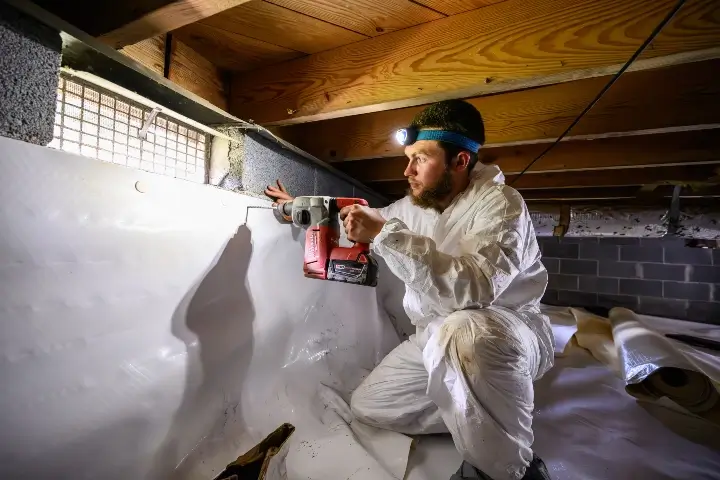
Moisture control for crawl spaces works best when you measure. A quick look helps, but data tells the truth. I always start with safety: wear a mask, gloves, and knee pads. Bring a light.
Use simple tools:
- A hygrometer or data logger for temperature and humidity.
- A wood moisture meter for joists and beams.
- A camera to track signs over time.
What to check:
- Standing water, mud, or salt lines on walls.
- Mold, musty odor, rusted metal hangers.
- Wet insulation or dark wood stains.
- Torn or thin vapor barrier.
- Air leaks at rim joists, pipes, and vents.
Record humidity and wood moisture in at least three spots. Check again after rain. This baseline guides your plan.

Fix water outside first
Moisture control for crawl spaces often starts outdoors. Stop bulk water before anything else. If you seal a wet space, you trap the problem.
Key actions:
- Grade soil so it falls at least 6 inches over 10 feet away from the house.
- Extend downspouts 6 to 10 feet.
- Clean gutters and check for leaks.
- Add splash blocks or drain lines.
- If needed, install French drains or a curtain drain to intercept water.
If water still enters, add an interior trench drain and a sump pump with a check valve. A battery backup helps during storms.
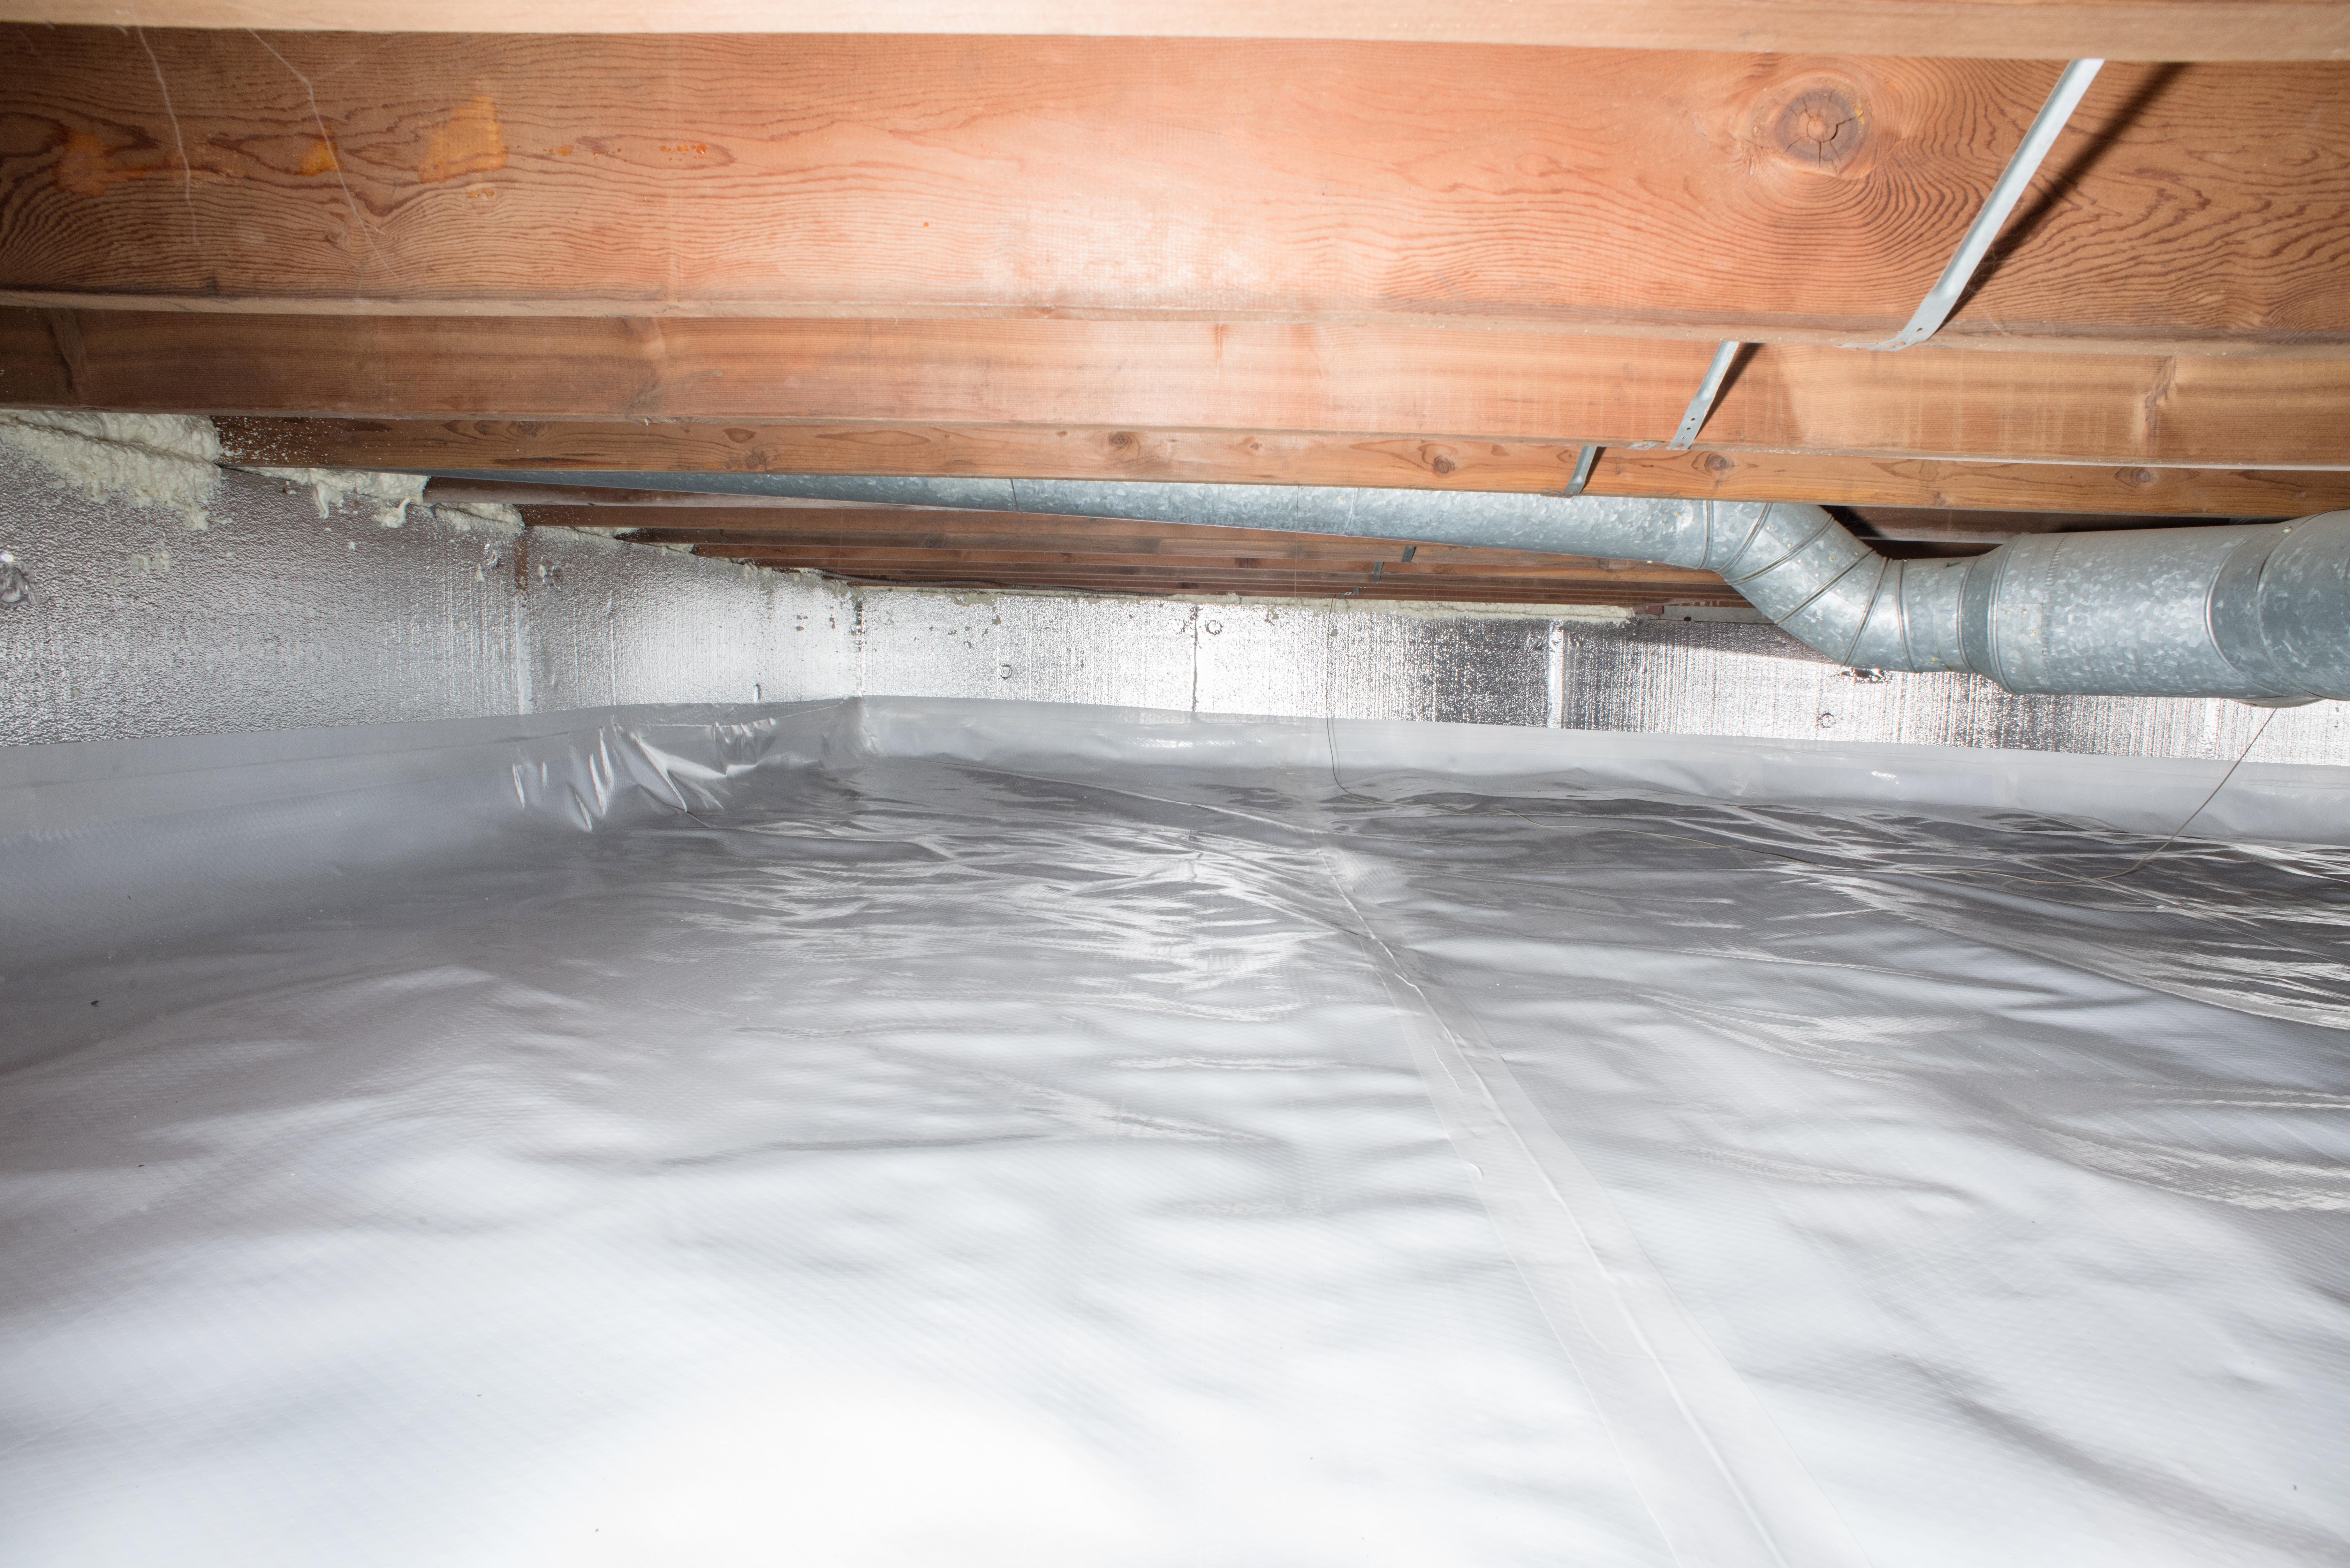
Vapor barriers and encapsulation
Moisture control for crawl spaces relies on a good vapor barrier. Think of it as a raincoat for the ground. Thin plastic tears. Go thicker.
How to do it right:
- Use at least 10–12 mil reinforced polyethylene. Many pros use 15–20 mil.
- Overlap seams by 12 inches and tape them with butyl or acrylic seam tape.
- Seal around posts and piers with tape or compatible mastic.
- Run the liner up the walls 6–12 inches and fasten it.
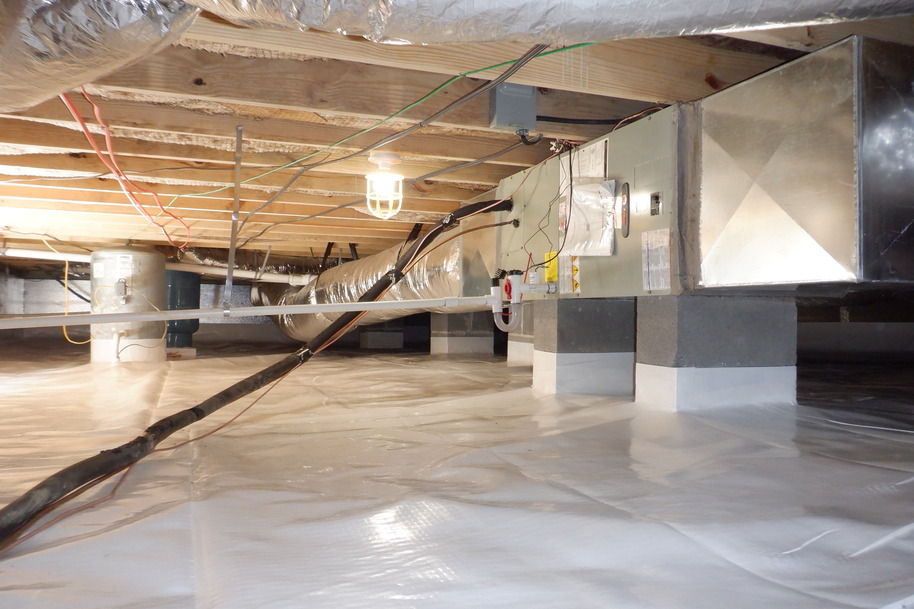
Encapsulation takes it further:
- Seal the floor and walls with a continuous liner.
- Close and seal all exterior vents.
- Air seal rim joists, pipes, and wires.
- Add a sealed crawl space door.
- Control humidity with a dehumidifier.
In my experience, full encapsulation is the most durable fix in humid areas. It costs more, but it lasts and lowers risk.

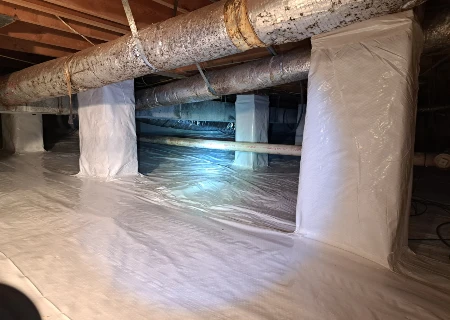
Venting vs sealed crawl spaces
Moisture control for crawl spaces depends on climate. In hot, humid regions, open vents often make things worse. Warm, wet air flows in and condenses on cool surfaces. That creates mold.
A sealed crawl space with a vapor barrier and dehumidifier works well in most humid and mixed climates. In dry climates, venting can work if soils are dry and drainage is great. Flood zones may need special designs and flood vents. Local codes matter, so check before you change the setup.
Dehumidifiers that actually work
Moisture control for crawl spaces may need a dehumidifier after you seal. Pick one made for crawl spaces. It should be low profile and easy to drain.
What to look for:
- Capacity that matches your crawl space volume and climate.
- Energy Star or high efficiency units to save power.
- Continuous drain to a condensate pump or sump.
- Simple filters you can wash or replace.
Setup tips:
- Place it on a level pad, not on the dirt.
- Keep a short, smooth drain line.
- Set target humidity to 50%.
- Service the filter every three months.
- Use a separate hygrometer to verify readings.
A right-sized unit runs shorter and lasts longer. Oversized can short cycle. Undersized runs all day and still falls short.
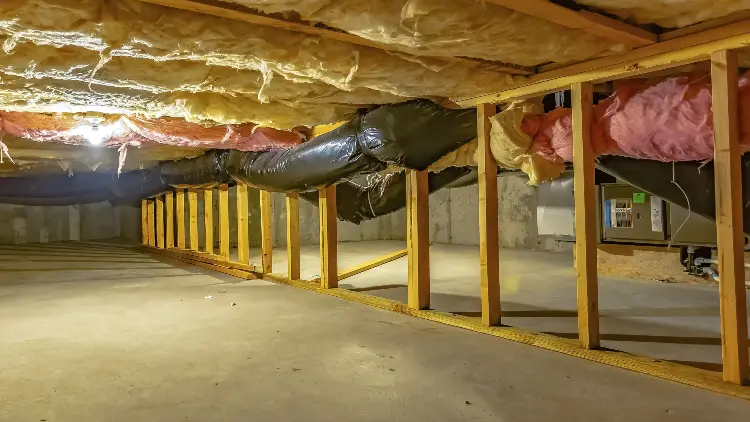
Insulation and air sealing that last
Moisture control for crawl spaces and insulation go hand in hand. Air leaks move water vapor faster than diffusion. Seal first, then insulate.
Best practices I use:
- Spray foam or rigid foam at rim joists for a tight seal.
- In sealed crawl spaces, insulate the walls, not the floor above.
- Use rigid foam against walls with taped seams and code-rated fire protection where needed.
- Avoid exposed fiberglass on the crawl space ceiling in humid zones. It can soak up moisture and sag.
Air seal gaps around pipes, ducts, and wires with foam or sealant. Every small hole adds up.
Ongoing maintenance and monitoring
Moisture control for crawl spaces is not set-and-forget. Check it at least twice a year. I like spring and fall.
Simple checklist:
- Read humidity and wood moisture levels.
- Make sure the dehumidifier drains and cycles.
- Look for new cracks, leaks, or torn liner seams.
- Test the sump pump and backup power.
- Check gutters and downspouts before rainy months.
Smart sensors can send alerts if humidity rises. A small fix now beats a big repair later.
Costs, ROI, and when to call a pro
Moisture control for crawl spaces can be DIY or pro work. It depends on water level, access, and your time.
Typical ranges I see:
- Basic heavy-duty vapor barrier: 0.50 to 1.50 dollars per square foot DIY.
- Full encapsulation: 3 to 7 dollars per square foot.
- Crawl space dehumidifier: 900 to 2,000 dollars plus install.
- Drainage or sump upgrades: 1,500 to 6,000 dollars or more.
Call a pro if you have standing water, structural damage, or mold on big areas. Also call if you need drainage design or pest treatments. Good companies provide moisture readings before and after work. They should explain why each step matters.
Common mistakes I see (and how to avoid them)
Moisture control for crawl spaces fails when basics get skipped. Here are pitfalls to avoid:
- Using thin 6 mil plastic that rips fast.
- Not sealing seams or the wall edges of the liner.
- Leaving vents open in humid climates.
- Encapsulating before fixing exterior drainage or leaks.
- No path for dehumidifier drainage.
- Ignoring radon testing where it is a risk.
- Skipping permits or code checks for insulation and fire barriers.
Take your time. A careful setup pays off for years.
Frequently Asked Questions of moisture control for crawl spaces
Do I need to ventilate a crawl space or seal it?
In humid areas, a sealed crawl space with a vapor barrier and dehumidifier works best. In dry zones with great drainage, venting can work, but measure humidity to be sure.
What humidity level should I maintain in my crawl space?
Aim for about 50% relative humidity. Try to keep it between 45% and 55% year-round.
How thick should the vapor barrier be?
Use at least 10–12 mil. Many pros prefer 15–20 mil for durability and better seam sealing.
Will a dehumidifier fix standing water problems?
No. Remove bulk water first with grading, drains, and a sump. Then a dehumidifier can hold steady humidity.
How often should I check my crawl space?
Twice a year is a good rule. Check after major storms or if you notice musty smells.
Can I keep fiberglass insulation in the crawl space ceiling?
In sealed, humid climates, it often sags and grows mold. Insulate the crawl space walls instead and air seal the rim joists.
Is full encapsulation worth the cost?
In most humid regions, yes. It reduces mold risk, protects wood, improves comfort, and can lower energy bills.
Conclusion
Moisture control for crawl spaces is simple when you follow the chain: stop water outside, block vapor, seal air leaks, and hold humidity near 50%. Measure before and after so you know it works. With a better crawl space, the whole home feels drier, cleaner, and sturdier.
Take one step this week. Check your gutters, test the sump, or lay a heavier vapor barrier. Ready for more? Subscribe for new guides, ask a question, or share your crawl space story so others can learn from it.