Protect your gear by keeping humidity stable, sealing storage, and using fresh desiccants.
If you shoot in rain, snow, or the tropics, you already know the risk. Moisture sneaks in, fogs glass, and ruins electronics. I’ve spent years shooting weddings, travel, and wildlife. I’ve learned what works and what fails. This guide gives you a simple, proven plan for moisture control for camera equipment. We will keep it clear, practical, and field tested. Read on to protect every body, lens, and card you own.

How moisture hurts cameras and lenses
Moisture is slow and sneaky. It attacks optics and circuits in different ways.
- Fungus grows on lens elements when humidity stays high. It etches coatings and lowers contrast.
- Corrosion hits ports, contacts, and circuit boards. It leads to random errors and failure.
- Condensation fogs internal elements and viewfinders. It can collect as water drops.
- Aperture blades can stick. Focus motors can stall. Zoom rings can feel gritty.
Target a safe range. Most makers aim for 35% to 50% relative humidity. Above 60% for long periods raises fungus risk. Below 25% can dry out some lubricants over time.
Moisture control for camera equipment keeps you in that safe range. It also limits fast swings in temperature. Those swings trigger condensation inside the lens barrel. Keep the change slow and steady.

Humidity, dew point, and condensation made simple
Warm air holds more water. Cold air holds less. When warm, humid air hits a cold surface, water forms. That is the dew point at work.
You see it when you walk from air-con to a hot street. Your lens fogs at once. The fix is simple. Let your gear warm up inside a sealed bag. The bag slows the air change. Add silica gel packs to help.
Moisture control for camera equipment means planning for these jumps. Move slow. Seal gear. Use dry packs. You will stop fog before it starts.
Signs your gear has a moisture problem
Watch for small hints before they grow.
- A sweet, musty smell from a lens.
- Soft, low-contrast images that look hazy.
- Rainbow arcs or web-like threads inside the glass.
- Fog that returns after each cold-to-warm change.
- Corroded USB or HDMI ports and greenish contact points.
If you see these, act fast. Get the gear dry and stable. Moisture control for camera equipment works best when you move early.

A layered plan for moisture control for camera equipment
Use a simple, layered plan. It works at home and on the road.
- Monitor humidity. Use a small digital hygrometer in your bag or cabinet.
- Store right. Keep gear in a dry cabinet or sealed bins with fresh desiccant.
- Handle with care. Manage temperature swings and avoid opening gear in humid air.
- Recover fast. If gear gets wet, follow a clear drying process.
This layered plan makes moisture control for camera equipment easy. You will prevent most problems before they cost you.

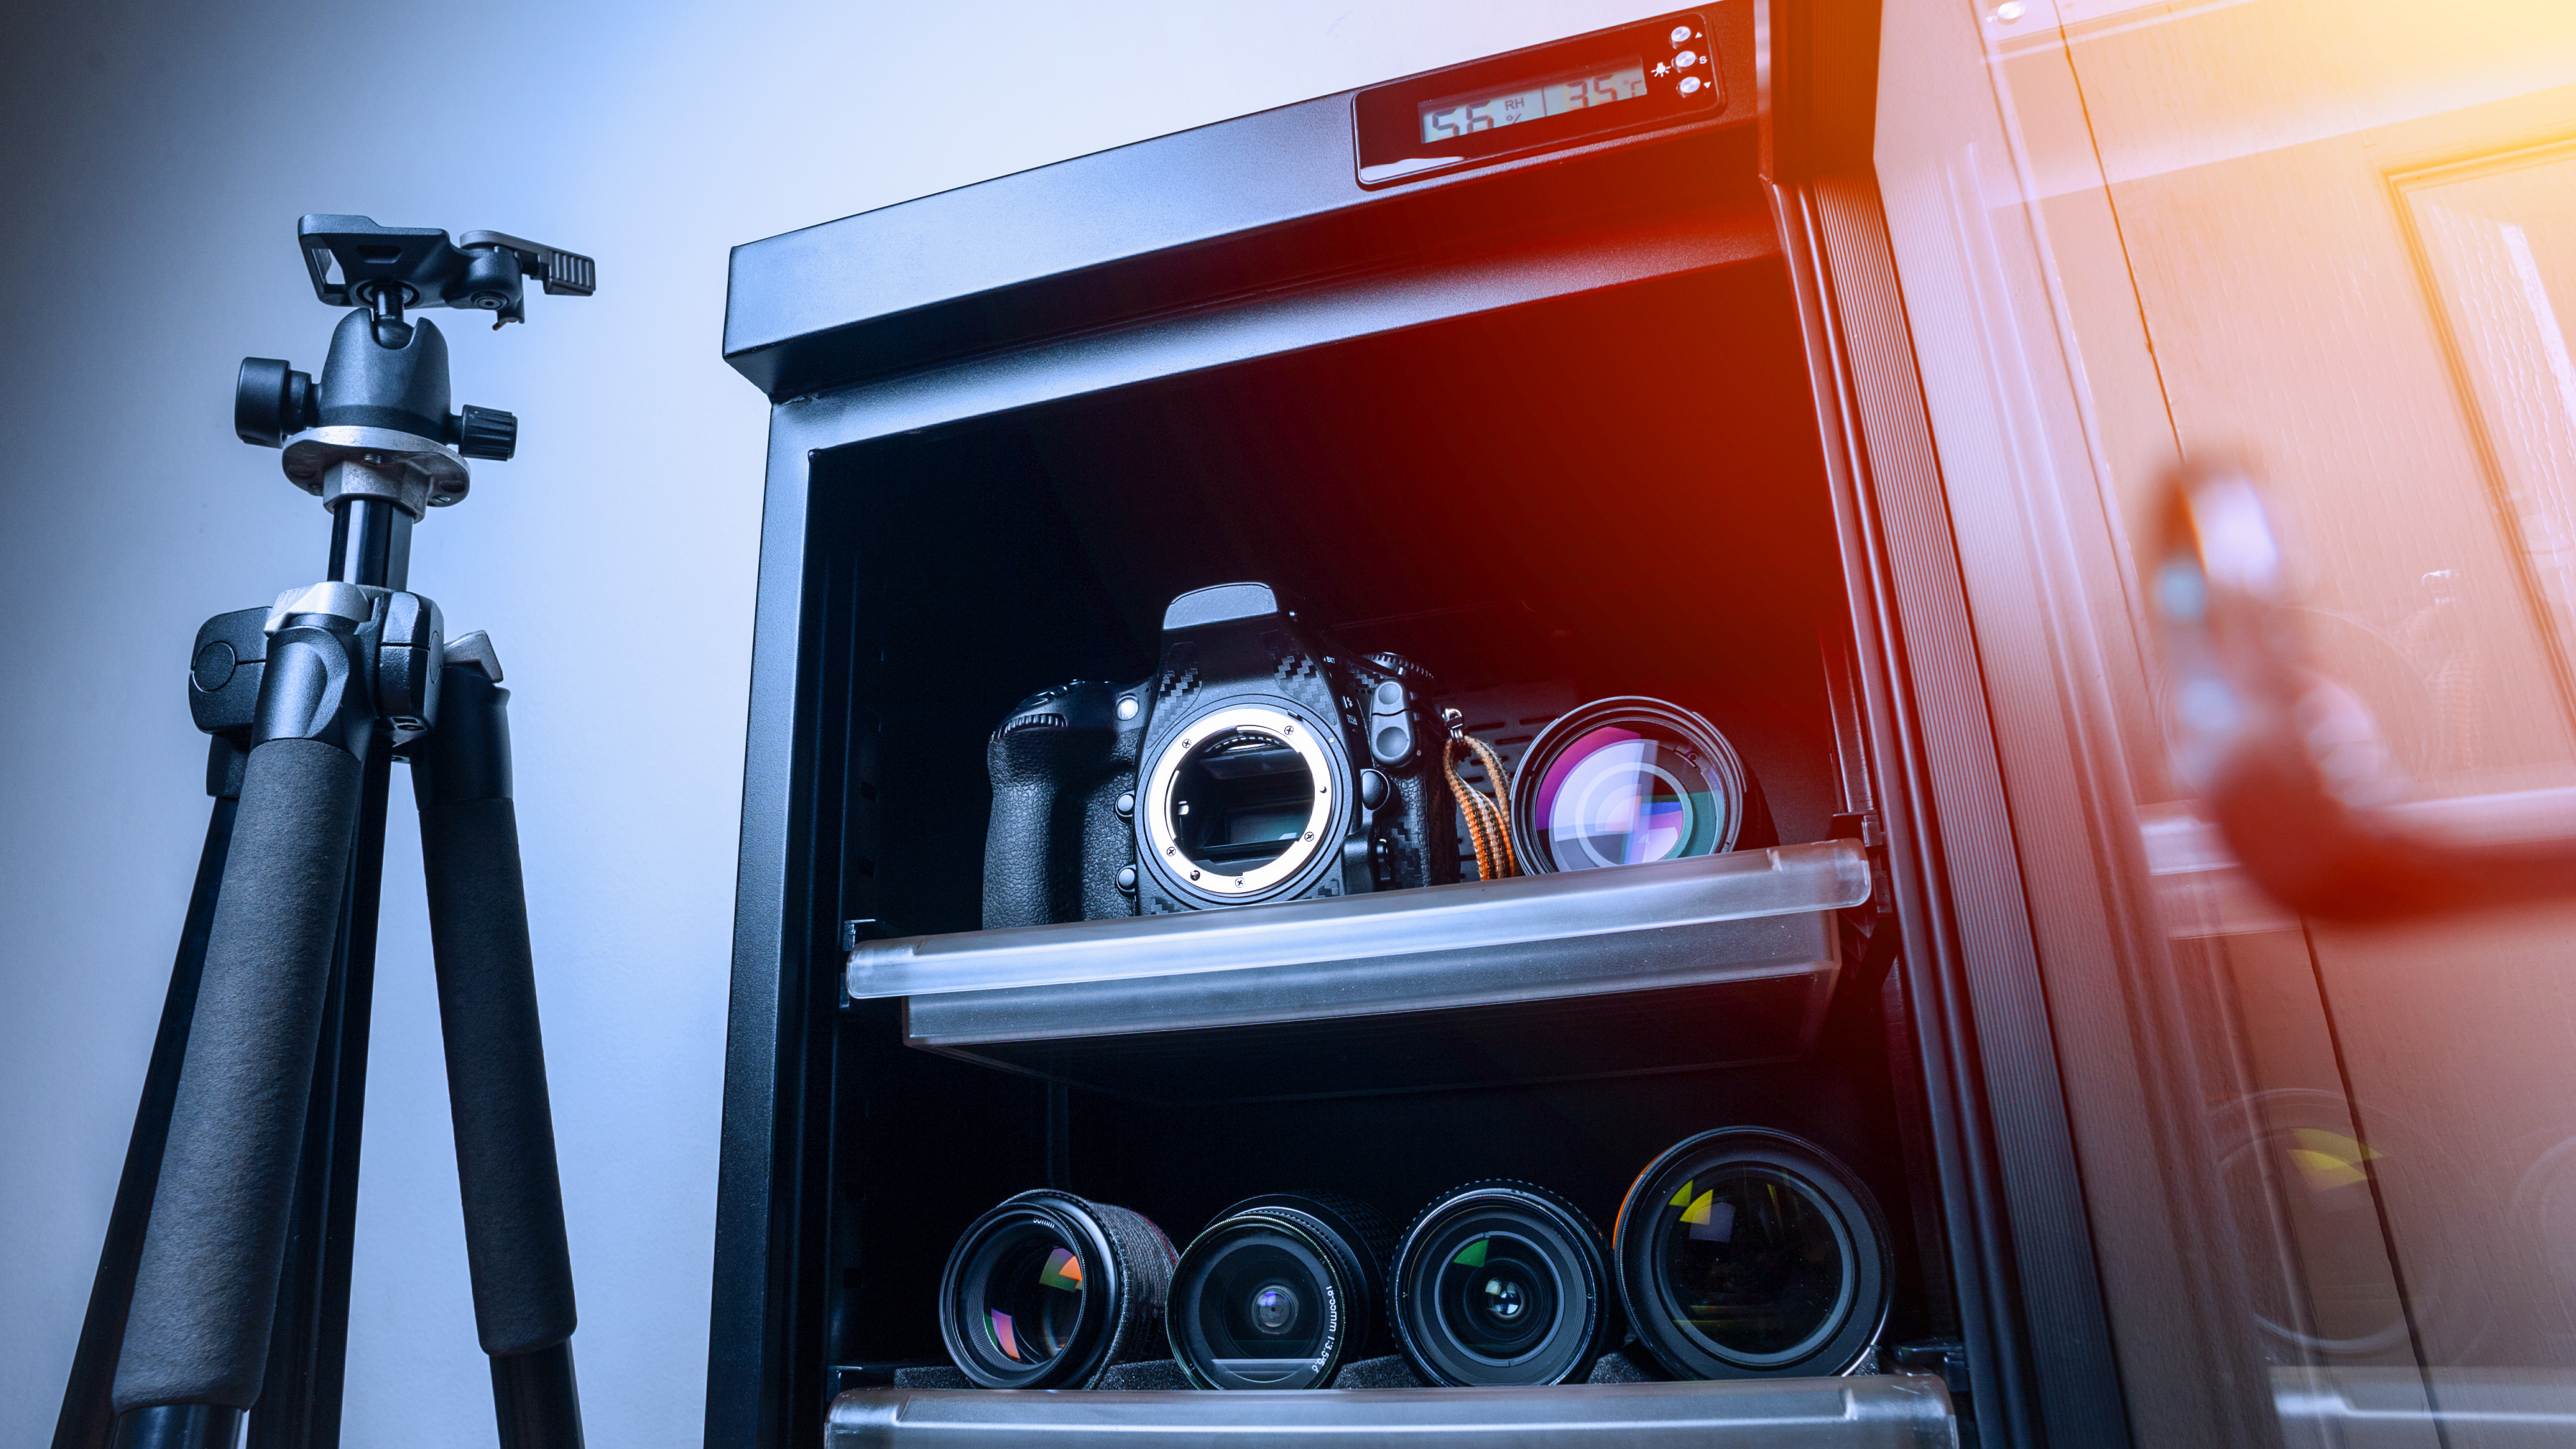
At home: storage that works
Your home setup is your best defense. Keep it simple and reliable.
- Dry cabinet set to 35–45% RH. It is the gold standard for long-term storage.
- Airtight bins with a rubber seal. Add color-change silica gel and a hygrometer.
- Rotate desiccants. Bake silica gel at 250°F/120°C for two hours to recharge. Check color.
- Space items out. Do not pack lenses tight. Air needs to move a bit.
- Keep caps clean and dry. Dirty caps carry spores into the lens.
I store my main kit in a dry cabinet. Backup bodies live in a sealed bin with gel packs. My hygrometers make it easy to see trends. This is the backbone of moisture control for camera equipment at home.

On the go: field habits that prevent condensation
Your habits matter more than your gear. Small moves save big repairs.
- Bag acclimation. Seal gear in a zip bag when moving between hot and cold.
- Rain covers. Use a simple cover or even a clean shower cap in a pinch.
- Lens hoods. They shield front elements from mist and spray.
- Microfiber cloths. Carry two or three. Swap when wet.
- Spare desiccants. Keep a few packs inside the camera bag pockets.
- Minimal swaps. Avoid lens changes in rain or near the sea.
Weather sealing helps. It is not a force field. Good habits are key to moisture control for camera equipment outdoors.

Desiccants, dehumidifiers, and drying tools compared
Not all “drying” tools are equal. Pick the right one for the job.
- Silica gel. Reusable, safe, and cheap. Best for sealed storage and bags.
- Molecular sieve. Stronger than silica gel. Good in very humid zones.
- Calcium chloride. Very aggressive. Can leak brine. Avoid near cameras.
- Electric dry cabinets. Stable and hands-off. Great for home storage.
- Gentle airflow. A small fan helps inside a cabinet or room. Avoid heat guns.
- Rice. Skip it. It is slow, dusty, and less effective than silica gel.
I once tested rice against silica gel after a rain shoot. The lens dried in 16 hours with gel. Rice took two days and left dust. For moisture control for camera equipment, use proven media, not kitchen hacks.

Recovering from a wet incident, step by step
Act fast. Slow down only when the gear is safe.
- Power off now. Remove battery and card.
- Wipe outside with a dry, clean cloth.
- For rain or fresh water, do not add heat. Do not press buttons.
- For saltwater, you have a special case. If you cannot reach service fast, a careful rinse with distilled water can reduce salts. Dry right away. Then send it for service.
- Place gear in a sealed bin with lots of fresh silica gel.
- Wait 48–72 hours. Check for fog or errors.
- Test in a dry room. If issues remain, seek service.
This process has saved me twice. It is core to moisture control for camera equipment after an accident.

Climate-specific tips
Different places need different tactics.
- Tropics. Use a dry cabinet, strong desiccants, and short storage checks each week.
- Cold winters. Bag acclimation is vital when you go indoors. Keep spare cloths handy.
- Coastal areas. Salt air is harsh. Clean surfaces often. Store gear sealed when not in use.
- High altitude. UV is strong, but air can be dry. Do not over-dry for months on end.
Some dry cabinets add UV lights. Use that feature sparingly. It can help reduce spores, but do not rely on it. The best control is still stable humidity and clean storage. That is the heart of moisture control for camera equipment.
Monitoring tools and simple logs
You cannot control what you do not measure. Keep it easy and visual.
- Mini hygrometers. Put one in each bin or shelf.
- Data loggers. Track humidity and temperature over time.
- Smart alerts. Use phone-connected sensors in very humid rooms.
- Simple log. Note dates when you recharge desiccants and target RH.
This small system gives you early warning. It also shows that your setup works. It keeps moisture control for camera equipment consistent all year.
Budget kit vs. pro kit: what to buy first
Start small. Upgrade as you go.
- Starter setup. Airtight bin, two hygrometers, 500 g of silica gel, zip bags, and microfiber cloths.
- Field add-ons. Rain cover, spare gel packs, and a lens hood for each lens.
- Pro upgrade. Electric dry cabinet, molecular sieve packs for travel, and a data logger.
Buy in this order. You will see a big win for a low cost. This path makes moisture control for camera equipment affordable and strong.
Frequently Asked Questions of moisture control for camera equipment
What humidity level is safe for camera gear?
Aim for 35% to 50% relative humidity. This range protects optics and electronics without drying out lubricants.
Are dry cabinets worth it?
Yes, if you live in a humid place or store gear for long periods. They keep a stable RH and reduce fungus risk.
Can I use rice to dry a wet camera?
Rice is weak and dusty. Use fresh silica gel or a dry cabinet for faster, cleaner drying.
How do I stop lens fungus from coming back?
Keep storage at 35% to 45% RH and avoid long damp periods. Clean caps and bags, and air out your kit in a dry room now and then.
How long should I leave wet gear with desiccants?
Wait 48 to 72 hours before testing. If fog or errors remain, extend the time or seek service.
Is weather sealing enough to prevent moisture damage?
Weather sealing helps with light rain and dust. It does not stop condensation or high humidity over time.
Conclusion
Moisture is manageable when you plan ahead. Monitor humidity, store gear in dry spaces, handle temperature swings with care, and act fast after any splash. These simple steps keep images sharp and gear reliable for years.
Put one change in place today. Add a hygrometer and a few silica packs to your bag or bin. Build from there. If this guide helped, subscribe for more field-tested tips or share your own story in the comments.