Moisture absorbers keep sites dry, protect materials, and speed safe project delivery.
If you build for a living, you know water is sneaky. It creeps into slabs, studs, gear, and finishes. This guide breaks down moisture absorbers for construction sites in plain terms. I’ll show what works, what fails, and how to pick the right setup for your climate, schedule, and scope. I’ve used these tools on real jobs, from damp basements to coastal high-rises, and the lessons are simple but powerful. Read on to protect your project, your budget, and your team.
What are moisture absorbers for construction sites?
Moisture absorbers are tools or products that pull water from the air or from surfaces. They help keep materials dry. They also help speed up safe install dates.
On site, they come in many forms. Think small pouches with beads, large desiccant wheels, or high-capacity dehumidifiers. Some soak up water and hold it. Others collect water and drain it away.
Why use moisture absorbers for construction sites? Because wet work is common. Concrete cures. Rain blows in. Humid air lingers. With the right gear, you can control the space and keep work moving.

Why moisture on site can wreck your schedule and budget
Water does more than stain. It can ruin bonds and void warranties. High moisture in slabs can lead to floor failures. Wood can swell. Fasteners can rust. Drywall can grow mold in days.
Delays add up fast. You can miss install windows. You can miss punch list dates. Rework can cost more than prevention.
Using moisture absorbers for construction sites lowers risk. It keeps relative humidity in check. It protects adhesives, coatings, and finishes. It can also help meet spec limits before testing and handoff.
Main types of moisture absorbers for construction sites
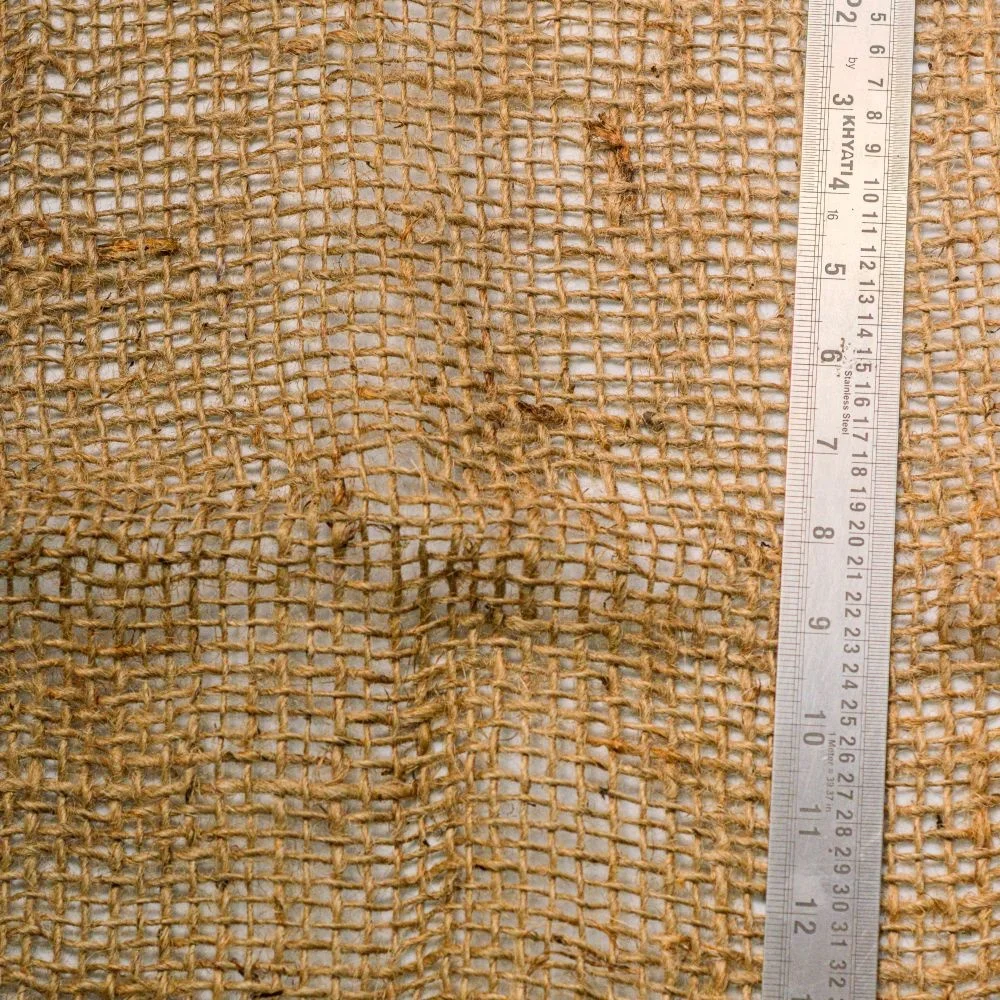
Passive desiccants
These are small and simple. They sit in a space and pull in water.
- Calcium chloride buckets or trays
- Silica gel packs and canisters
- Clay or zeolite pouches
- Container-size desiccant strips for crates or trailers
Best use: sealed rooms, closets, containers, and finished spaces. They need limited air change to work well. They are great for cabinets, millwork storage, and small tool rooms.
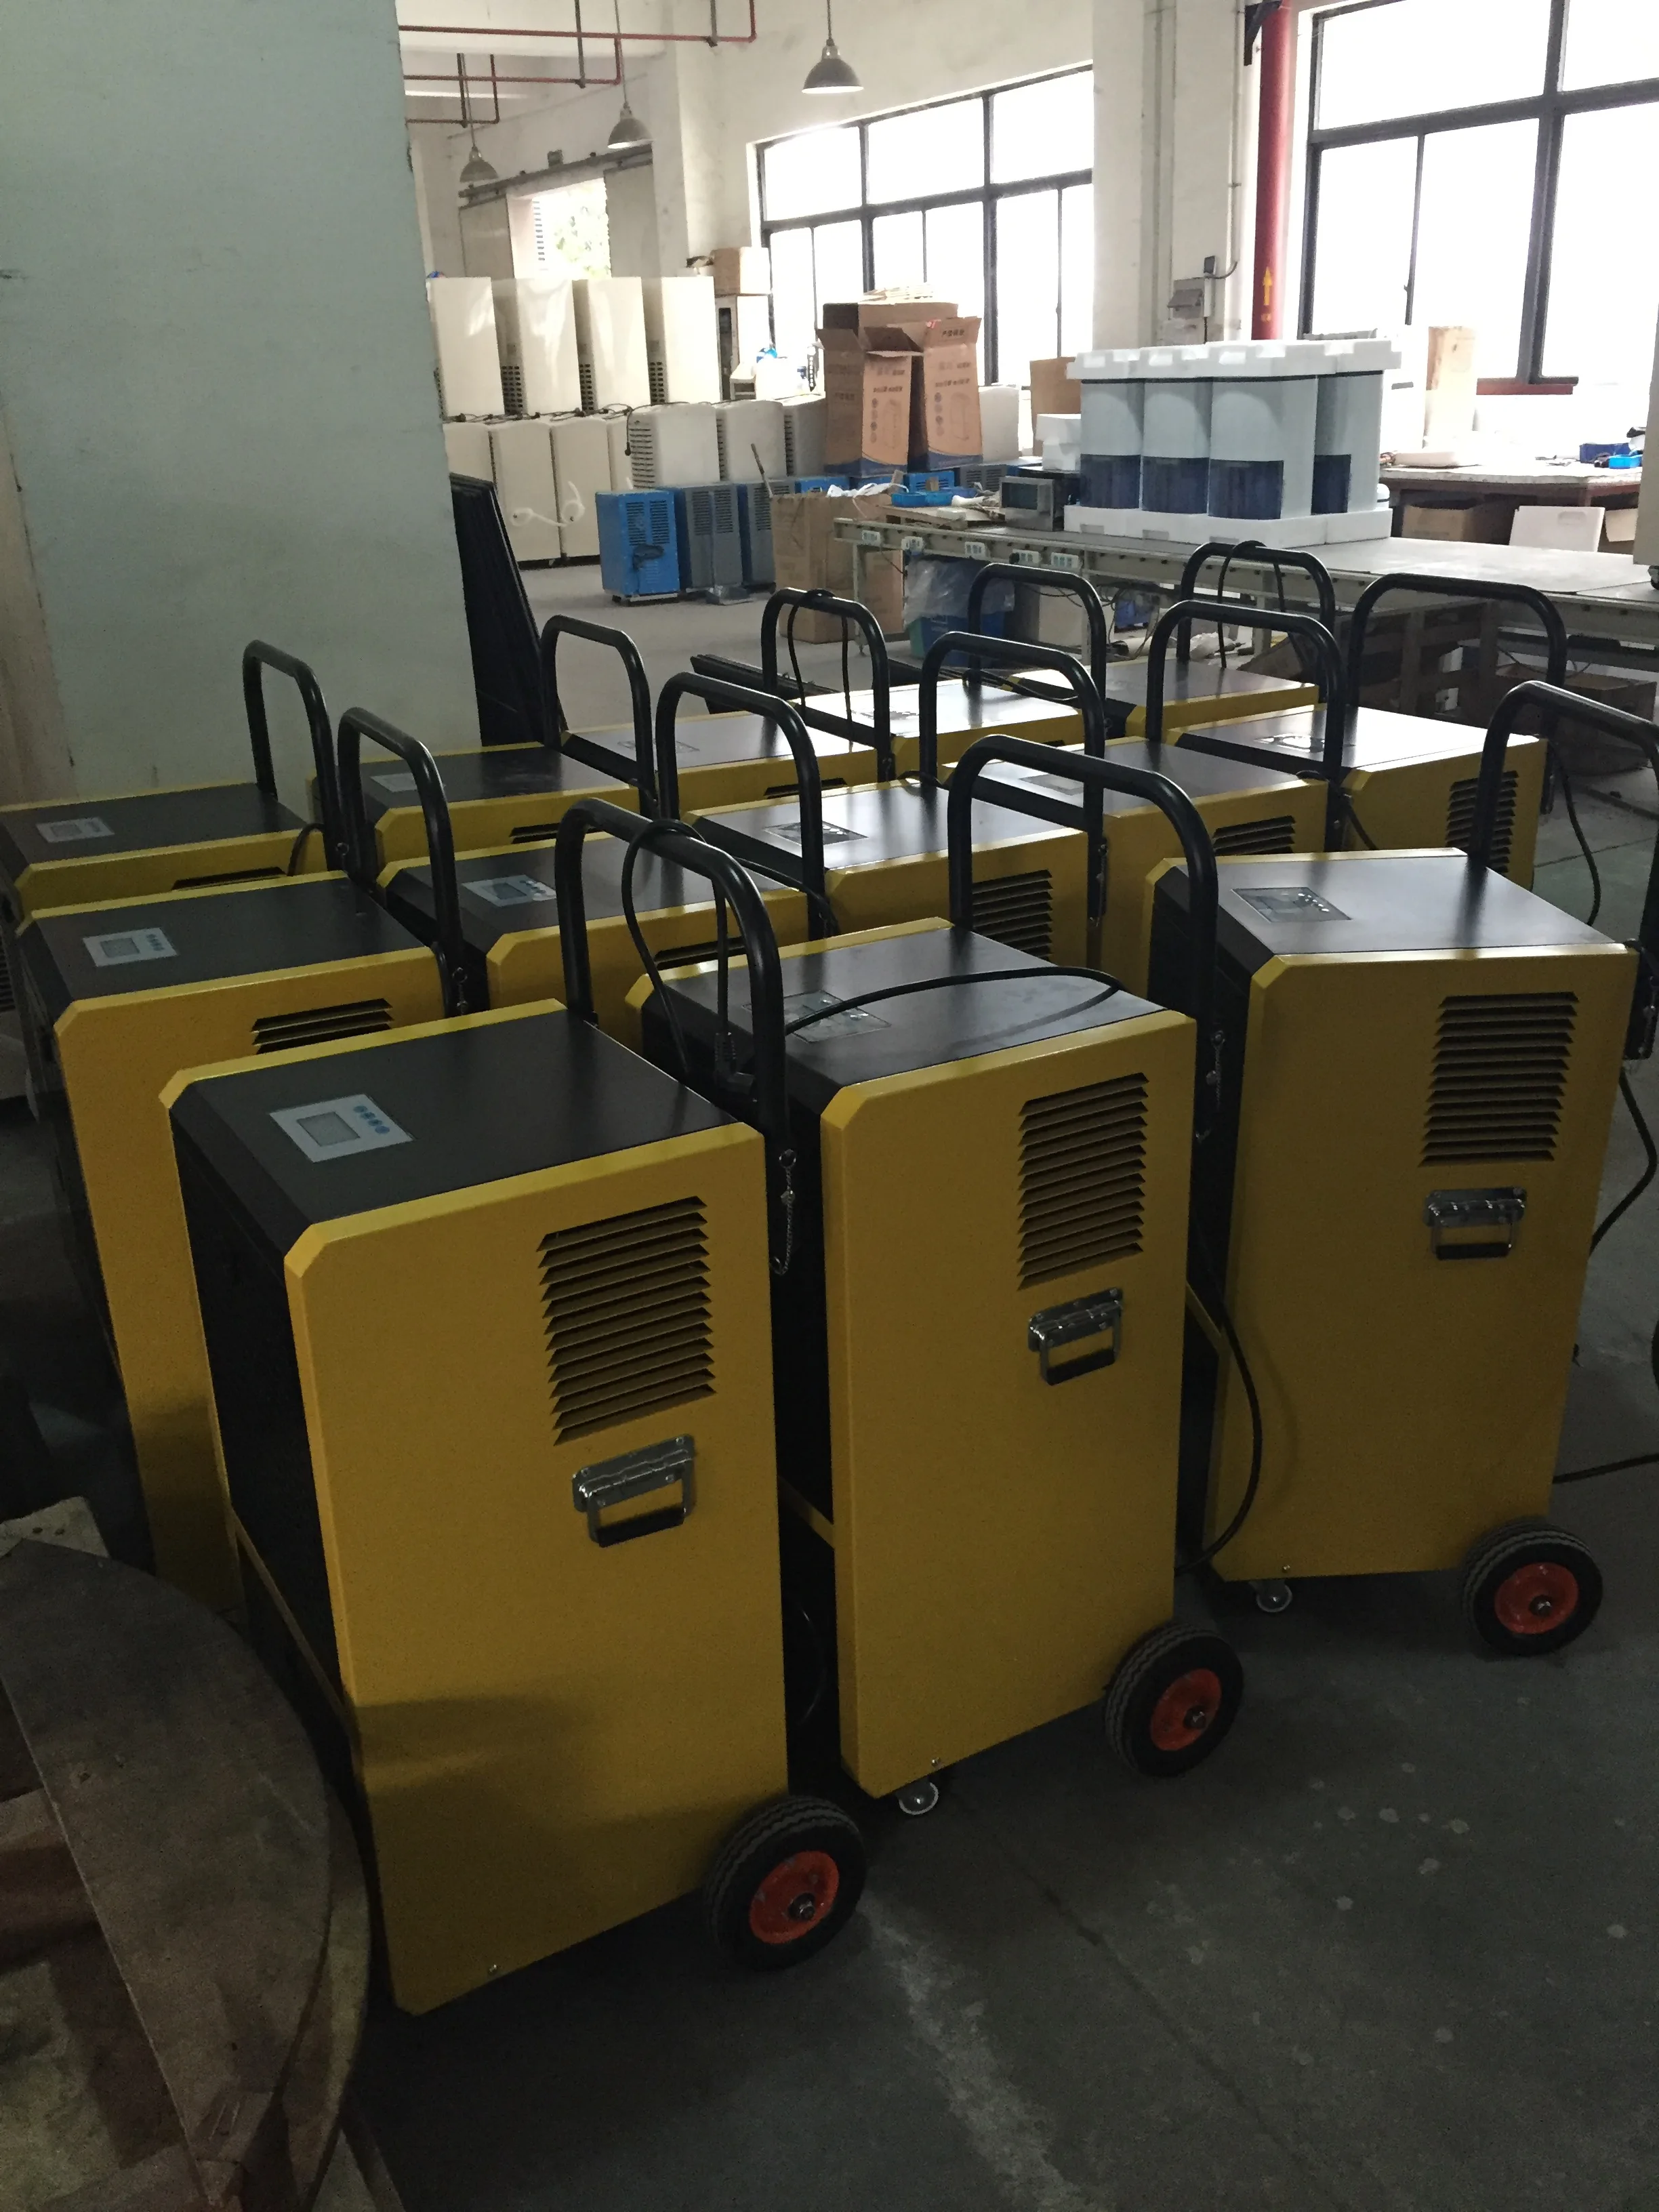
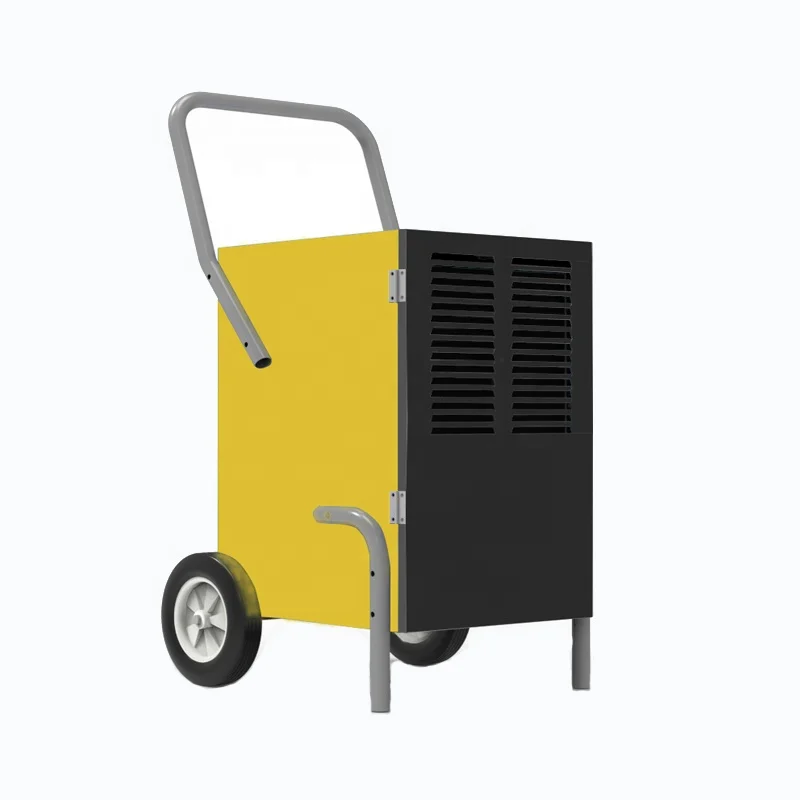
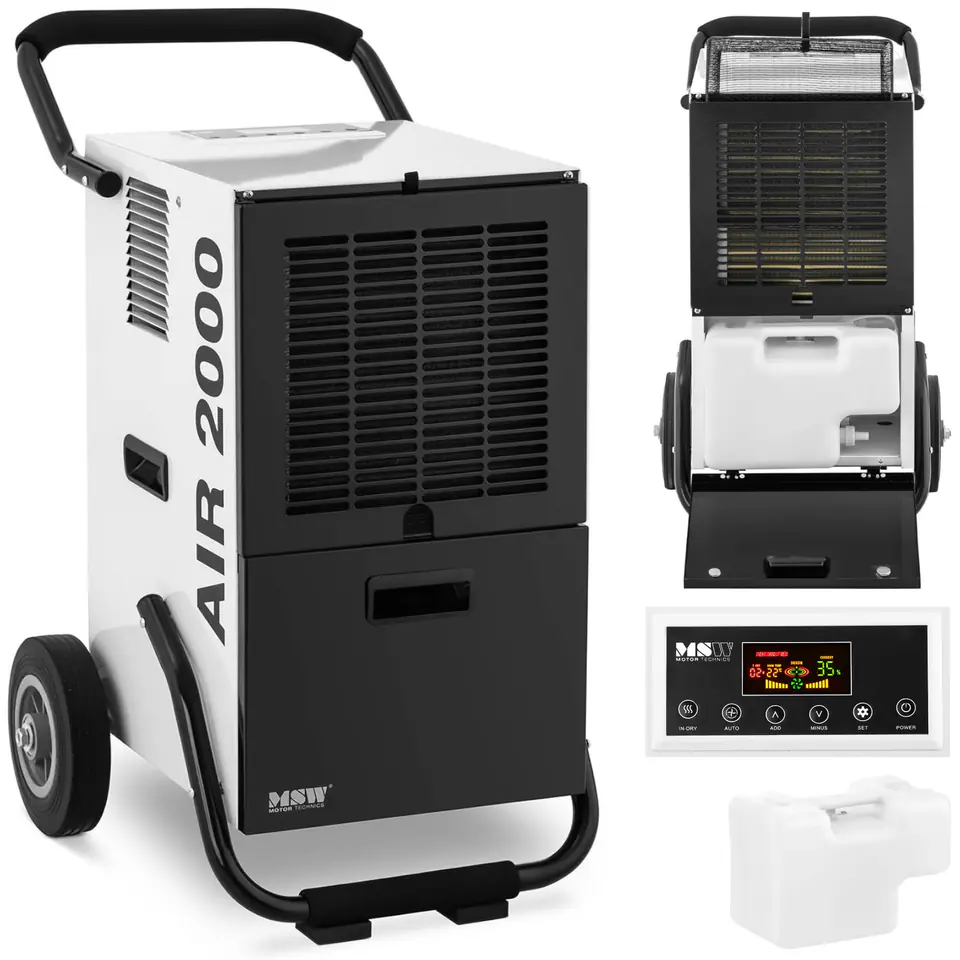
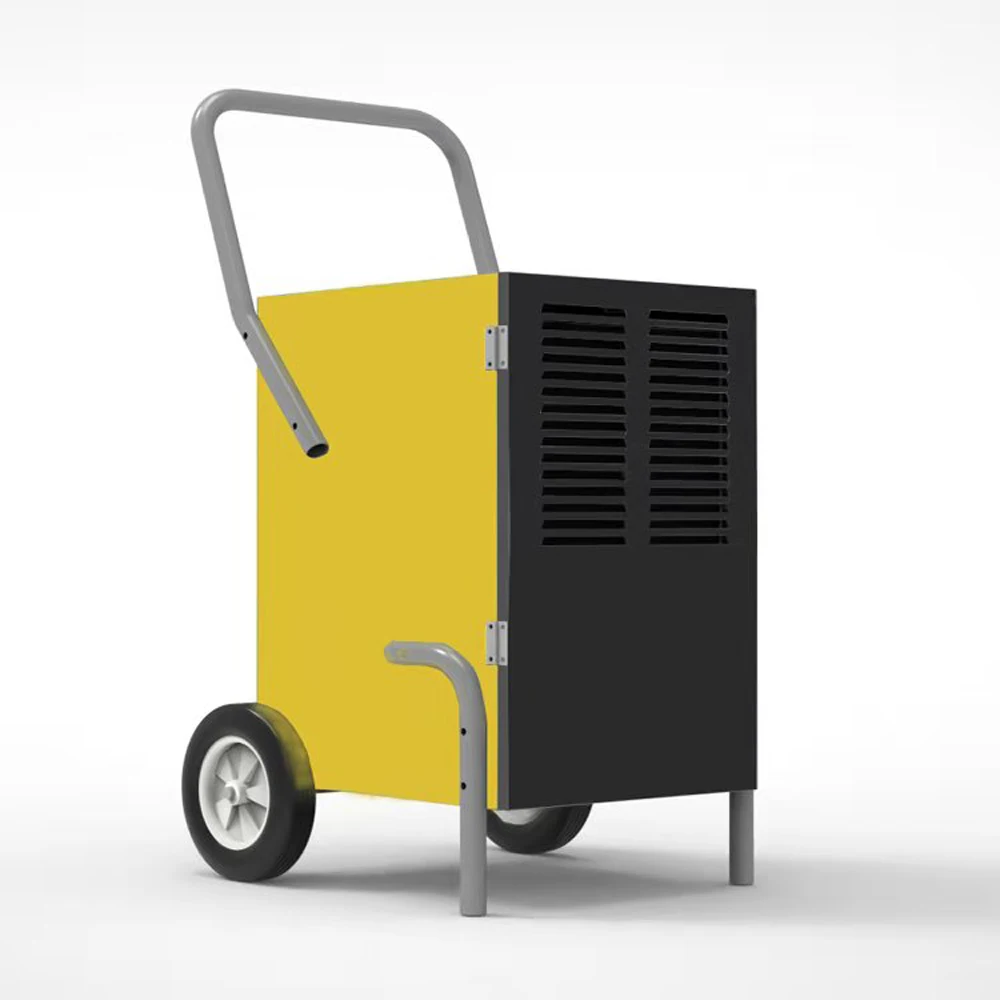
Active dehumidifiers
These are machines that run air across a cold coil or a desiccant wheel.
- Refrigerant dehumidifiers, including LGR models
- Desiccant dehumidifiers for cold or very dry targets
Best use: large areas, wet slabs, wet framing, and high air change zones. These units hold a set point. They move a lot of air. They also drain water away, which is a big plus.
Absorbent mats and spill products
These help with short events.
- Absorbent mats for leaks
- Socks and pillows for sump areas
- Roof leak catch pans
Best use: control small water events fast. They do not replace air drying or full-space control.
Support tools
These are not moisture absorbers, but they make them work better.
- Poly sheeting to seal rooms
- Air movers to mix air
- Data loggers and hygrometers
- Vapor barriers and primers on slabs
Together, these tools turn a damp shell into a controlled space. In short, a layered plan wins. Use moisture absorbers for construction sites with smart sealing and steady air flow.
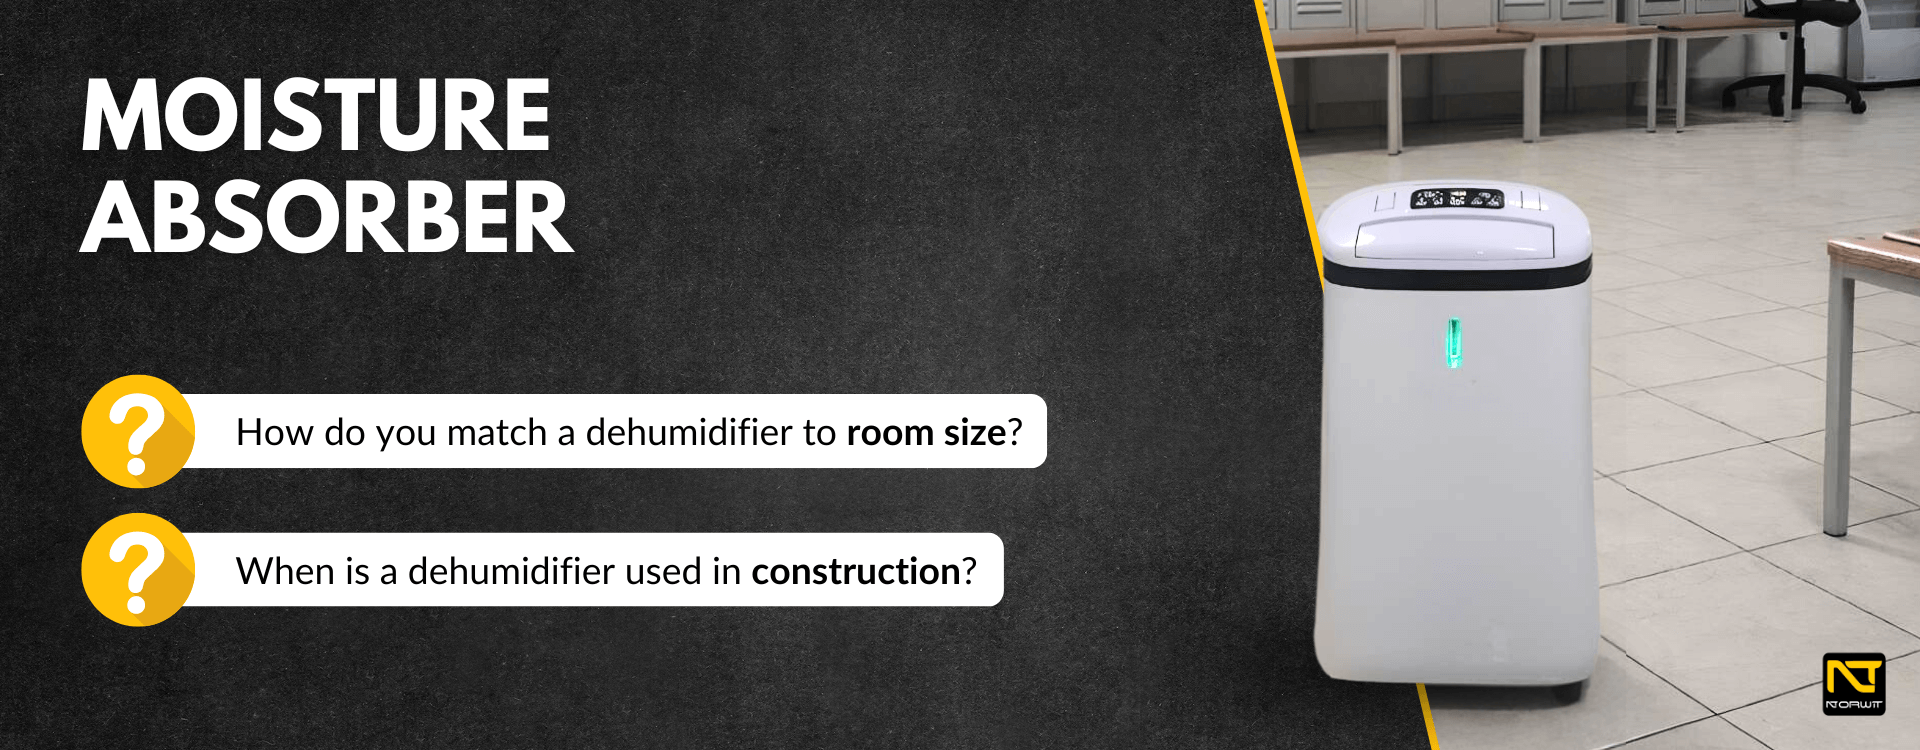
How to choose the right setup
Picking the right mix depends on space, climate, and time. Use this step-by-step path.
- Define your goal. Dry a slab? Protect stored wood? Control RH for paint or floor install?
- Measure the space. Note square footage, ceiling height, and leaks to outdoors.
- Check the season. Cold and dry needs a desiccant. Warm and humid may favor LGR units.
- Look at materials. Wood wants lower moisture content. Adhesives have tight RH limits.
- Check power and drains. Dehumidifiers need both. Plan for condensate lines.
- Set a target window. When do you need the space dry?
- Pick tools that fit. Often you need both active units and passive packs.
- Plan the layout. Keep air moving and avoid dead zones.
- Monitor and adjust. If numbers stall, add machines or seal leaks.
If you are unsure, start with data. Take RH and temperature in and out. Take slab or wood readings. Then size the gear. There is no one-size answer for moisture absorbers for construction sites.
Set up and deployment: simple steps that work
Follow a proven sequence. It is fast and repeatable.
- Seal the space. Close doors. Hang poly over openings. Tape seams.
- Remove standing water. Mop, squeegee, or pump.
- Place active units first. Put them near the wettest zone. Give them clear intake and discharge.
- Add air movers. Point along walls and into corners. Keep the air mixed.
- Place passive desiccants in closets, cabinets, and tight nooks.
- Route drains. Use hoses to a safe drain or tote tank. Secure lines to avoid tripping.
- Power check. Use safe cords and GFCI where needed. Label circuits.
- Log data. Note start readings. Plan check times each day.
- Fine tune. If RH stalls, add units or seal leaks.
- Protect materials. Lift pallets off slabs. Keep boxes off cold walls.
I like to color-tag sensors by zone. Green means on target. Yellow means watch. Red means act now. This simple code helps crews track progress at a glance when using moisture absorbers for construction sites.

Monitoring, testing, and standards you should know
You cannot manage what you do not measure. Keep it simple and steady.
- Use a hygrometer or data logger. Check relative humidity and temperature twice a day.
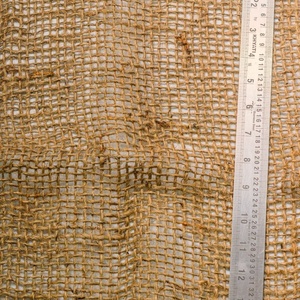
- Use a pin or pinless moisture meter for wood. Most wood wants 6 to 9 percent.
- For concrete, follow ASTM F2170 for in-slab RH tests. Also see ASTM F1869 for MVER if the spec calls for it.
- Track dew point. If surfaces are colder than dew point, you get condensation.
- Record readings. Add notes on weather, crew actions, and equipment changes.
Specs matter. Many flooring and adhesive makers set RH and slab limits. Always read the datasheets. When in doubt, run a small mockup first. This habit has saved me from floor failures more than once when using moisture absorbers for construction sites.
Cost, ROI, and real-world wins
Moisture control looks like a cost. In fact, it is cheap insurance.
- Active units may rent for a few hundred dollars per week.
- Passive packs cost little per unit and protect stored goods.
- A single failed floor can cost tens of thousands to replace.
On a coastal apartment job, we used two LGR units and one desiccant wheel during a wet spell. We sealed the corridors with poly, ran hoses to a safe drain, and logged RH. We hit the floor spec in five days. The GC stayed on schedule and avoided a liquidated damages clause.
On a school addition, passive buckets in casework kept odors and mold at bay during punch. The spaces stayed clean even as doors opened and closed. These simple wins are why I rely on moisture absorbers for construction sites year-round.
Safety, environmental, and compliance notes
Safety is part of the plan. Keep the site safe while you dry.
- Follow label rules for desiccants. Some can irritate skin and eyes.
- Secure cords and hoses. Trip hazards cause injuries fast.
- Keep units upright. Some need time before restart if moved.
- Vent desiccant reactivation air per the manual. Hot discharge can burn.
- Dispose of spent desiccants as directed. Do not toss leaking packs in open bins.
- Check noise limits if near neighbors. Run units on timers if needed.
- Document your plan. Some owners ask for temp climate control logs.
Green goals matter too. Choose Energy Star where possible. Use tight seals to cut runtime. Right-size the gear. Good planning reduces waste when using moisture absorbers for construction sites.
Common mistakes to avoid
Learn from common pitfalls. Small changes make a big difference.
- Leaving doors and windows open while drying
- Skipping data logs and then guessing
- Stacking boxes against cold exterior walls
- Forgetting to drain or clean filters
- Overloading circuits with too many units
- Using passive packs in wide open, leaky spaces
- Tearing up the poly seal for access and not re-taping
Avoid these and your moisture absorbers for construction sites will work far better.
Seasonal and regional strategies
Climate shifts your plan. Match the tool to the season.
- Hot and humid regions. Favor LGR dehumidifiers. Seal tight. Add passive packs for closets.
- Cold climates. Desiccant dehumidifiers shine at low temps. Watch dew point.
- Shoulder seasons. Day to night swings need steady control. Use data loggers to adjust.
- Coastal sites. Salt air can corrode gear. Rinse coils and keep filters clean.
- Mountain jobs. Thin air changes airflow. Add units or re-balance fans.
I adjust my mix by month. It saves time and rental cost. It also reduces surprises with moisture absorbers for construction sites.
Product checklist and quick specs
Use this as a simple field checklist. It helps you set up fast.
- Space and leaks noted, with poly plan and tape on hand
- Dehumidifier type chosen for temp and RH target
- Air movers staged for corners and long halls
- Passive desiccants for sealed rooms and casework
- Hygrometers and slab test kits ready
- Safe power, GFCI, and tidy cord runs
- Drain plan with secured hoses and backups
- Daily log sheet or app with photo notes
- Warranty and adhesive limits reviewed with the installer
Rough sizing tips help too.
- Tight, small rooms. Passive packs can work well if doors stay shut.
- Mid-size spaces. One or two LGR units often do the job if well sealed.
- Very cold jobs. Use a desiccant unit. Refrigerant units can ice up.
- High moisture loads. Pair active units with air movers and extra sealing.
Keep it simple. Start sealed. Measure. Adjust. This approach makes moisture absorbers for construction sites deliver consistent results.
Frequently Asked Questions of moisture absorbers for construction sites
What is the best time to use moisture absorbers on a site?
Use them as soon as wet work starts or after any water event. Early control avoids delays and protects finishes.
Do passive desiccants replace dehumidifiers?
No. Passive packs are great in sealed, small spaces. Large or leaky areas need active dehumidifiers for real results.
How long should I run the equipment?
Run until readings meet spec and stay stable for at least 24 to 48 hours. Keep logging during the finish install window.
Are moisture absorbers safe around workers?
Yes, when used as directed. Follow labels, secure cords and hoses, and provide clear walk paths.
Can I dry concrete faster with heat alone?
Heat helps, but you need dry air and airflow too. Always verify with proper slab tests before installing floors.
How do I know if I need a desiccant unit?
If the space is cold or you need very low RH, choose a desiccant. They work well below the comfort range for refrigerant units.
Will moisture absorbers void product warranties?
No, they often help you meet warranty limits. Always follow the product data and record your readings.
Conclusion
Moisture control is not guesswork. With the right plan, tools, and checks, you can keep materials safe, hit specs, and protect your schedule. Choose the right mix of passive and active gear, seal the space, and log your numbers. Small habits lead to big wins.
Put a simple plan in place today. Walk your site, pick your targets, and deploy the right moisture absorbers for construction sites. Want more guides like this? Subscribe, share this with your team, or leave a question for a tailored setup.