Start at visible stains, trace upward and outward, measure humidity, and test each suspect.
You’re here to learn how to find moisture source in home, and you’re in the right place. I’ve spent years tracking leaks, taming condensation, and solving mystery stains. In this guide, I’ll show you how to find moisture source in home step by step, with simple tests, real-world tips, and a method that works in any climate and any house.

Why moisture matters and the signs you should never ignore
Moisture is sneaky. It can damage wood, ruin drywall, and invite mold. It also hurts indoor air quality and makes your home feel clammy. Small issues turn big fast.
Here are early flags to catch:
- Musty odors after rain or in closed rooms
- Brown stains, peeling paint, or bubbling drywall
- Foggy windows, sweating pipes, or rust on fasteners
- Swollen trim, cupped wood floors, or loose tiles
- White powder on masonry called efflorescence
Knowing these signs is the first step in how to find moisture source in home. If you spot more than one sign in the same area, move it to the top of your list.

Start here: a quick diagnostic checklist
When I walk into a damp home, I run this quick routine. It narrows the source fast.
- Check the weather log. Did it happen after rain, snow, or a cold snap?
- Look top to bottom. Roof to attic to walls to floors to basement.
- Feel and smell. Warm and musty hints slow leaks. Cold and musty hints ground moisture.
- Measure humidity. Aim for 30–50% RH. Above 60% raises mold risk.
- Use a tissue test. Hold tissue at seams, vents, and outlets. Flutter means air leaks.
- Try a plastic sheet test on slabs or crawlspaces. Tape 16-inch plastic to the surface. If water beads under it in 24–48 hours, moisture is wicking up.
- Check the water meter. If it spins when all fixtures are off, you likely have a plumbing leak.
A checklist like this is the backbone of how to find moisture source in home.

Know the five ways moisture gets in
Not all moisture problems act the same. Match the symptom to the pathway to avoid wild goose chases.
- Liquid leaks from rain or plumbing: Think roof flashing, window frames, supply lines, and drains. Stains often show drip paths and rings.
- Capillary wicking through materials: Brick, block, mortar, and wood can pull water upward. Look for damp at the base of walls and efflorescence.
- Air leaks carrying moisture: Warm, moist air hits cold surfaces and condenses. Common at rim joists, attic bypasses, and leaky ducts.
- Vapor diffusion through materials: Moisture moves from high vapor pressure to low. Slower than air leaks but steady.
- Built-in moisture from construction or flooding: New concrete and wet lumber need time to dry. Trapped layers can hold moisture for months.
Understanding these pathways is core to how to find moisture source in home. It’s like reading the map before the trip.

Room-by-room: where water hides and how to check
Every zone has classic failure points. Work through them methodically.
Attic and roof
- Look for dark sheathing, rusty nails, or frost in winter. That points to air leaks and poor ventilation.
- Verify bath fans vent outside, not into the attic.
- Inspect roof penetrations like vents and chimneys. Flashing is a top leak source.
Exterior walls, windows, and doors
- Check for cracked caulk, missing sealant, or failed flashing.
- Spray-test with a hose from low to high, in sections. Have a partner watch inside.
- Watch for drafts at trim. Air leaks often carry moisture.
Bathrooms
- Run the shower and check for drips around valves and drains.
- Confirm the fan clears steam within 10–15 minutes. If not, upgrade or clean the duct.
- Inspect toilet bases for staining. A rocking toilet can leak with every flush.
Kitchen and laundry
- Look under sinks and behind dishwashers. Feel supply lines and traps.
- Confirm the dryer vents outside with rigid duct. Lint and moisture in the room is a red flag.
- Check the fridge ice maker line and the floor beneath it.
Basements and crawlspaces
- Observe after rain. If damp spots rise at the base of walls, suspect grading or gutter issues.
- Look for vapor barriers. Bare soil in a crawlspace is a moisture pump.
- Note musty smell and rust on tools. Those are classic signs of high humidity.
HVAC system
- Inspect AC drain pans and lines for clogs or slime.
- Watch for sweating ducts in summer. That signals insulation or air leaks.
- Humidifiers can over-humidify. Set them carefully and verify RH.
I use this room-by-room pass in every job. It makes how to find moisture source in home feel simple and systematic.

Tools and tests that make the job easier
You do not need fancy gear to solve most cases. A few affordable tools go a long way.
- Hygrometer: Measures RH. Keep one on each level and in the basement.
- Pin or pinless moisture meter: Confirms wet drywall, trim, and subfloors.
- Infrared thermometer or thermal camera: Finds cold spots where condensation forms.
- Bright flashlight and inspection mirror: Reveal hairline cracks and drip trails.
- Incense or smoke pen: Tracks air leaks at outlets, rim joists, and attic hatches.
- Blue tape and a notepad: Mark and date every spot you test. Patterns tell the story.
Using the right tools helps you master how to find moisture source in home without guesswork.

Map the source with a simple workflow
This is my field method. It saves time and prevents repeat damage.
- Observe the pattern: Is the area wet only after rain, only in winter, or all the time?
- Take measurements: Log RH, temperature, and moisture readings for a week.
- Isolate variables: Turn off humidifiers, run bath fans, or shut the main water valve to split plumbing from weather issues.
- Stress test carefully: Hose-test walls from the bottom up. Run showers for 10 minutes and re-check. Never flood a roof or force water uphill.
- Track dry-down: Mark the edges of stains and check daily. Shrinking edges mean you found the main source.
- Re-check after the fix: Confirm readings. Do not restore finishes until levels hold steady.
This repeatable workflow is the heart of how to find moisture source in home. It focuses on evidence, not hunches.

Fixes and prevention by source type
Match the fix to the cause. That is how you stop moisture for good.
Rain and exterior leaks
- Clean gutters and extend downspouts at least 6 feet from the house.
- Improve grading. Aim for a 5% slope away from the foundation.
- Repair flashing at roofs, windows, and doors. Use proper shingle-style layering.
- Seal siding gaps with the right sealant for the material.
Ground moisture and capillary rise
- Install or repair perimeter drains and sump pumps if needed.
- Add a vapor barrier over soil in crawlspaces and consider full encapsulation.
- Seal foundation cracks with injectable epoxy or polyurethane.
- Consider exterior waterproofing if interior fixes are not enough.
Plumbing leaks
- Check shutoffs, supply lines, and traps. Replace old braided lines on sight.
- Use the water meter test to confirm hidden leaks.
- Open small test holes near stains to inspect framing. Fix and dry before closing.
Condensation from air leaks and high RH
- Air seal rim joists, attic bypasses, and top plates with foam and caulk.
- Insulate cold surfaces like ducts and water lines.
- Ventilate wet rooms. Use timed or humidity-sensing bath fans.
- Dehumidify basements and crawlspaces to maintain 30–50% RH.
Appliances and HVAC
- Clear AC drain lines and slope them correctly.
- Stop duct leakage with mastic. Leaky returns can pull damp air into the system.
- Vent dryers outside with smooth metal ducting.
These targeted actions are proven. They are the practical side of how to find moisture source in home and keep it dry long-term.
Real-world lessons from the field
I’ve chased more “phantom leaks” than I can count. Here are a few that still help me today.
- The attic frost trap: A client had winter ceiling spots. The roof looked great. The bath fan dumped into the attic. Frost built up, then melted on warm days. We vented outside and sealed attic bypasses. Spots vanished.
- The rocking toilet: A powder room ceiling stained every week. The toilet upstairs moved a hair when you sat. Each flush leaked at the wax ring. New flange, new ring, no more stains.
- The invisible grade problem: A basement wall was damp after every storm. Gutters were clean. But the mulch bed sloped toward the house. We regraded and added downspout extensions. Dry ever since.
These stories show how to find moisture source in home by checking the simple stuff first. Big fixes often start with small wins.
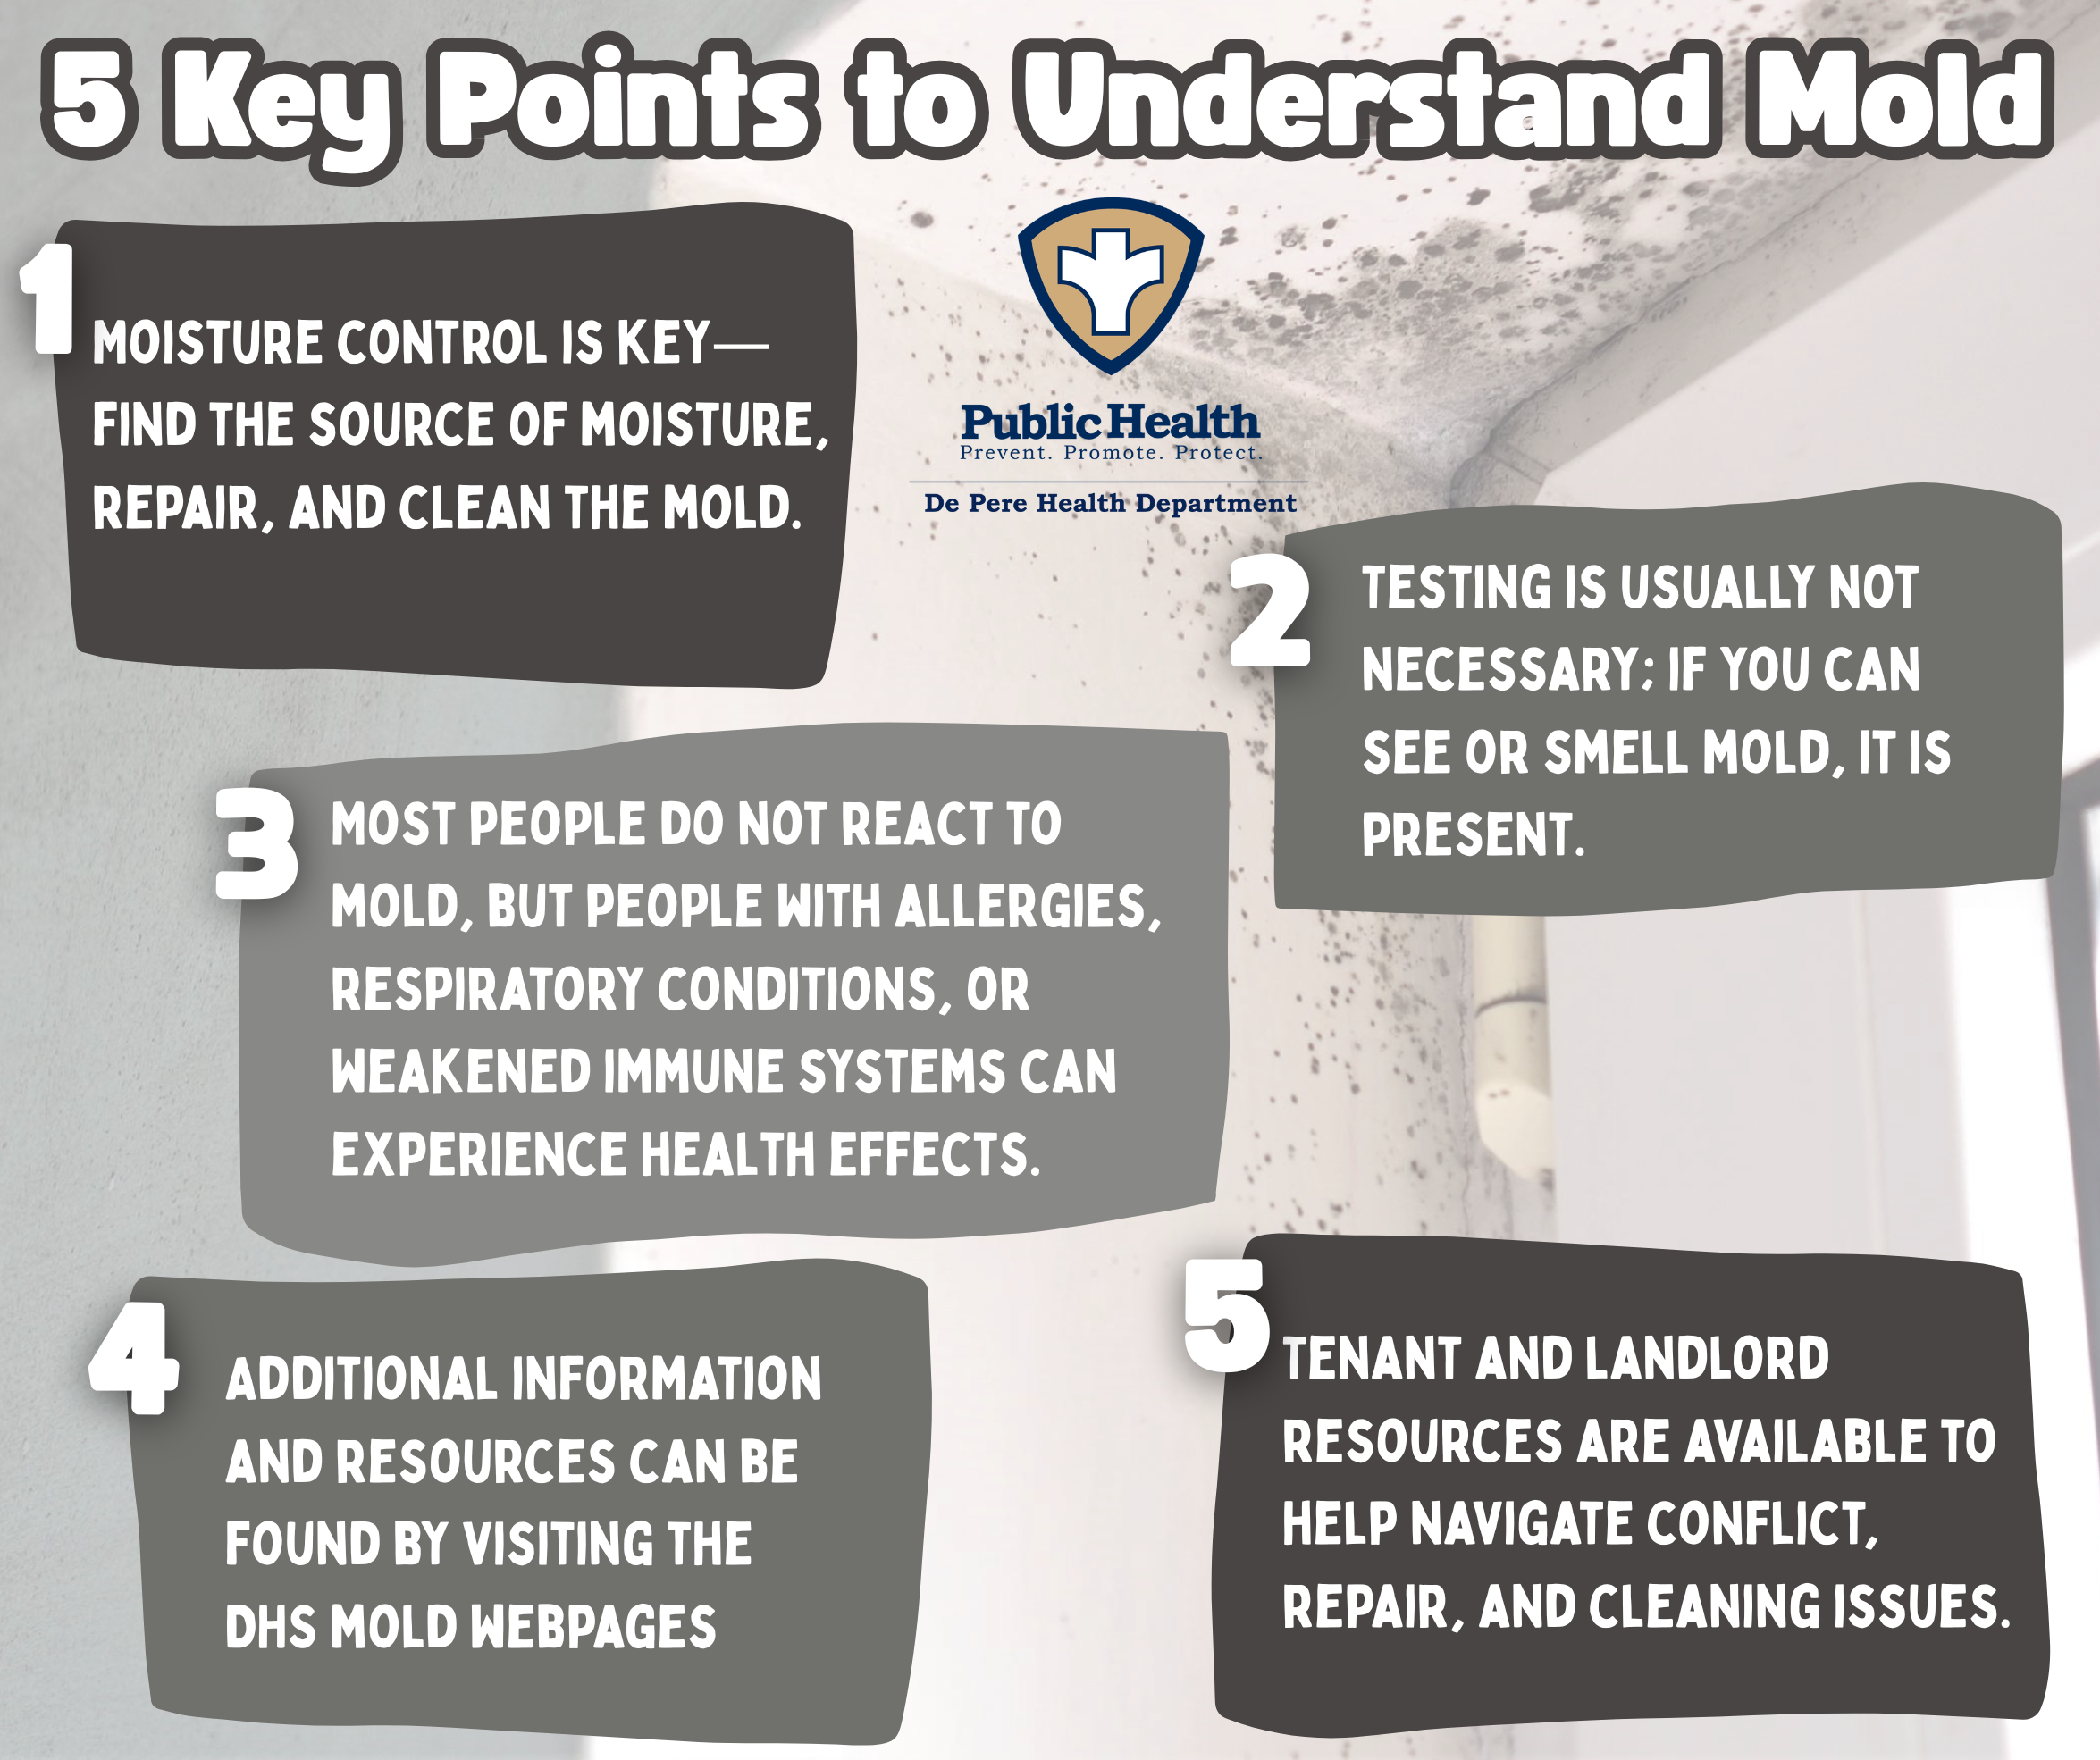
Safety and health: mold, air quality, and when to stop DIY
Moisture and time can create mold. Many strains are allergenic and can trigger asthma. Even without mold, dampness can increase dust mites and VOCs. Keep RH under 50% to lower risk.
Stop and call a pro if you see:
- Bulging ceilings or actively dripping lights
- Structural rot, spongy floors, or soft wall studs
- Strong sewer odors or drain backups
- Electrical panels or outlets near wet areas
- Widespread mold or health symptoms
Pros bring advanced tools and building science testing. That can be the fastest path in how to find moisture source in home when risks are high.
Costs and timing: what to expect
Budgets vary by source and scope. Here are common ranges from recent jobs I’ve seen.
- Gutter cleaning and extensions: low cost; half a day
- Bath fan upgrade with exterior venting: moderate cost; half a day
- Leak diagnosis and drywall repair: moderate cost; 1–2 days plus dry time
- Foundation crack injection: moderate cost; a few hours
- Crawlspace encapsulation: higher cost; 2–4 days
- Roof flashing repair: moderate to higher cost; 1 day
Set aside time for dry-out. Wood and drywall can take days to weeks to reach safe moisture levels. Be patient. Rushing paint or finishes can trap moisture and cause future damage.
Frequently Asked Questions of how to find moisture source in home
What is the fastest way to tell if it’s a plumbing leak?
Shut off all fixtures and watch your water meter. If it moves, you likely have a supply-side leak. If not, focus on rain, condensation, or drains.
How can I tell condensation from a roof leak?
Condensation appears in cold weather and on cold surfaces, often in corners or near metal. Roof leaks follow rain and leave drip paths or rings under penetrations.
What humidity level should I keep indoors?
Aim for 30–50% RH. In very cold weather, go closer to 30–40% to avoid window condensation.
Will paint or primer stop a moisture stain?
Stain-blocking primer hides the mark, but it will not stop water. Fix the source, dry the area, then seal and repaint.
Do dehumidifiers fix every moisture problem?
They help with damp air and slow diffusion, but they will not fix liquid leaks. Address leaks and air sealing first.
Is a thermal camera worth it?
It helps find cold spots and hidden damp areas. It does not see moisture directly, so always confirm with a moisture meter.
Conclusion
Moisture problems look messy, but they follow rules. Start with simple checks, track patterns, and test one change at a time. That is how to find moisture source in home without stress or guesswork.
Take action today. Grab a hygrometer, walk your home, and note what you see and smell. Fix the easy wins first, like gutters, fans, and small leaks. If you hit a wall, bring in a pro with the right tools. Want more tips like this? Subscribe, share your questions, or drop a comment with what you’re tackling next.