Wear gloves, open the reservoir, pour liquid in a drain, then rinse.
If you want a clean, safe home, learning how to empty moisture absorber the right way matters. I’ve handled many types in basements, closets, RVs, and rentals. In this guide, I show you how to empty moisture absorber step-by-step, avoid common mistakes, and keep humidity in check with simple tips you can trust.
Safety first: gear and prep
Emptying a moisture absorber is simple, but the liquid can be salty and corrosive. A few quick steps will protect your skin, floors, and pipes.
- Wear gloves and, if you have them, safety glasses.
- Work over a sink, tub, or floor drain with running water.
- Keep pets and kids away from the area.
- Open a window or turn on a fan for airflow.
- Read the label for any brand-specific steps.
Spills can leave white marks on floors or metal. Have paper towels and warm water ready. If you get it on your skin, rinse with plenty of water.
Know your moisture absorber type
Different products empty in different ways. Knowing which one you have makes the job quick and safe.
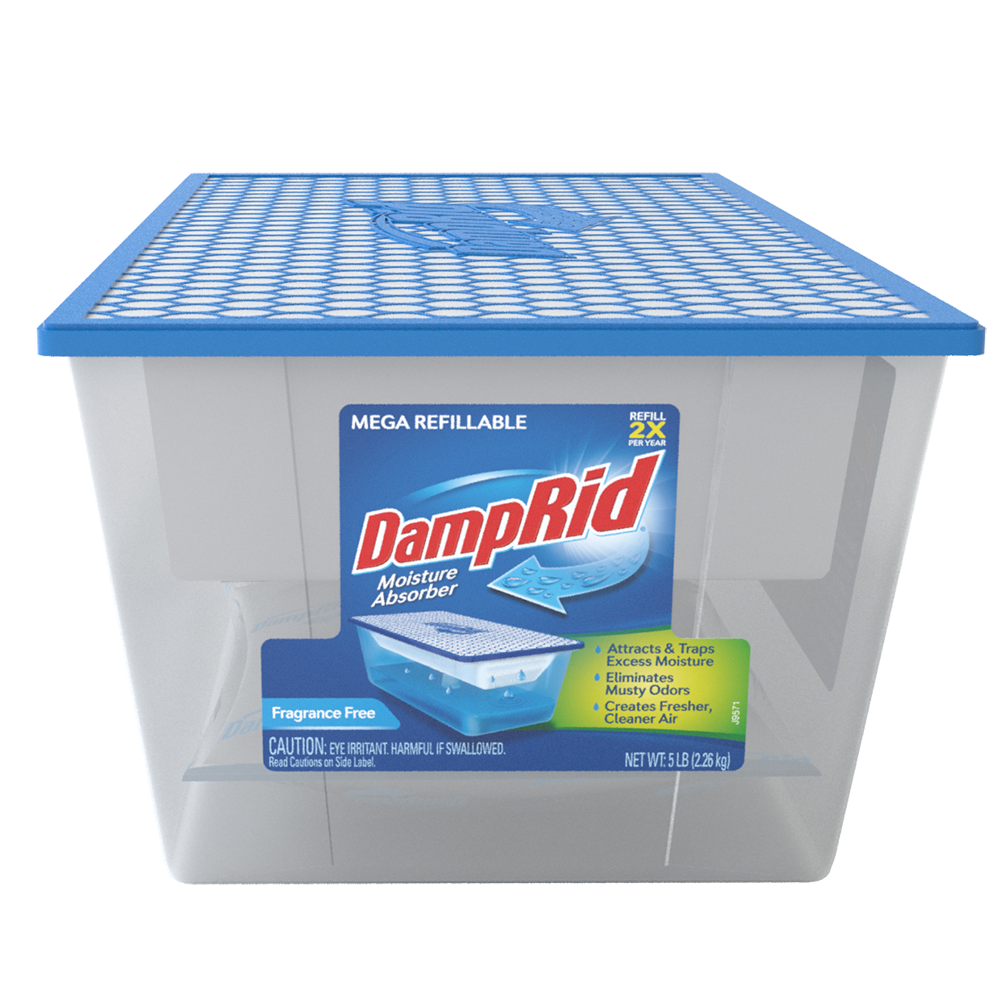
- Disposable tubs and hanging bags: Often hold calcium chloride crystals that turn into a salty liquid brine. Brands like DampRid work this way.
- Refillable containers: A sturdy cup or bucket with replaceable crystals and a drainable chamber.
- Reusable desiccant canisters or bags: Often use silica gel or clay. They do not hold liquid. You recharge them by drying in an oven or a plug-in base.
If you see liquid, it is likely calcium chloride solution. It dissolves in water and is usually safe for household drains in small amounts. Always check the label and follow local rules.

Step-by-step: how to empty moisture absorber
Below are clear steps for each common style. Use the set that matches your product. This is the easiest way to learn how to empty moisture absorber without mess.
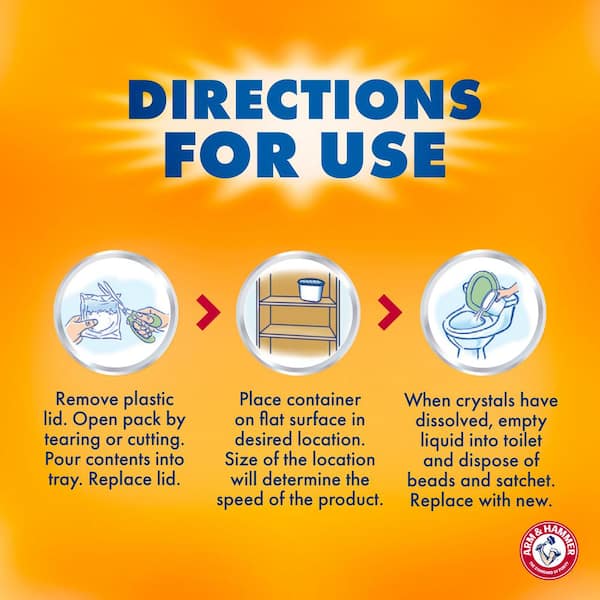
Disposable tubs and hanging bags (calcium chloride brine)
- Set up the area
- Put on gloves. Place the unit over a sink or tub.
- Turn on cool to warm water at a light stream.
- Open and pour
- Remove the lid or bottom cap as directed on the label.
- Pour the liquid into the drain while water runs. Do not pour into a storm drain or outside.
- Rinse and clean
- Rinse the empty chamber with warm water to remove salt.
- If it is a single-use container, check if the plastic is recyclable after rinsing. If not, throw it in the trash.
- Wipe spills
- If any brine touches metal or floors, wipe and rinse the area.
- Dry the area to prevent stains or corrosion.
Tip: If crystals remain, add warm water to dissolve them before pouring. This reduces clogs and makes it easy to empty.
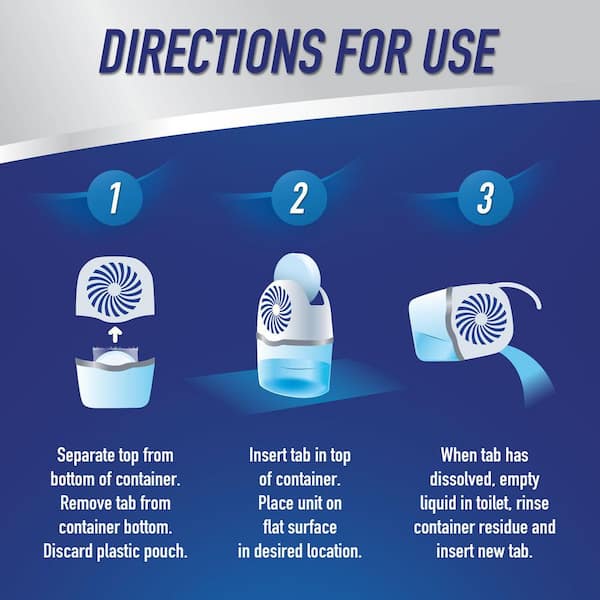
Refillable moisture absorber containers
- Separate parts
- Remove the top tray with crystals. Set it aside on a plate or in a bowl.
- Empty the base
- Slowly pour the liquid into a sink with running water.
- Rinse the base with warm water.
- Refill and reassemble
- Add fresh crystals to the top tray, following the fill line.
- Reattach the top. Place the unit back in the room.
Pro move: If you are still learning how to empty moisture absorber in refillable units, place a towel under the container for the first few tries.
Reusable silica gel canisters and desiccant bags
- These do not get filled with liquid. Do not cut them open.
- Recharge per the label. Most dry in an oven at low heat, or in an electric base until the indicator changes color.
- Place back in the area once fully dry.
When you know how to empty moisture absorber for each type, the whole task takes five minutes or less.

Disposal and environmental rules
Follow local rules for the best and safest disposal. Here is what most labels and municipal guides suggest.
- Liquid disposal: The calcium chloride brine is water-soluble. For small household amounts, pour into a sink or tub with running water. Avoid septic shock by using plenty of water. Do not pour into storm drains, yards, or planters.
- Container disposal: Rinse plastic parts and check the recycle code. If your local program does not accept it, place it in the trash.
- Do not pour on metal or concrete outdoors: It can cause rust or surface marks.
- Keep out of reach: The brine is not for pets or kids. Rinse spills right away.
Industry safety sheets state that calcium chloride solutions are drain-safe in small amounts with lots of water. But local rules vary. If you are unsure, call your waste agency.

Troubleshooting, pro tips, and mistakes to avoid
I’ve emptied dozens of units in damp basements and tiny closets. These tips come from real messes and quick fixes.
- Crystals stuck in the tray: Add warm water to dissolve them. Wait a minute. Pour again.
- Cloudy or slimy liquid: This is normal brine. It is not mold. Keep water running while you pour.
- Sink clogs worry you: Pour slowly. Keep water running. Rinse for 30 seconds after.
- White residue on surfaces: Wipe with a damp cloth. Rinse and dry. It is just dried salt.
- Musty smell returns fast: You may need a bigger unit or more than one. Measure humidity with a small hygrometer and aim for 45–50%.
- Rust on nearby metal: Move the absorber a few feet away. Place a tray under it. Salt vapor can travel a bit in very damp spaces.
If you feel unsure about how to empty moisture absorber without spills, practice over a tub the first time. It is low stress and easy to rinse.
Maintenance: refills, placement, and when to replace
Good habits keep moisture under control and save you money.
- Check level often: Peek once a week in wet seasons. Empty before it overflows.
- Replace on time: Most tubs last 1–2 months in damp rooms. Hanging bags can last longer in mild seasons.
- Place well: Keep off carpets. Set on a shelf, tray, or windowsill. Keep away from vents and direct sun.
- Size it right: Big basement? Use a large bucket style or several small tubs. Track humidity with a meter.
- When to switch: If humidity stays high after you learn how to empty moisture absorber on schedule, add a small dehumidifier.
I swap refills at the start of each rainy month and before holiday travel. This simple routine prevents surprise puddles and musty closets.

Alternatives to moisture absorbers
Sometimes you need more power or a different approach. These options help in very damp homes or large spaces.
- Electric dehumidifier: Best for basements and whole rooms. Set a target humidity and drain it with a hose to a floor drain.
- Ventilation: Run bath and kitchen fans for 20 minutes after use. Crack a window in mild weather.
- Heat and airflow: Use a small fan in closets or storage rooms to cut stale air.
- Building fixes: Seal leaks, add vapor barriers, and improve drainage outdoors.
If you keep asking how to empty moisture absorber and still fight damp walls or mold, a dehumidifier plus better airflow may be your fix. Use absorbers for closets, cabinets, cars, and short-term help, and the dehumidifier for the heavy lifting.

Frequently Asked Questions of how to empty moisture absorber
How often should I empty a moisture absorber?
Check weekly in wet weather and every two weeks in dry seasons. Empty when the bottom chamber is at least half full to prevent spills.
Is the liquid safe to pour down the drain?
In small household amounts, yes, when you run plenty of water. Avoid storm drains and yards, and always follow the label and local rules.
Can I reuse the crystals after I empty the liquid?
No. Calcium chloride crystals dissolve and become brine. Replace them with fresh crystals or a refill pack.
What if I spill the brine on metal or wood?
Wipe it up right away and rinse with water. Dry the area to prevent rust or stains.
How do I know if I need a dehumidifier instead?
If humidity stays above 60% or musty smells keep coming back, go bigger. A dehumidifier controls whole-room moisture better than small tubs.
What is the safest way to learn how to empty moisture absorber the first time?
Do it over a tub or large sink with gloves on. Keep water running and go slow.
Can I empty a moisture absorber into a toilet?
Yes, in small amounts with an extra flush and running water. Pour slowly to avoid splashes and wipe the seat or base if needed.
Conclusion
Emptying a moisture absorber is quick work when you know the steps. Wear gloves, pour the liquid into a sink with running water, rinse the container, and refill or recycle as directed. Keep an eye on humidity, place units well, and scale up to a dehumidifier if the space stays damp.
Try one of the step-by-step methods today and see the difference in air feel and smell. If this guide helped, share it with a friend, subscribe for more home care tips, or drop your questions in the comments so I can help you fine-tune your setup.