DIY moisture absorbers reduce humidity fast using affordable salts, gels, or charcoal.
If you want dry closets, fresher air, and fewer mold worries, you’re in the right place. I’ve built and tested many DIY moisture absorber setups in homes, cars, basements, and RVs. In this guide, I’ll show you how a DIY moisture absorber works, which materials to pick, and how to make safe, low-cost versions that beat store brands in both price and performance.
What is a DIY moisture absorber and why it matters
A DIY moisture absorber is a simple setup that pulls water from the air. It helps stop musty smells, mold, and rust. Most homes feel best at 30% to 50% indoor humidity. If your space feels damp or smells stale, a DIY moisture absorber can help fast.
I use them in closets after rainy weeks and in a basement office. The change is clear within days. Clothes smell clean, walls stay dry, and windows fog less. You can build one in minutes with items you may already have.

How moisture absorbers work
Moisture absorbers use desiccants. These are materials that attract water. Calcium chloride and rock salt absorb water and turn it into a brine. Silica gel and activated charcoal hold water on their surface. Baking soda soaks up some water and traps odors.
Think of the air like a damp sponge. A DIY moisture absorber squeezes that sponge. The material either stores the water as a liquid or holds it in tiny pores. This simple action lowers humidity near the device and helps the whole room over time.
Choosing the right materials
Each material has strengths. Pick what fits your space, budget, and safety needs.
- Calcium chloride pellets: Strong water pull. Great for very damp rooms. Can drip brine, so use a container and a catch cup.
- Rock salt (halite): Good pull and easy to find. Slower than calcium chloride. Also creates brine.
- Silica gel beads: Reusable and neat. No brine if used right. You can dry them in an oven to recharge.
- Activated charcoal: Helps with odors and some moisture. Best as a support with other desiccants.
- Baking soda: Cheap and safe. Modest moisture control. Best for small spaces like shoes or drawers.
- Bentonite clay/kitty litter (unscented): Absorbs moisture and odors. Works well in closets and storage bins.
Safety notes:
- Keep salts and brine away from metal, leather, pets, and kids.
- Do not eat. Store in a sealed bag or jar when not in use.
- Label each DIY moisture absorber so no one mistakes it for food.

Step-by-step DIY moisture absorber methods
Use these proven builds. Each one takes minutes and costs little.
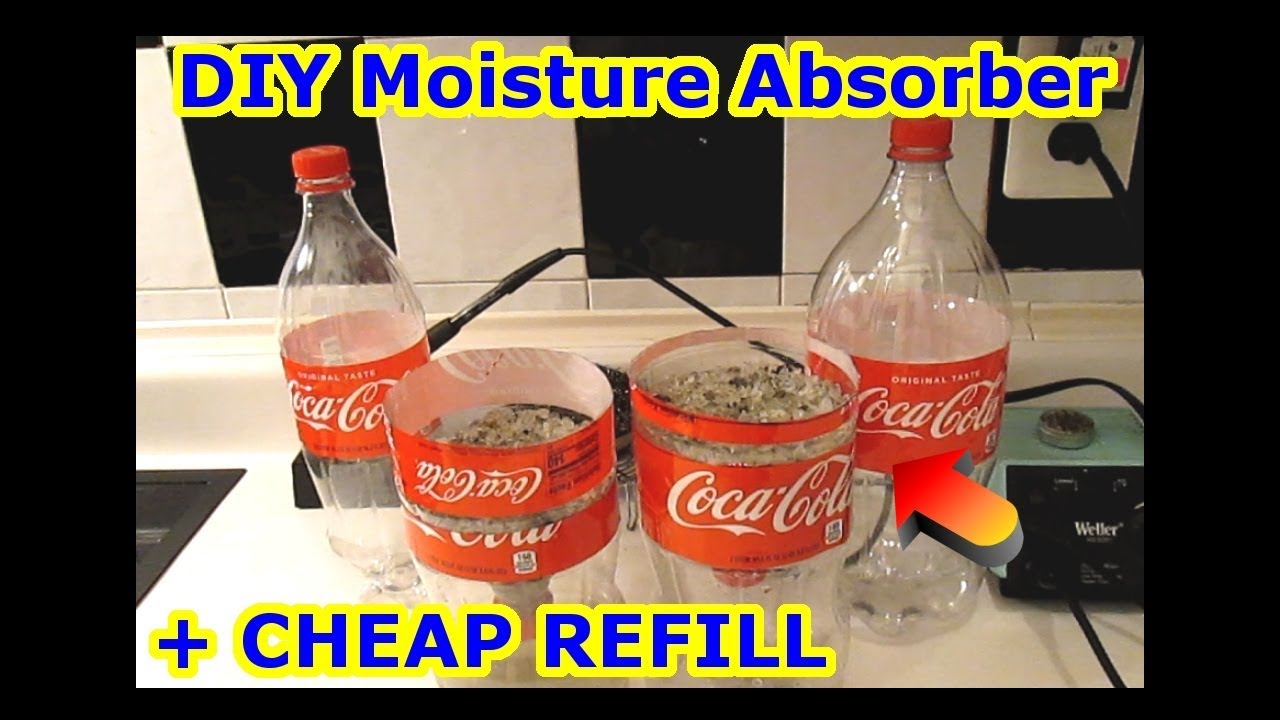
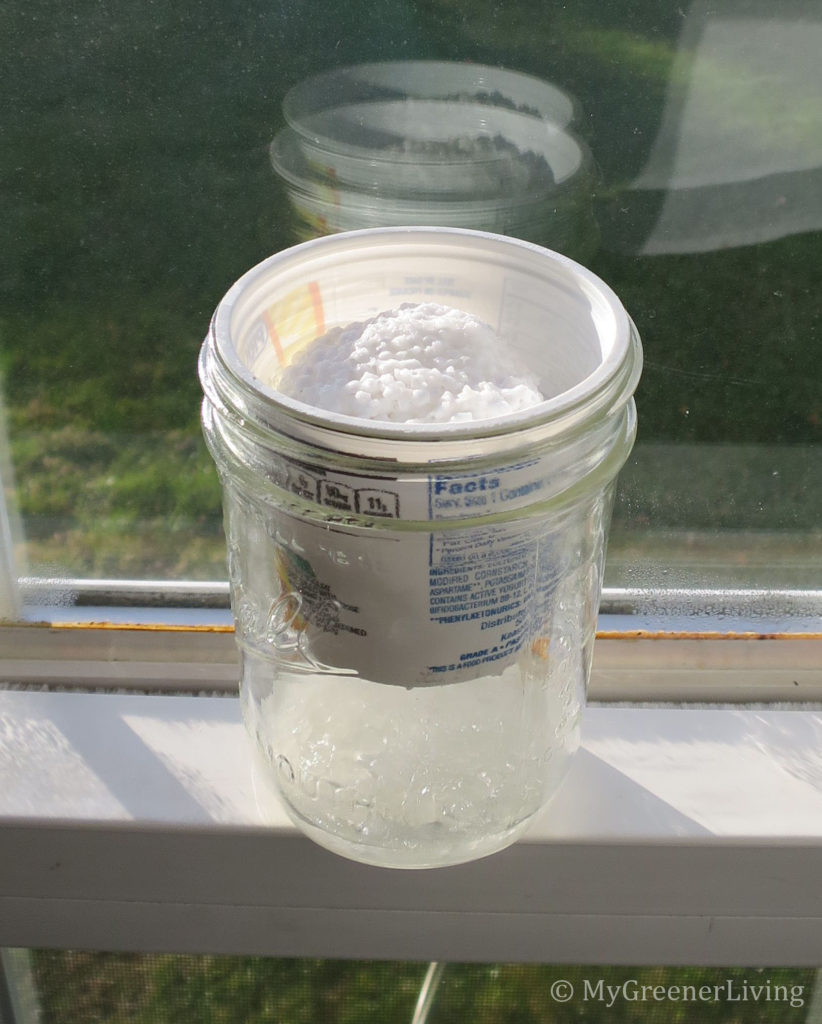
Method 1: Jar-and-cup calcium chloride trap
- Take a wide jar and place a small mesh cup or cut plastic cup on top.
- Fill the top cup with calcium chloride pellets.
- Seal the jar mouth with breathable fabric and a rubber band.
- The pellets pull water. Brine drips into the jar. Empty when half full.
Method 2: Sock or pouch with silica gel
- Fill a clean cotton sock with silica gel beads.
- Tie the end tight and place it in a closet or drawer.
- When beads change color or feel heavy, dry them in the oven per package guidance.
Method 3: Rock salt bucket
1) Drill small holes in the bottom of a plastic bowl.
2) Place it inside a larger bucket.
3) Add rock salt to the bowl. Brine drips into the bucket. Empty the bucket as needed.
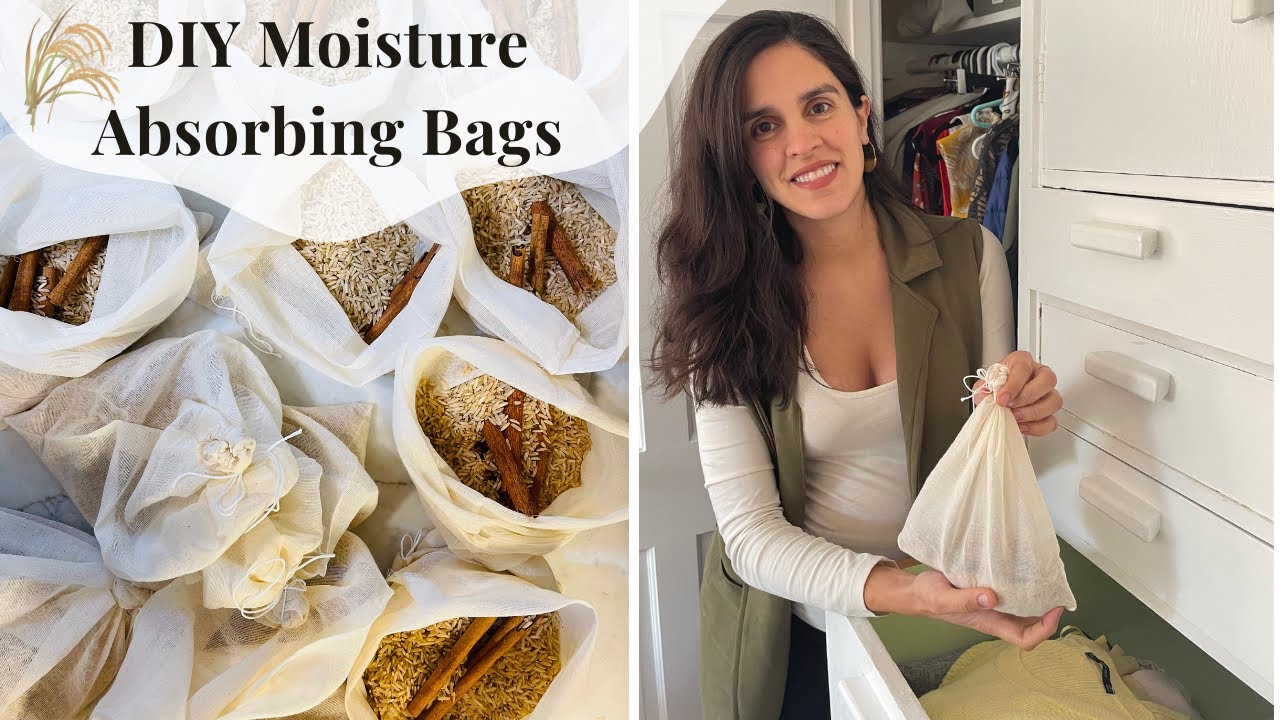
Method 4: Charcoal odor-and-moisture pouch
- Fill a small cloth bag with activated charcoal.
- Place it near shoes, gym bags, or a small bathroom.
- Recharge in sunlight for a few hours each month.
Method 5: Baking soda mini-catcher
- Pour baking soda into a shallow dish.
- Place it in a cabinet, under a sink, or in a fridge.
- Replace every 2 to 4 weeks.
Pro tips from the field:
- Always add a drip tray when using salts that make brine.
- For a car, place pouches under seats and avoid direct contact with electronics.
- Use two DIY moisture absorber units for large or open rooms.

Where to use and placement tips
Use a DIY moisture absorber wherever damp air lingers. Good spots include closets, bathrooms, under sinks, basements, garages, attics, sheds, RVs, and boats. One unit per small room is a good start.
Place the unit off the floor if flooding is a risk. Keep it away from vents and doors so air has time to pass through the desiccant. If the smell is strongest in a corner, place the DIY moisture absorber there to target the source.
Safety, handling, and disposal
Some salts make a salty brine that can corrode metal and stain floors. Set your DIY moisture absorber on a plate or tray. Wear gloves when you empty liquid. Wash skin if contact occurs.
Do not mix collected brine with bleach or other cleaners. Most salts are drain-safe with lots of water, but check local rules. If unsure, seal brine in a leakproof container and place it with your regular trash per local guidance.
Maintenance, recharging, and lifespan
Check your DIY moisture absorber weekly at first. If brine rises fast, the space is very damp. Empty the catch cup before it gets full. Refill salts as they dissolve.
Silica gel and charcoal are reusable. Dry silica gel in an oven on low heat per bead guidance. Recharge charcoal in sunlight. Baking soda works for 2 to 4 weeks, then replace it.
Consider a cheap humidity gauge. It helps you see progress and prevent over-drying in small spaces.

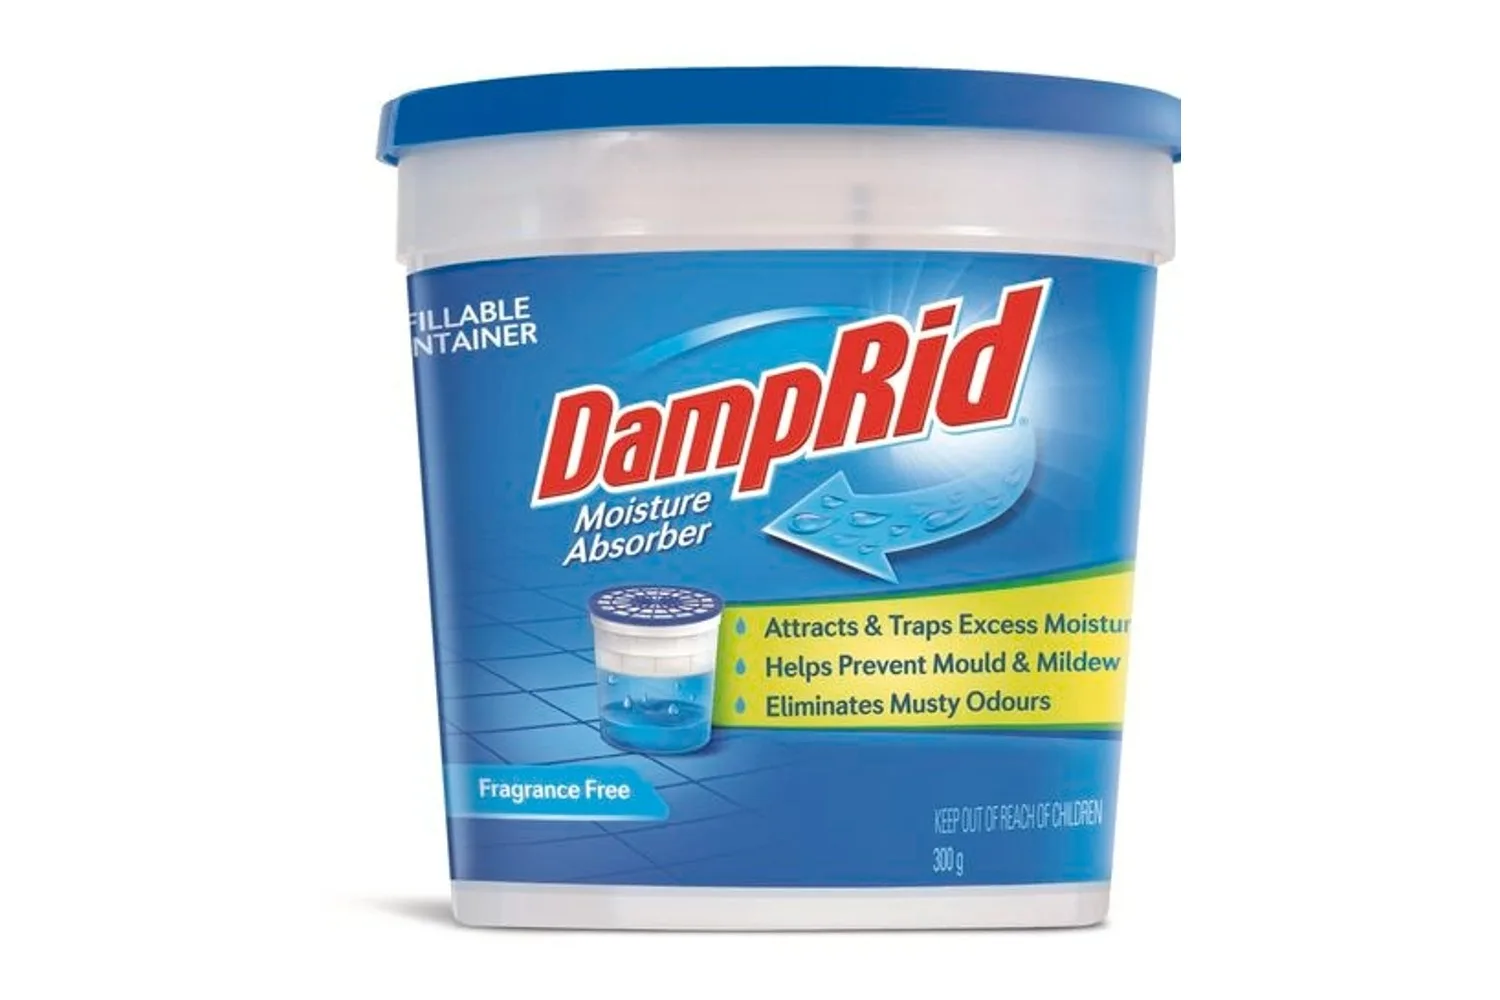
Cost, performance, and comparison to store-bought options
A DIY moisture absorber can cost pennies per day. Calcium chloride is very strong and often beats many store tubs in raw performance. Rock salt is slower but cheap and easy to get in bulk.
Silica gel costs more upfront but lasts for years if you recharge it. Baking soda and charcoal shine in small zones and for odor control. In tests at home, my calcium chloride jar cut closet humidity by about 10% in two days, while silica gel pouches kept drawers dry for weeks.
Troubleshooting and common mistakes
If your DIY moisture absorber seems weak, you may need more material or a tighter space. Reduce drafts so damp air has time to pass through the desiccant. Try two units on opposite sides of the room.
Leaking brine means the top cup holes are too big or the tray is missing. Upgrade to a finer mesh and a deeper catch jar. If musty odors remain, clean visible mold, boost airflow, and add an odor-focused pouch like charcoal.
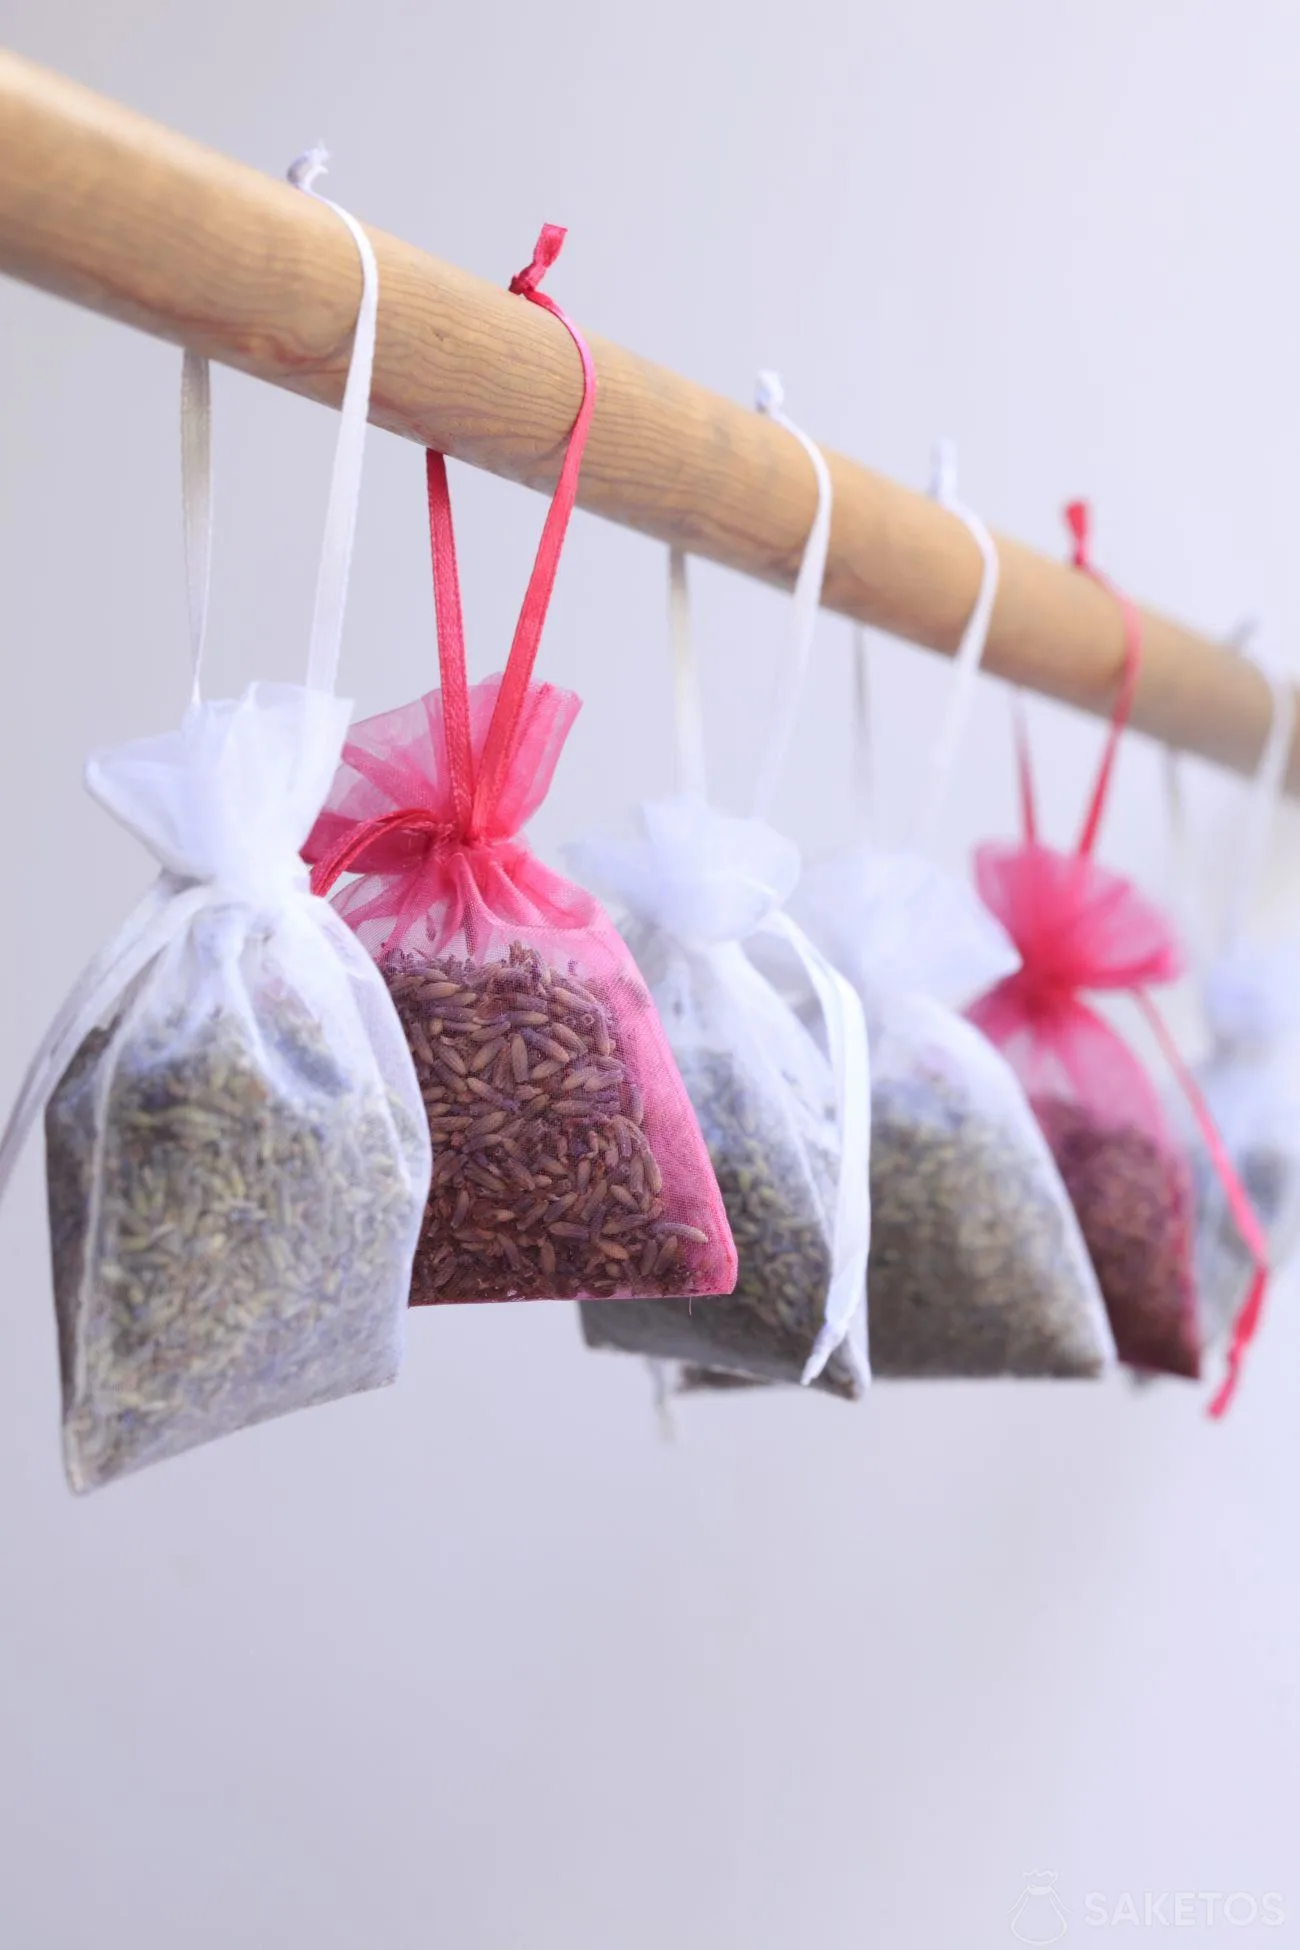
Eco-friendly and scent options
To stay green, pick reusable options like silica gel or charcoal pouches. Use cotton or linen for bags and avoid plastics when you can. Refill and recharge instead of throwing away.
For a light scent, add a few drops of essential oil to the pouch fabric, not the desiccant. Lavender, lemon, or tea tree smell fresh. Keep scents light to avoid headaches in small rooms.
Frequently Asked Questions of DIY moisture absorber
What is the best DIY moisture absorber for a very damp room?
Calcium chloride is the strongest pick for heavy moisture. It pulls water fast but makes brine, so use a catch container.
How long does a DIY moisture absorber last?
It depends on humidity and size. Salts can last days to weeks, while silica gel can be recharged for years.
Is baking soda enough for a closet?
Baking soda helps, but it is modest. For a damp closet, use calcium chloride or silica gel pouches for better results.
Can I use a DIY moisture absorber in my car?
Yes, place pouches under seats and avoid spills. Silica gel or charcoal works well and is easy to remove or recharge.
Will a DIY moisture absorber stop mold?
It lowers moisture, which mold needs. You still need to clean existing mold and fix leaks for lasting control.
Is rock salt safe around pets?
Keep all salts and pouches away from pets. If a spill happens, clean it fast and ventilate.
How do I know it’s working?
Use a humidity gauge or watch for less window fog and fewer musty smells. The desiccant will also feel heavier or form brine.
Conclusion
You do not need an expensive machine to tame damp air. A simple DIY moisture absorber, built with salts, silica gel, or charcoal, can cut humidity, curb odors, and protect your stuff. Start small in one problem spot, track humidity, and adjust as needed.
Try one method today and see how your space feels in a week. If you want more tips, subscribe for new projects, or drop a comment with your setup and results.