DIY works for small spaces; store-bought wins for performance and safety.
If you are weighing DIY vs store-bought moisture absorbers, you are in the right place. I test these in closets, garages, and RVs, and I have made every mistake so you do not have to. Below, I break down how each option works, where each shines, real costs, and safety tips. By the end, you will know exactly when DIY vs store-bought moisture absorbers make sense, and how to get dry air without wasting money or time.

How moisture absorbers work
Moisture absorbers pull water from the air and trap it. They use desiccants like calcium chloride or silica gel. When humidity is high, these materials grab water like a sponge.
This is not the same as a dehumidifier. A dehumidifier moves air with a fan and collects lots of water fast. Moisture absorbers are passive. They are slow, quiet, and best for small, closed spaces.
Aim for 45 to 55 percent relative humidity indoors. A small digital hygrometer can show your numbers. If your space is above 60 percent for days, mold risk goes up. That is when DIY vs store-bought moisture absorbers become a smart first step.
DIY moisture absorbers: simple builds that actually work
You can make DIY moisture absorbers with items you already have. Some work well. Some do not. I have tested most of them.
Reliable DIY options
- Calcium chloride ice melt pellets in a ventilated jar. High capacity, strong results in damp closets. Keep the liquid away from metal and floors.
- Baking soda in a shallow tray. Good for odors, light help with moisture in tiny spaces like drawers.
- Activated charcoal in a breathable pouch. Better for smells, limited for water.
Skip these
- Rice. It is for phones in myths, not rooms. Very low water uptake.
- Table salt. Works a little, but much weaker than calcium chloride.
Easy DIY setup that works
- Use two containers. Put holes in the lid of the top container. Fill the top with calcium chloride pellets. Place it over a bottom container to catch the brine.
- For drawers, fill a coffee filter or old sock with baking soda or charcoal. Tie it and replace it monthly.
Pros of DIY
- Cheap to start and easy to scale.
- Uses items you may already own.
- Flexible shapes for odd spaces.
Cons of DIY
- Mess risk from spills and brine.
- Lower and slower performance unless you use calcium chloride.
- More checks and refills.
Safety notes from my own use
- Calcium chloride brine is salty and can corrode metal and stain floors. Keep it on a tray.
- Keep all absorbers away from kids and pets.
- Label jars so no one thinks it is food.

Store-bought moisture absorbers: options, performance, and costs
Store-bought moisture absorbers are simple and strong. They come in tubs, hanging bags, and desiccant canisters.
Common types
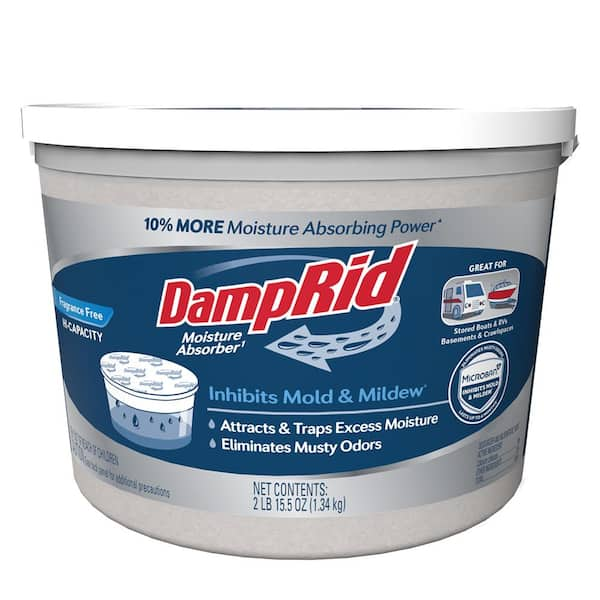
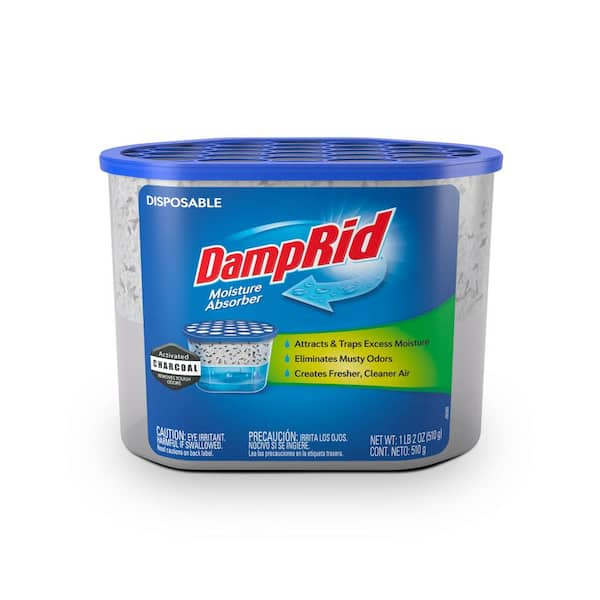
- Calcium chloride tubs and hanging bags. Very high capacity. Great for closets, bathrooms, and basements.
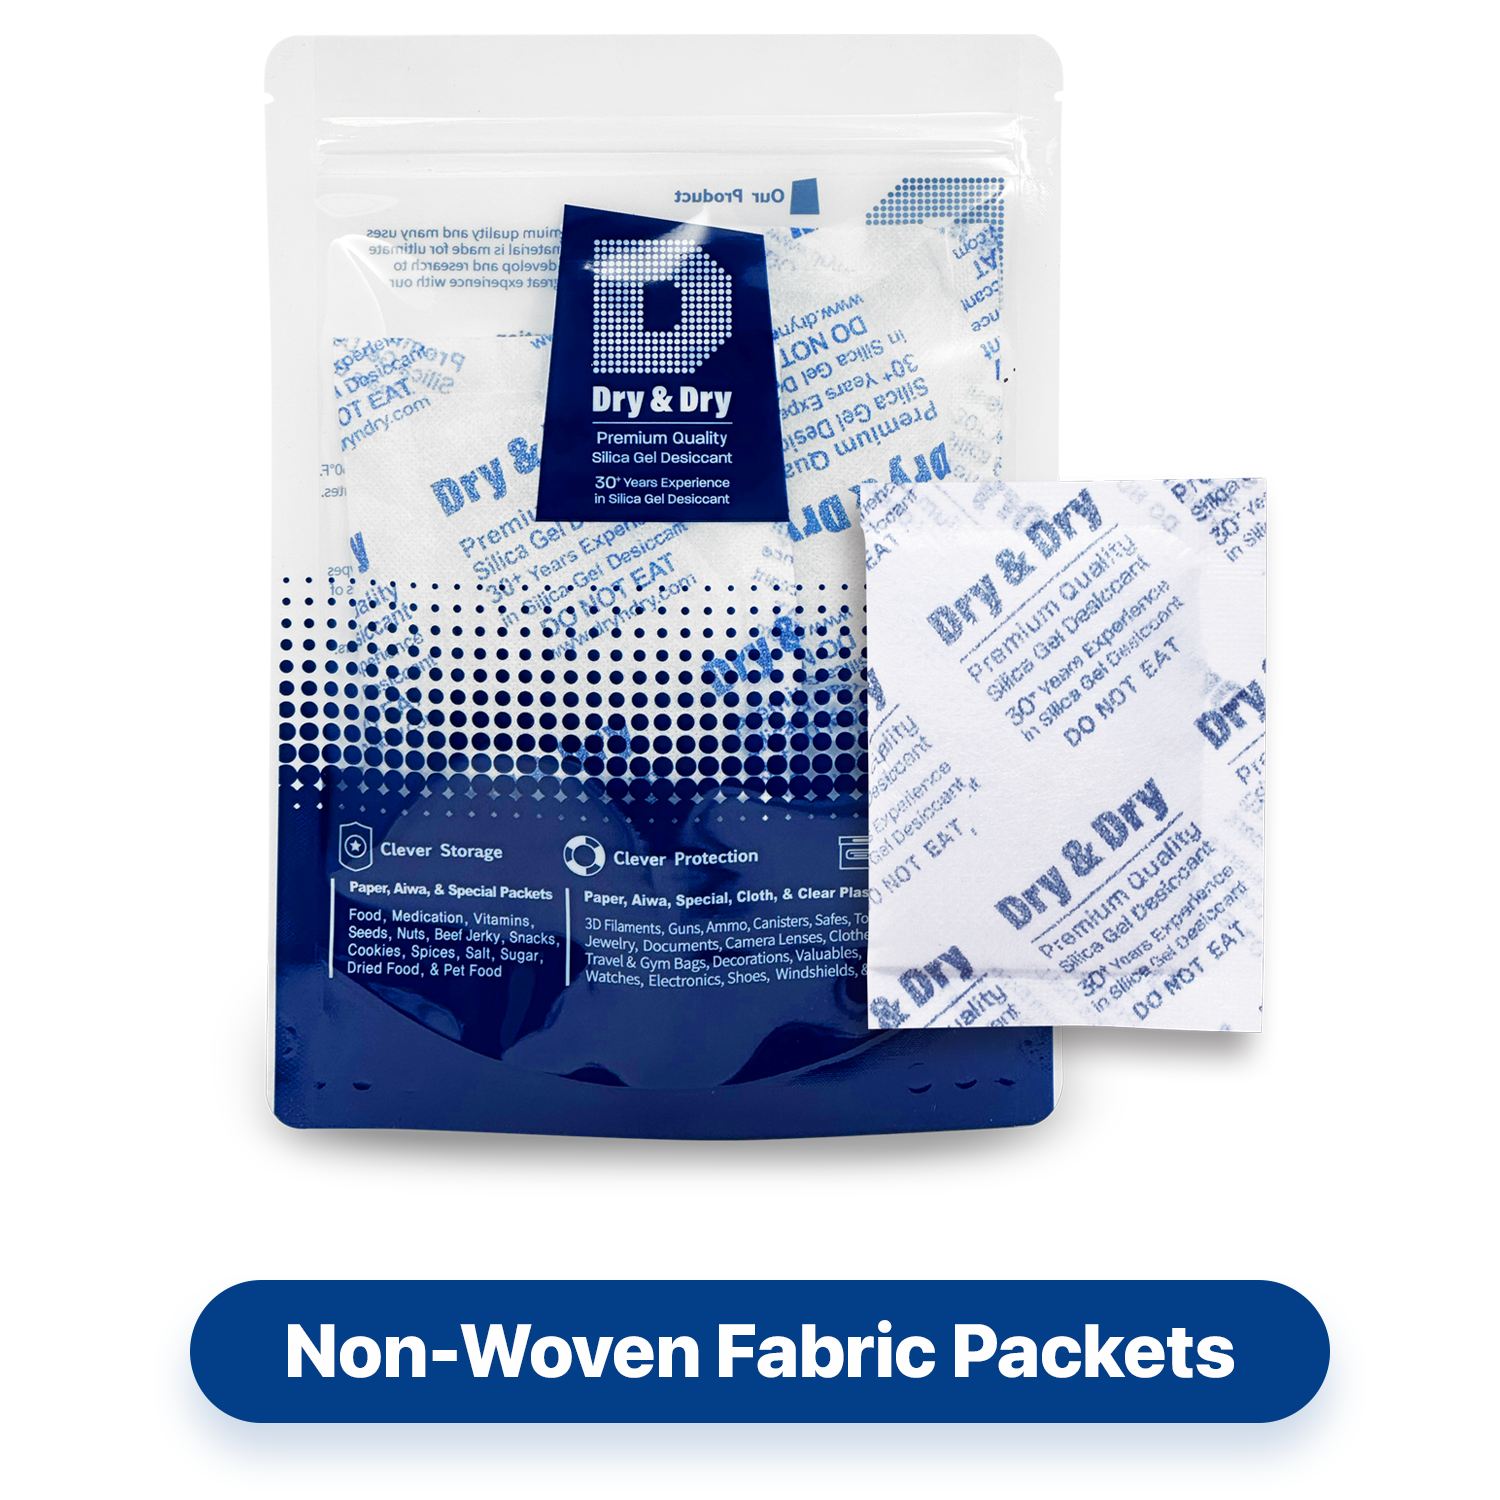
- Silica gel canisters and packs. Reusable by drying in an oven or plug-in heater. Best for safes, camera bags, and drawers.
- Clay desiccant packs. Natural and reusable. Lower capacity than silica gel.
What to expect
- Calcium chloride tubs can pull in several times their weight in water. Most last four to eight weeks in a small closet.
- Silica gel can hold about 20 to 40 percent of its weight in water. Some change color as they fill.
- Brands add spill guards and easy refill designs. These cut mess and save time.
Typical costs I see
- Calcium chloride tub or hanging bag: 5 to 10 dollars, lasts one to two months in a small space.
- Silica gel canister: 10 to 25 dollars, reusable for years.
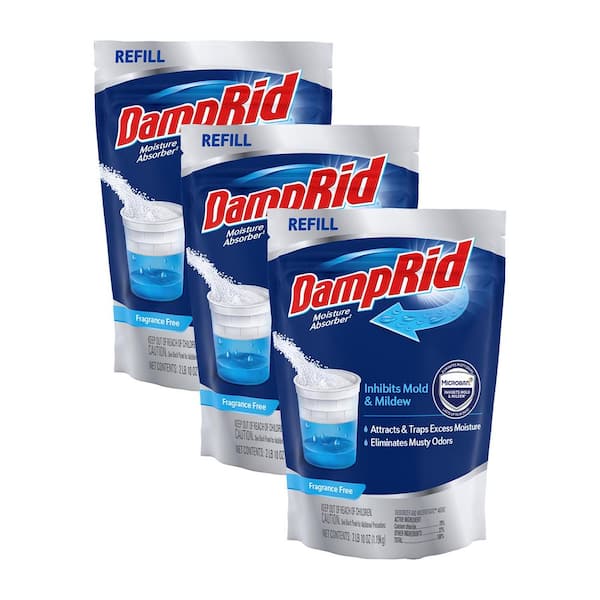
- Refill packs: 3 to 7 dollars each.
Pros of store-bought
- Strong, predictable performance.
- Safer designs with leak control.
- Less work to set up and maintain.
Cons of store-bought
- Higher upfront cost.
- Ongoing refills for calcium chloride styles.
- Plastic waste if you do not use refills.
DIY vs store-bought moisture absorbers: side-by-side comparison
Performance
- DIY calcium chloride works well if set up right. Baking soda and charcoal are weak for big moisture problems.
- Store-bought tubs are designed to handle brine. They seal, drain, and resist spills. This makes them better for high humidity.
Convenience
- DIY needs drilling lids, checking often, and careful placement.
- Store-bought is open-and-go. Hanging bags keep floors safe and save space.
Cost over time
- DIY with calcium chloride ice melt can be cheap per ounce. But it lacks spill protection.
- Store-bought refills cost more but save time and mess. Silica gel canisters win long term because you can recharge them.
Safety and mess
- DIY setups can tip or leak. Brine can damage floors, metal, and fabrics.
- Store-bought tubs include trays, filters, and covers to prevent spills.
Environmental impact
- DIY reuses containers. That is great.
- Store-bought silica gel can be reused many times. Choose refillable bodies to cut plastic waste.
- For any brine, follow local rules for disposal. Do not pour on plants or soil.
Bottom line for DIY vs store-bought moisture absorbers
- DIY wins for small, low-risk spots and tight budgets.
- Store-bought wins for steady, safe moisture control with fewer headaches.
Best use cases: where each option wins
Closets and wardrobes
- Store-bought hanging calcium chloride bags stop mildew and musty smells fast.
- DIY baking soda works for drawers and shoes. For full closets, use calcium chloride.
Bathrooms without fans
- Store-bought tubs manage daily moisture better. Empty them as directed.
- DIY can help, but keep brine far from metal fixtures and tile grout.
Basements and crawl spaces
- If damp is severe or space is large, use a dehumidifier first. Moisture absorbers are a helper, not the main fix.
- In small storage corners, store-bought tubs work well. DIY can work in sealed boxes.
RVs, boats, and cabins
- I use silica gel canisters in storage months. Recharge them each trip.
- Hanging calcium chloride bags help in shoulder seasons with swings in humidity.
Safes, camera bags, and electronics
- Silica gel is best. It is clean, reusable, and stable.
This is the real-world split for DIY vs store-bought moisture absorbers that I use when helping friends and clients.

Sizing, placement, and maintenance tips
Sizing rules of thumb
- Small closet or cabinet: one calcium chloride bag or a 10 to 16 ounce tub.
- Tight drawers or camera cases: one small silica gel canister or a few packs.
- If the room is large or musty every day, think dehumidifier first.
Placement
- Put absorbers high enough to avoid knocks and spills.
- Keep them out of airflow dead zones. Do not bury them in clothes.
- Use trays under DIY builds to catch drips.
Maintenance
- Check weekly at first. You will learn your space’s rhythm.
- Replace or recharge as soon as the indicator shows full or the tray fills.
- For DIY vs store-bought moisture absorbers, track cost and effort for one month. Choose the one you can keep up with.
Testing results and preventing mold for good
Use a hygrometer
- Place one in the space at chest height. Avoid corners and windows.
- Aim for 45 to 55 percent relative humidity most days.
Fix sources, not only symptoms
- Run bath and kitchen fans. Add door sweeps and seal leaks.
- Lift boxes off concrete floors. Add airflow with a small fan.
- If surfaces feel wet or smell musty, moisture absorbers alone are not enough. Add a dehumidifier and find the source.
This is where DIY vs store-bought moisture absorbers fit. They are tools, not magic. Use them with good airflow and fixes. That is how you keep mold away.

Mistakes to avoid and safety notes
Common mistakes
- Using rice or only baking soda for a damp room. It will not keep up.
- Letting brine touch wood or metal. It can stain and corrode.
- Ignoring humidity numbers. Guessing leads to wasted money.
Safety tips
- Keep chemicals away from kids and pets.
- Wear gloves when handling calcium chloride. Wash hands after.
- Avoid cobalt-dyed indicating silica gel dust. Choose modern, low-tox indicators.
For DIY vs store-bought moisture absorbers, the safest choice is the one you can maintain without spills or confusion.
Eco-friendly reuse and disposal
Smarter choices
- Choose refillable tubs and bulk refills to cut plastic.
- Recharge silica gel in the oven or with a plug-in unit. Follow label heat limits.
Disposal basics
- Do not pour calcium chloride brine on soil or near plants.
- Small amounts can often go down a sink with lots of running water. Check local rules.
- Rinse empty containers before recycling if your area allows it.
These steps keep DIY vs store-bought moisture absorbers effective and responsible.
Frequently Asked Questions of DIY vs store-bought moisture absorbers
Are moisture absorbers as good as a dehumidifier?
No. Absorbers work passively and are best for small, closed spaces. A dehumidifier moves air and can pull pints of water per day.
How long do calcium chloride tubs last?
In a small closet, they often last four to eight weeks. In damp seasons or rooms, expect faster fill times.
Can I reuse silica gel packs?
Yes. Heat them per label to drive off moisture, then reuse. Avoid overheating to prevent damage.
Is baking soda a real moisture absorber?
It absorbs some moisture but not much. It is better for odors and tiny spaces like drawers.
Which is cheaper, DIY or store-bought?
DIY can be cheaper up front, especially with calcium chloride pellets. Store-bought saves time and reduces spill risk, which can be worth the cost.
Will moisture absorbers stop mold?
They help by lowering humidity, but they do not kill existing mold. Clean mold safely and fix sources of moisture.
Are moisture absorbers safe around pets?
Keep them out of reach. Calcium chloride is harmful if swallowed and brine can irritate skin.
Conclusion
DIY vs store-bought moisture absorbers both have a place. DIY shines for tiny spots and tight budgets. Store-bought wins for cleaner handling, steady performance, and safer designs.
Pick based on space size, humidity level, and how much effort you want to spend. Start with a hygrometer, set one absorber, and check results in a week. Ready to take control of damp air? Try one method today, track your numbers, and share your results or questions in the comments.