Keep humidity under 60%, ventilate, seal cabinets, and fix leaks fast.
If you care about a clean, long-lasting bathroom, moisture control for bathroom cabinets is the secret sauce. I’ve helped homeowners rescue soggy vanities, stop mildew in its tracks, and choose smarter materials that actually hold up. In this guide, I’ll share field-tested steps, pro tips, and simple habits that make moisture control for bathroom cabinets easy and reliable.
Why moisture control for bathroom cabinets matters
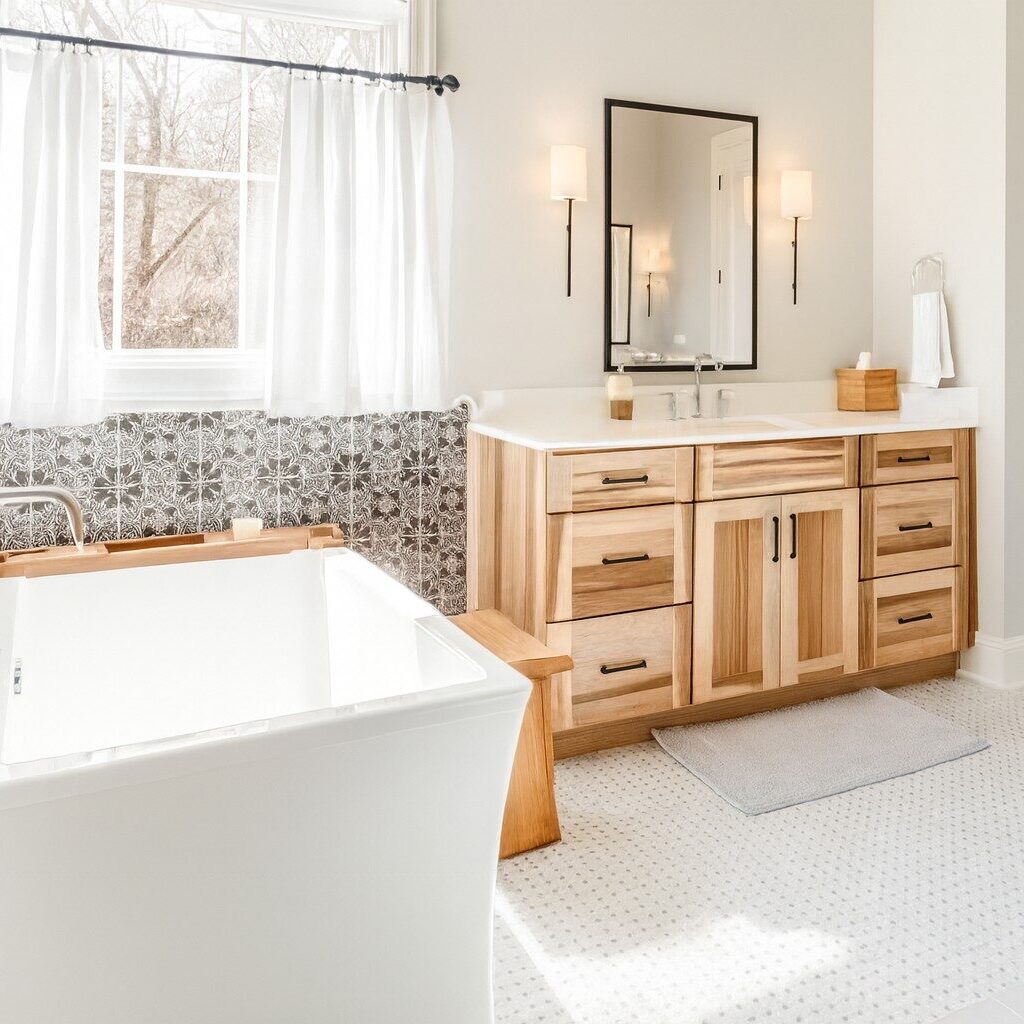
Moist air loves quiet places like under-sink cabinets. Trapped humidity swells wood, rusts hardware, and feeds mold. Good moisture control for bathroom cabinets protects your home, your health, and your wallet.
You can prevent most cabinet damage with three pillars. Ventilate well, seal well, and stop leaks early. Pair those with smart materials and your cabinets can look new for years.

How moisture sneaks in
Moisture control for bathroom cabinets starts by finding the source. Steam and drips add up fast, especially in tight spaces.
- Hot showers raise humidity fast and push moisture into cabinet gaps.
- Slow leaks from supply lines or P-traps wet wood over time.
- Condensation forms on cold pipes and then drips inside the cabinet.
- Overpacked cabinets trap damp air and block airflow.
- Bad caulk or sealant lets splash water wick into edges.

What moisture does to cabinets
If moisture control for bathroom cabinets is weak, damage shows up in stages. It starts small, then spreads.
- Wood swells, warps, and delaminates. MDF and particleboard fail fast.
- Finishes peel, veneers bubble, and edges chip.
- Hinges rust, slides stick, and doors sag.
- Musty smells appear, and mold finds a home.
I once opened a vanity that looked fine outside. Inside, the base crumbled like a cracker. A slow drip had done the work. Since then, I install leak sensors as standard.

Measure and monitor: get the numbers right
You cannot manage what you cannot measure. Aim for indoor relative humidity between 30% and 50%. Keep it under 60% to limit mold growth. That target is backed by industry and public health guidance.
Use a small digital hygrometer inside the cabinet. Place it near the back where air is still. Log readings during and after showers. If numbers stick above 60%, your moisture control for bathroom cabinets needs upgrades.
Ventilation that works: fans, ducts, and airflow
Strong ventilation is the backbone of moisture control for bathroom cabinets. Size your exhaust fan right. A simple rule is 1 CFM per square foot, with a 50 CFM minimum. Most bathrooms do best at 80 to 110 CFM.
Run the fan during the shower and 20 to 30 minutes after. Use a humidity-sensing switch if you forget. Keep duct runs short and smooth. Use a 4 to 6 inch duct and a tight exterior flap. Leave a small gap under the door to let air in. That air feeds the fan and helps dry the cabinet area.
I switched a client from a noisy 50 CFM unit to a quiet 110 CFM, low-sone fan. Their under-sink hygrometer dropped from 70% to 48% RH within a week. The musty smell vanished.

Seal and protect the cabinets
Sealing is your shield in moisture control for bathroom cabinets. Focus on edges, cutouts, and seams. Those are the paths water loves.
- Seal raw cut edges with polyurethane or spar varnish.
- Paint inside edges of sink cutouts and pipe holes.
- Use silicone caulk along backsplashes and sink rims.
- Add edge banding on plywood or MDF fronts.
- Line bases with a waterproof tray or mat with a small lip.
Always caulk gaps at wall meets cabinet. Leave drainage paths visible so you can spot leaks fast. Do not seal in a way that hides active drips.

Smart storage and daily habits
Little habits make big wins in moisture control for bathroom cabinets. Keep it simple and steady.
- Do not overpack the cabinet. Air needs room to move.
- Store cleaners in sealed bins to limit vapor and spills.
- Hang towels so they can dry. Do not stuff them below the sink.
- Wipe up splashes right away. Do a quick weekly check inside.
- Crack doors for 10 minutes after hot showers if humidity runs high.
I keep a microfiber towel on a hook inside my own vanity. Quick wipe, problem solved.

Leak defense: plumbing, sensors, and drip plans
Leaks beat any sealant if you ignore them. Build a plan into your moisture control for bathroom cabinets.
- Use braided stainless steel supply lines and replace every 5 to 7 years.
- Upgrade to quarter-turn ball valves for fast shutoff.
- Tighten fittings snug, then add a small quarter turn. Do not overtighten.
- Place a water leak sensor in the cabinet base. Smart sensors send alerts.
- Add a drip tray under the P-trap to catch the first sign of trouble.
I caught a pinhole leak with a ten-dollar sensor under a client’s sink. We fixed it the same day and saved the vanity.

Material choices and upgrades
Choosing the right materials is key to moisture control for bathroom cabinets. Better starts at the core.
- Plywood resists swelling better than particleboard or standard MDF.
- Moisture-resistant MDF is denser and holds up longer than standard MDF.
- Marine-grade plywood is tough but costs more.
- PVC or HDPE cabinets are waterproof and great in high-moisture homes.
- Melamine faces wipe clean. Seal exposed edges well.
- Hardware matters. Go for stainless steel or solid brass hinges and screws.
If you upgrade doors, consider a durable conversion finish or high-quality polyurethane. Seal end grain and hidden edges first.
Mold prevention and safe cleaning
Mold loves damp, dark places. Your moisture control for bathroom cabinets should include a safe cleaning plan.
- For small spots, use 70% alcohol or 3% hydrogen peroxide. Let it sit, then wipe.
- For nonporous surfaces, a bleach mix can work. Use one cup bleach per gallon of water. Vent well and never mix with ammonia.
- Wear gloves and eye protection. Keep the area open for airflow.
- If mold covers more than about 10 square feet, call a pro.
After cleaning, fix the cause. Dry the space, boost ventilation, and seal edges. Cleaning without prevention is a short-term fix.
Budget-friendly checklist and maintenance schedule
You can start moisture control for bathroom cabinets today without a big spend. Follow this simple plan.
Monthly
- Check under the sink for drips and stains.
- Wipe cabinet bases and leave doors open for 10 minutes.
- Review the hygrometer. Aim for 30% to 50% RH.
Quarterly
- Clean and test the exhaust fan. Replace the filter if present.
- Reseal small caulk gaps and touch up exposed edges.
- Test leak sensors and replace batteries if needed.
Yearly
- Inspect supply lines and valves. Replace worn parts.
- Deep clean hinges and slides. Lubricate with a non-staining product.
- Recoat high-wear edges with polyurethane or varnish.
Starter budget under 200 dollars
- Hygrometer for cabinet monitoring.
- Leak sensor and drip tray.
- Quality caulk and a small tin of sealant.
- Door bumpers to keep a slight air gap if doors seal too tight.
This routine keeps your moisture control for bathroom cabinets strong and simple. Small actions now avoid big repairs later.
Frequently Asked Questions of moisture control for bathroom cabinets
What is the ideal humidity level for bathroom cabinets?
Keep indoor humidity between 30% and 50%. Try to stay under 60% to prevent mold.
How long should I run my bathroom fan after a shower?
Run it for 20 to 30 minutes. A humidity-sensing switch can handle this automatically.
Can I use a dehumidifier for cabinets?
Yes, a small rechargeable desiccant unit works well in tight spaces. Regenerate it as directed.
What cabinet material handles moisture best?
Plywood and PVC hold up better than MDF or particleboard. Seal all exposed edges for best results.
How do I know if a slow leak is present?
Watch for swollen wood, musty smells, or rust on hinges. A leak sensor in the base can alert you fast.
Conclusion
Moisture control for bathroom cabinets is not hard. Measure humidity, move more air, seal the weak spots, and stop leaks early. Use smarter materials and simple habits to lock in long-term results.
Start with one step today. Add a hygrometer, test your fan, or place a leak sensor. Your cabinets will last longer, look better, and stay healthy. If you found this helpful, subscribe for more practical home care guides or share your own tips in the comments.