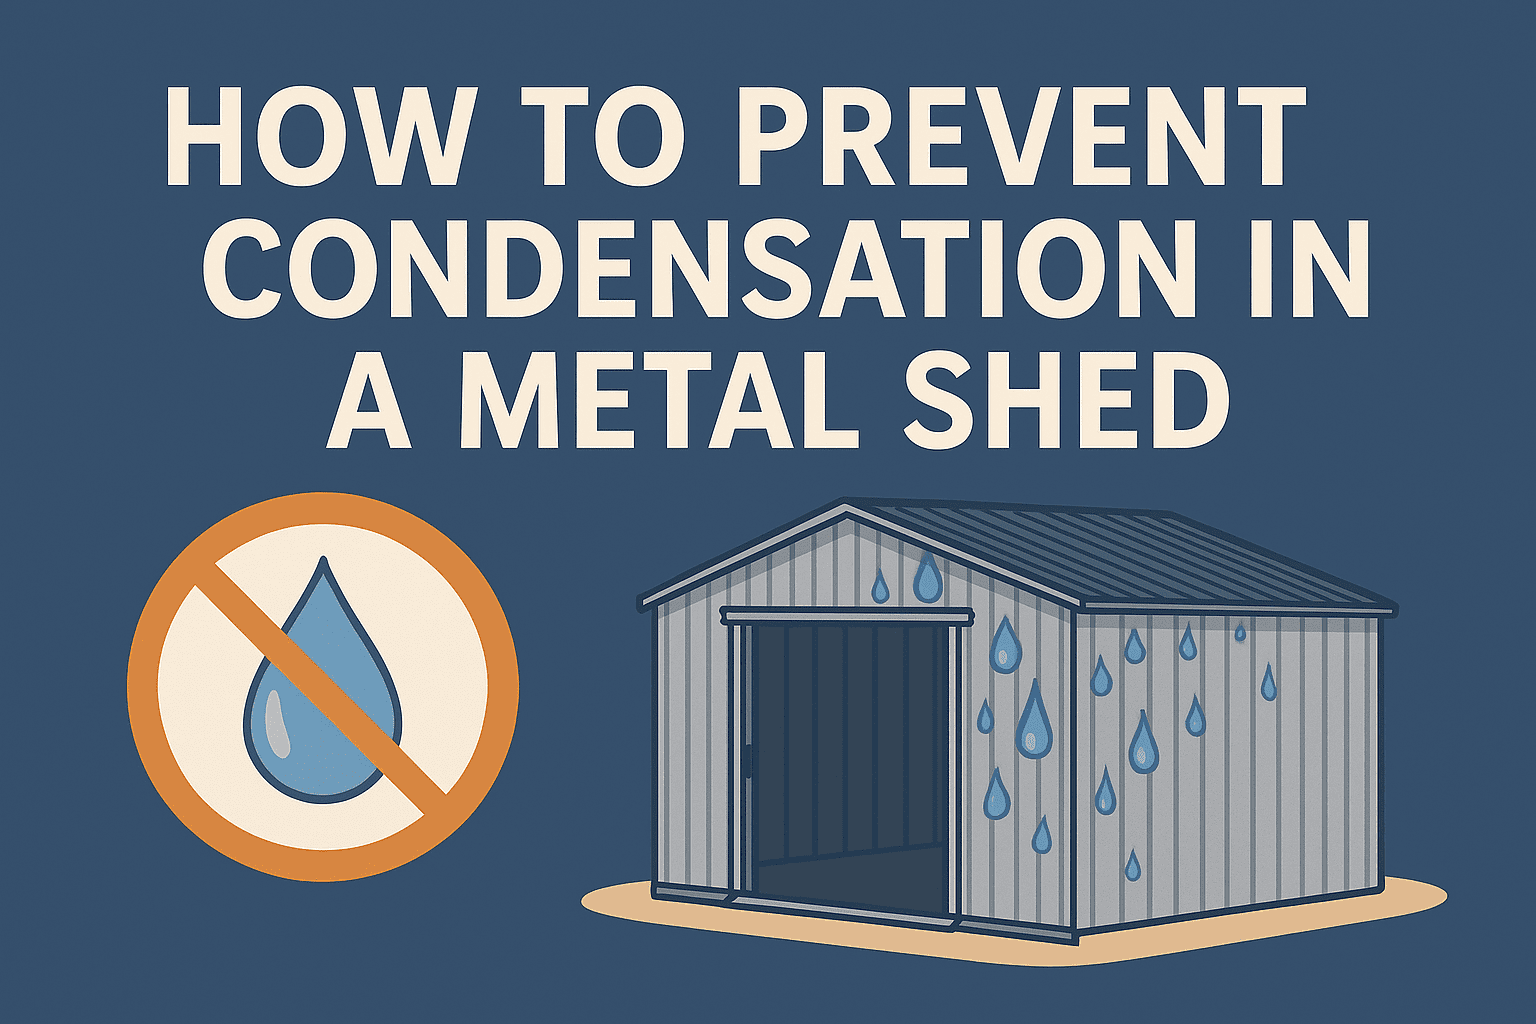
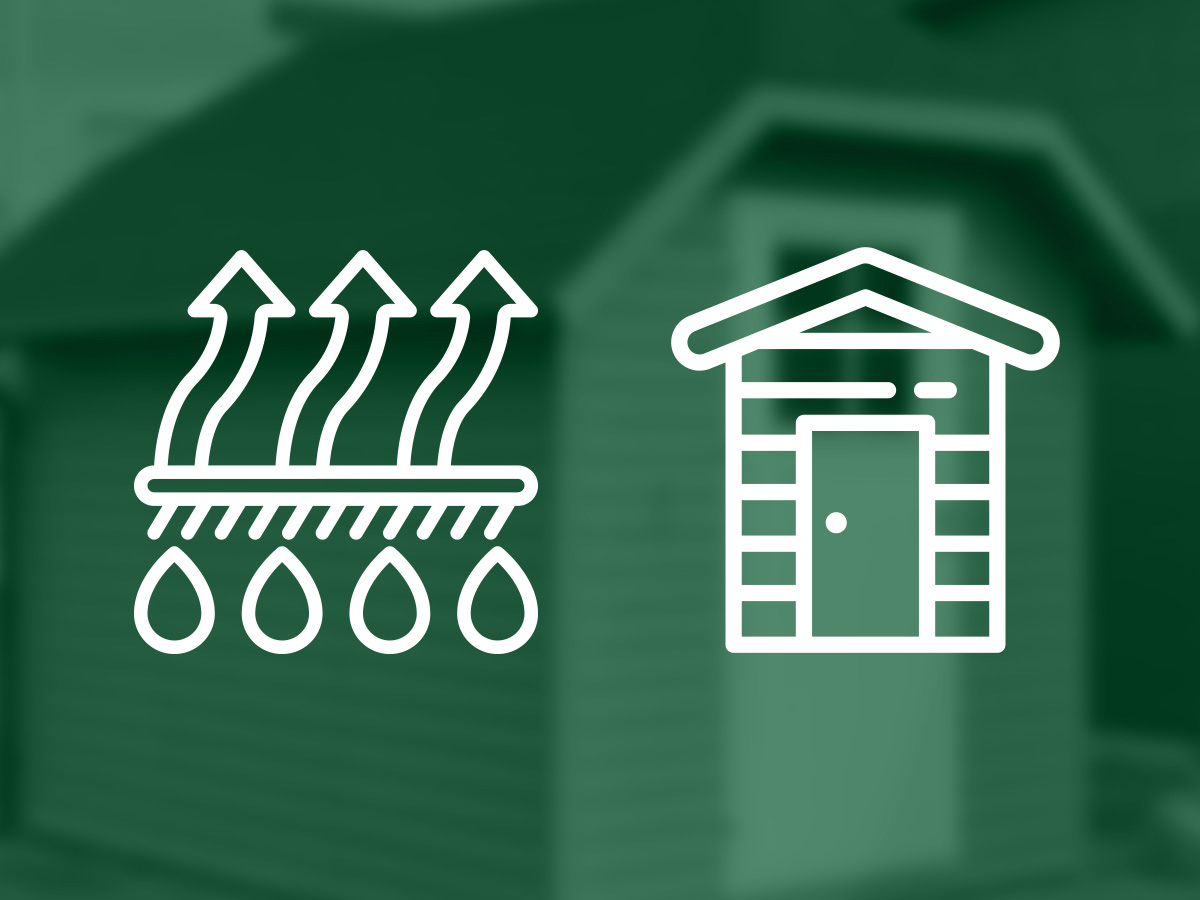
Ventilate, insulate, block ground damp, and add gentle heat for preventing condensation in shed.
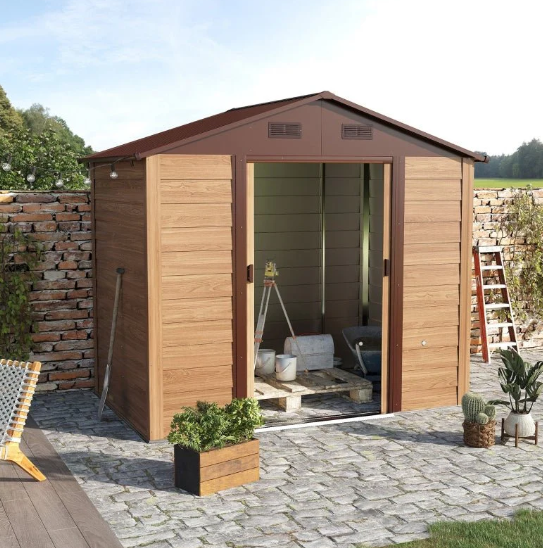
If your shed drips on your tools, you’re not alone. I help homeowners fix this every season, and the pattern is always the same: warm, wet air hits a cold surface and turns to water. This guide walks you through preventing condensation in shed with clear steps, simple tools, and solutions that last. Stick with me, and you’ll have a dry, clean, mold-free shed you can trust year-round.
Why sheds “sweat”: the simple science behind moisture
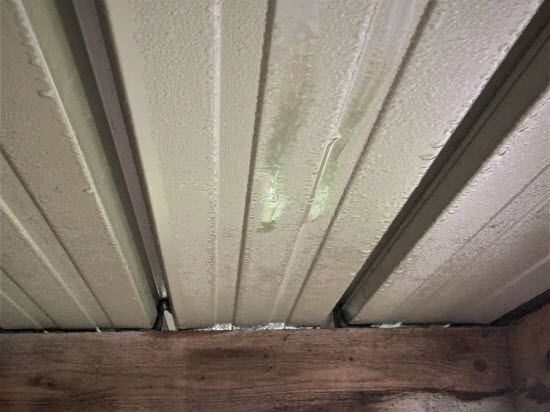
Condensation happens when moist air touches a colder surface and cools to its dew point. Think cold soda can on a summer day. Sheds are perfect for this because thin walls and metal roofs get cold fast.
When the air inside has too much moisture, water forms on roofs, walls, and tools. The fix is simple: reduce moisture, move air, warm surfaces, and add barriers where needed. This core idea guides everything in preventing condensation in shed.
Find and fix the real moisture sources first
Most shed moisture comes from a few common places. Targeting the source is the fastest win.
- Ground damp rising into the shed from bare soil under the floor.
- Rain leaks at roof joints, screws, windows, and doors.
- Wet gear stored inside, like mowers, tarps, and boots.
- Unvented heaters (propane or kerosene) that release water as they burn.
- Trapped air with no cross ventilation or blocked vents.
Quick tests you can do today
- Tape a clear plastic square to the floor overnight. If water forms under it, ground vapor is high.
- Use a small hygrometer. Aim for 40–60% relative humidity.
- Check for cold bridges. Bare metal and uninsulated corners collect water first.
A simple plan for preventing condensation in shed
You do not need to rebuild your shed. Follow this order for the best results.
- Keep rain out. Seal roof screws, fix gaps, and add gutters.
- Block ground vapor. Add a plastic vapor barrier under the floor or on the ground.
- Add cross ventilation. One low inlet and one high outlet.
- Insulate cold surfaces. Roof first, then walls.
- Control humidity. Use a small heater or dehumidifier as needed.
This step-by-step path is the fastest way to start preventing condensation in shed without wasting time or money.

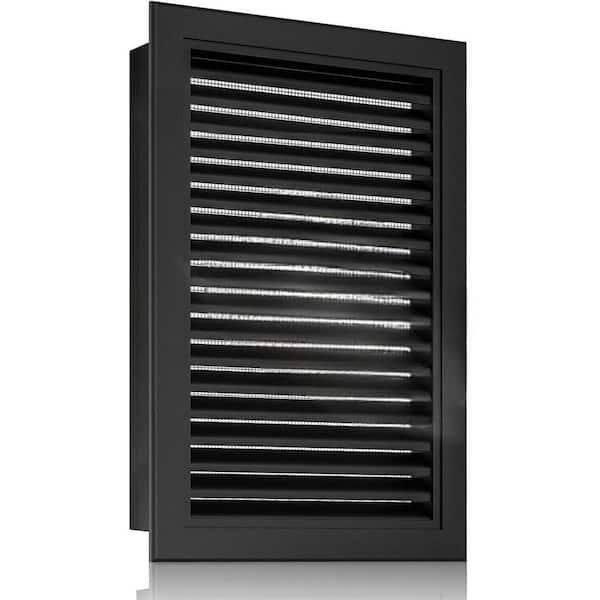
Ventilation that works in a small shed
Fresh air in down low. Moist air out up high. That’s the rule.
- Use two louvered vents: one near the floor on one wall, one high on the opposite wall.
- Aim for roughly 1 square foot of total net-free vent area per 150 square feet of floor area.
- Balance intake and exhaust. Half low, half high.
- Add a ridge vent if you have a pitched roof. Pair it with soffit vents.
- For stubborn cases, use a quiet fan on a humidity switch.
In my own 10×12 shed, one ridge vent plus two gable vents cut dripping by more than half. Better airflow is a core piece of preventing condensation in shed.
Insulation and vapor control done right
Insulation warms surfaces so moist air doesn’t turn to water. Vapor control stops wet air from moving into cold layers.
- Prioritize the roof. Insulate with foam board or mineral wool, then cover with plywood or panels.
- Add a continuous interior vapor retarder on the warm side in cold seasons. Tape seams well.
- If you have a metal roof, consider anti-condensation felt-backed sheets or add an interior liner.
- Use house wrap under siding to let walls breathe outward.
- Seal cracks around doors and windows. Small gaps leak lots of air.
I once insulated only the walls and skipped the roof. It helped a little, but the roof still dripped. Wrapping the roof made the big difference. That experience shaped how I approach preventing condensation in shed for clients.
Gentle heat and smart dehumidification
Keeping surfaces a bit warmer than the dew point is a win. So is pulling water from the air.
- Use a small oil-filled radiator or low-watt heater with a thermostat. Aim for 40–50°F in winter.
- Avoid unvented gas heaters. They add a lot of moisture.
- A 20–35 pint per day dehumidifier is enough for most sheds. Drain it with a hose if you can.
- Set the unit to 50–55% relative humidity. Use a plug-in humidity controller for tight control.
I tested both heat and dehumidification. Gentle heat alone worked on cold, dry days. On wet mild days, the dehumidifier did the heavy lifting. That mix is key in preventing condensation in shed across changing seasons.
Floor, base, and rain management
Most sheds sit close to damp soil. Break that path and keep water away.
- Raise the shed on a compacted gravel pad or blocks.
- Lay a thick plastic vapor barrier over the soil under the shed.
- Seal gaps in the floor and add washable floor paint or a plywood overlay.
- Install gutters and downspouts. Keep water at least a few feet away.
- Maintain a small slope around the shed for drainage.
These base fixes are quiet heroes in preventing condensation in shed. They stop moisture before it enters.
Smart storage habits that keep things dry
Your daily routine matters more than you think.
- Do not park wet mowers or bikes right away. Let them dry outside first.
- Give wet tarps space to drip and dry before storing.
- Use wire shelves, not cardboard boxes. Leave a small gap from the walls.
- Cover cold metal tools with foam sleeves or hang them with air space around.
Good habits turn small gains into lasting results for preventing condensation in shed.
Seasonal tune-up and maintenance checklist
A few minutes each season keeps moisture under control.
- Spring: Clear gutters, check roof fasteners, and clean vents.
- Summer: Shade west-facing walls, and run a fan during heat waves.
- Fall: Add weatherstripping and inspect the vapor barrier.
- Winter: Use gentle heat on cold snaps, and watch the hygrometer.
- Anytime: Fix leaks fast and keep the floor dry.
These small tasks protect your work on preventing condensation in shed all year long.
What it costs, how long it takes, and DIY tips
You can make big gains on a weekend with a small budget.
- Vents and screens: 30–120 dollars, 1–2 hours.
- Gutters and downspouts: 50–200 dollars, 1–3 hours.
- Insulation and liner: 1–3 dollars per square foot, a few hours for a small shed.
- Dehumidifier: 150–300 dollars. Heater: 50–150 dollars.
- Hygrometer: 10–25 dollars. Worth every penny.
Match the fixes to your needs. Start small, measure results, and scale up. This is the most cost-effective path to preventing condensation in shed.
Troubleshooting if condensation still shows up
If you still see water, work the problem like a pro.
- Measure temperature and humidity. Compare inside and outside.
- Check for hidden leaks with a bright flashlight after rain.
- Confirm low and high vents are clear and balanced.
- Look for cold bridges like bare metal and fix with foam or tape.
- If ground is damp under the shed, upgrade the vapor barrier and add gravel.
These steps close the loop on preventing condensation in shed when the basics are not enough.
Frequently Asked Questions of preventing condensation in shed
Is a dehumidifier or heater better for a shed?
Both help, but in different weather. Use gentle heat in cold, dry air, and a dehumidifier in mild, wet air.
Will insulating only the walls stop roof dripping?
Not likely. The roof is often the coldest surface, so insulate it first for the biggest gain.
Are unvented propane heaters okay in sheds?
Avoid them. They release water as they burn and can raise humidity fast.
What humidity should I aim for inside the shed?
Keep it around 40–60% relative humidity. Below 60% protects tools and stops mold growth.
How much ventilation do I need?
A simple rule is about 1 square foot of total vent area per 150 square feet of floor space. Split intake low and exhaust high.
Can I use plastic on the inside of walls as a vapor barrier?
Yes, on the warm side in cold seasons, and tape seams tight. Do not trap moisture between two vapor barriers.
Do metal sheds need different steps than wood sheds?
Metal sheds cool fast and sweat more. Insulating the roof and adding anti-condensation lining helps a lot.
Conclusion
A dry shed is simple when you follow a clear plan. Keep rain out, block ground moisture, move air, warm cold surfaces, and manage humidity. Use a hygrometer, track your progress, and adjust as seasons change.
Start today with the easiest win on your list. Install a vent, lay a ground barrier, or set a small heater. Ready for more tips like this? Subscribe for updates, ask a question, or share what worked for you.