Moisture detection tools find hidden water fast, before damage spreads.
If you work with buildings, floors, roofing, farming, or restoration, moisture detection tools are your early warning system. I’ve used them in tight crawlspaces, flooded kitchens, and on sun-baked job sites. In this guide, I’ll show you how moisture detection tools work, which ones to choose, and how to use them with confidence so your decisions are accurate, fast, and defensible.

What Are Moisture Detection Tools?
Moisture detection tools measure water in materials or in the air. They help you confirm a leak, check a drying plan, or test a floor before you lay down a finish. Used well, they save time and protect your budget.
Most devices fall into two groups. Some test surface or near-surface moisture. Others measure deeper or measure air humidity over time. Good practice often uses more than one method on the same job for proof.
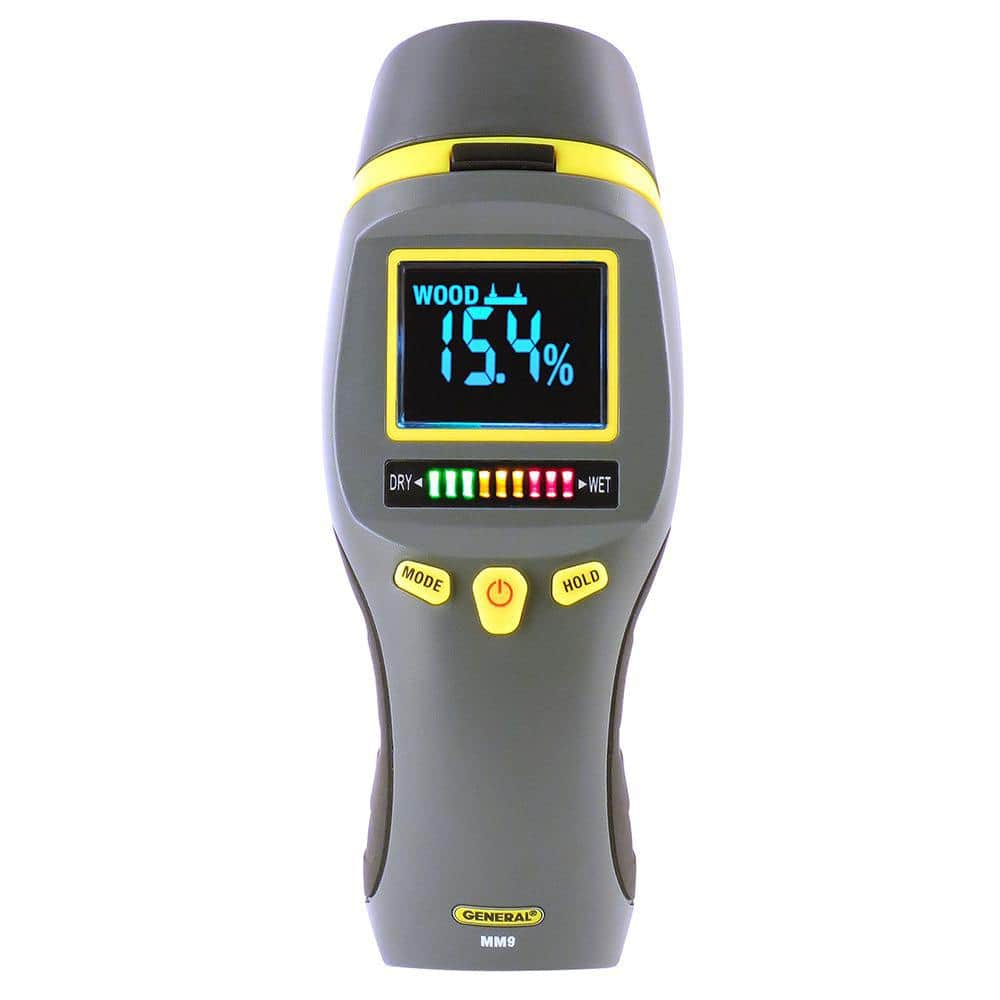
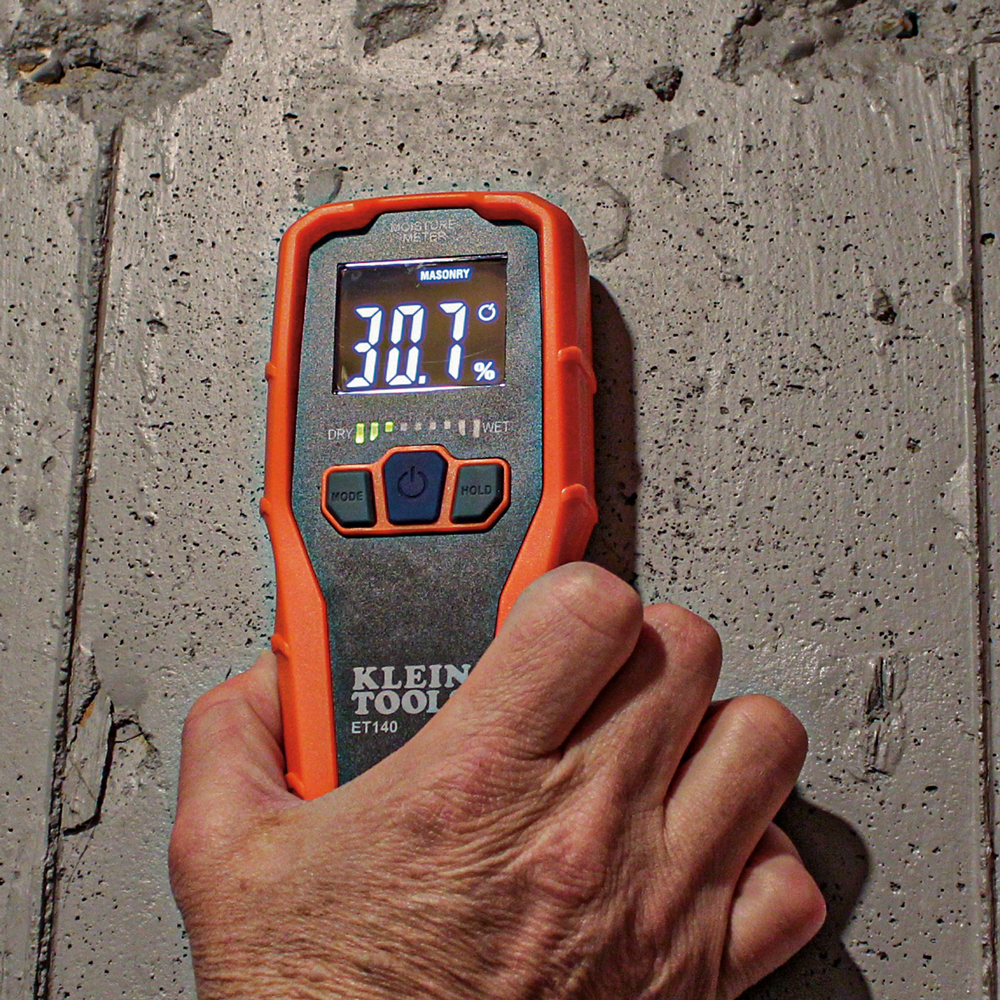
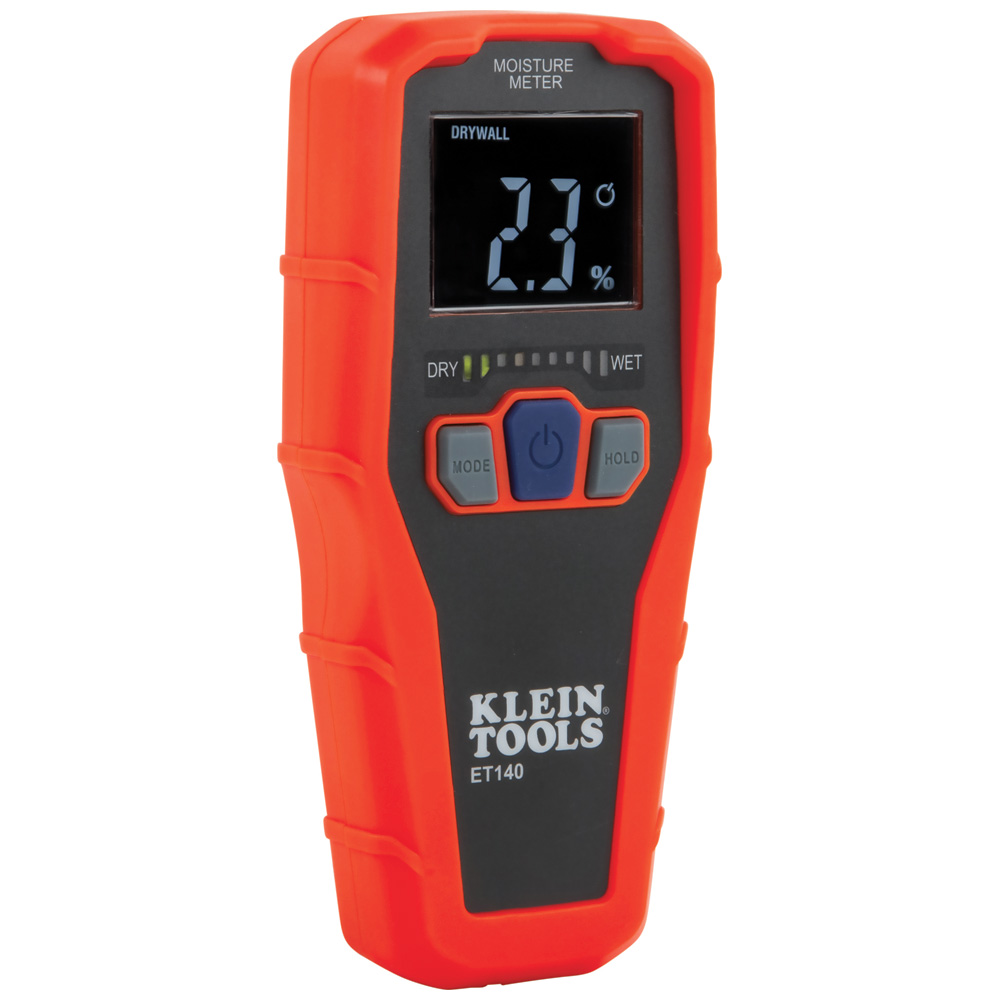
You will see three kinds of readings. Percent moisture content for wood or similar materials. Relative scale readings for drywall, roofing, and plaster. And relative humidity measurements for air or concrete slabs using in-situ probes. The right mix of moisture detection tools gives you the full picture.
Types of Moisture Detection Tools
Pin-type moisture meters
Pin meters use two metal pins to measure electrical resistance. Wet material conducts better, so resistance drops as moisture rises. You get depth at the pins and can test layers.
Use cases:
- Wood framing and trim
- Drywall behind paint
- Checking behind baseboards and in corners
Pros: Precise spots, good for layering, strong for wood.
Cons: Leaves tiny holes, slower on large areas.
Pinless moisture meters
Pinless meters use radio frequency or dielectric scans. You press the pad on the surface and scan a wide area fast. Great for finished surfaces and quick surveys.
Use cases:
- Hardwood floors
- Cabinets, furniture, paneling
- Large drywall or plaster walls
Pros: Fast, no pin holes, good for trend scans.
Cons: Depth varies, can be fooled by metal or dense cores.
Hygrometers and thermo-hygrometers
These measure air temperature and relative humidity (RH). Many also show dew point and grains per pound. Pair them with moisture detection tools to catch condensation risks.
Use cases:
- Monitoring drying jobs
- HVAC checks
- Comfort and mold risk checks
Pros: Shows risk of condensation and mold.
Cons: Air data alone does not confirm wet materials.
In-situ RH probes for concrete (ASTM F2170)
Probes go into drilled holes to measure slab RH at depth. It is the standard method for assessing slab readiness.
Use cases:
- Flooring installs on slabs
- Large commercial floor projects
Pros: Backed by a recognized standard, reliable at depth.
Cons: Requires drilling, time to equilibrate.
Calcium chloride tests (ASTM F1869)
These measure moisture vapor emission rate from concrete. It is common in legacy specs but has limits in modern slabs.
Use cases:
- Supplemental data for slab moisture
Pros: Simple kit.
Cons: Surface-only, can mislead with modern mixes.
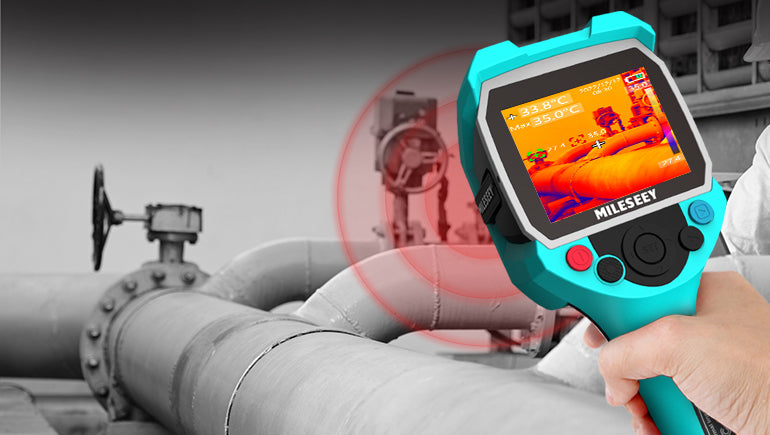
Thermal imaging cameras
Infrared cameras show temperature patterns that point to wet areas. Wet spots cool as they evaporate, so they stand out.
Use cases:
- Roof leak tracking
- Exterior walls, ceilings, and around showers
Pros: Fast mapping, great for finding hidden wet zones.
Cons: Needs skill, always confirm with a meter.
Advanced tools: TDR, GPR, and scales
Time domain reflectometry (TDR) helps in soil moisture and some building materials. Ground penetrating radar (GPR) maps deeper layers and finds rebar or voids. Gravimetric oven-dry tests (ASTM D4442/D4444) provide lab-grade moisture content for wood and other samples.
Pros: High accuracy or depth mapping.
Cons: Cost, training, and time.
When you combine thermal imaging with pin or pinless meters, your accuracy soars. That blend of moisture detection tools gives both the map and the proof.
How to Choose the Right Moisture Detection Tools
Pick tools based on the job, the material, and the risk. Here is a quick framework I use on site.
- Building inspections: Use a pinless meter to scan, a pin meter to confirm, and a hygrometer to check RH and dew point.
- Water damage and restoration: Use pinless for fast mapping, pin for depth, and thermal imaging for hidden paths. Follow IICRC S500 guidance for documentation.
- Flooring on concrete: Use in-situ RH probes per ASTM F2170. Add a pinless meter for wood or laminate planks before install.
- Roofing: Use thermal imaging at dusk or dawn. Confirm with pin or pinless readings. Check insulation layers if accessible.
- Agriculture and soil: Use TDR or a calibrated soil probe. Pair with a hygrometer for ambient trends in greenhouses.
Match the meter to the material scale. Many moisture detection tools have wood scales and a relative scale for drywall or masonry. Use the right scale or a species correction for wood. Ask for the meter’s depth of penetration, temperature compensation, and how it handles dense materials.

How to Use Moisture Detection Tools the Right Way
A careful method beats a quick guess. This is the field workflow I teach new techs.
- Establish a dry baseline: Measure in a known dry area of the same material. Compare all readings to that spot.
- Scan wide, test narrow: Use pinless or thermal to map. Use pin readings or RH probes to confirm.
- Control the contact: Keep the meter flat and steady. Push pins straight and to the same depth each time.
- Watch the environment: Log temperature and RH. Moisture readings can change with air conditions.
- Repeat at set intervals: Track drying at the same points daily. Use consistent grid marks and labels.
Calibrate or verify often. Many moisture detection tools include a check plate or a built-in standard. If the reading drifts, send it for calibration. Clean pins and pads. Replace worn pins. A dull pin gives poor contact and false lows.
Reading Results and Avoiding Common Mistakes
Moisture meters tell a story, but you need the plot. Here are common pitfalls I see.
- Ignoring temperature: Cold wood reads different than warm wood. Use temperature compensation or correct charts.
- Trusting one number: Always compare to a dry control. One high reading may be a nail, foil, or a dense spot.
- Scanning over metal: Pinless meters react to metal lath, fasteners, and corner beads. Mark suspect areas and confirm with pins.
- Skipping depth: Surface can be dry while the core is wet. Use pin depth or RH probes for layers.
- Mixing scales: Wood percent is not the same as a relative scale on drywall. Do not compare apples to oranges.
For concrete, surface drying can fool you. In-situ RH per ASTM F2170 reads at depth and tracks slab equilibrium. For wood, follow equilibrium moisture content charts to match indoor RH. This avoids cupping and gaps later.
Pro Tips From the Field
I once chased a “leak” in a condo ceiling for hours. The pinless meter screamed wet, but pins showed normal. The culprit was foil-backed insulation. Now I scan, then confirm, always.
On a school gym floor, a thermal camera found a cool stripe near the exterior wall. Pin readings confirmed moisture in the tongue-and-groove. A tiny gap in flashing let wind-driven rain soak the edge. Moisture detection tools let us fix the cause, not just dry the symptom.
Practical habits that work:
- Mark grids with painter’s tape. Log each point with date and time.
- Take photos of the meter screen next to the measured spot.
- Use Bluetooth meters with data logging for clean reports.
- Write a one-line cause and effect note for every wet area you find.
These simple steps build trust. They also make your report bulletproof.
Care, Calibration, and Data Logging
Moisture detection tools last longer with care. Keep them clean and dry. Store them in a case. Replace batteries before big jobs.
Get annual calibration for your main meters. If your work goes to court or insurance, a calibration certificate helps. Many brands offer field check blocks. Use them weekly.
Data logging is gold. Choose tools with:
- Bluetooth or USB export
- Time-stamped logs
- App integration for notes and photos
- Adjustable alarms for target thresholds
Good logs tie into standards like IICRC S500 for drying and ASTM F2170 for slab RH. They show that your method is sound.

Buying Guide: Features That Matter
Choosing moisture detection tools can feel like picking a camera lens. Focus on fit and clarity.
Key specs to compare:
- Accuracy and repeatability: Look for published error ranges and repeat tests.
- Depth of measurement: Know the penetration depth for pinless; know pin length options.
- Material scales: Wood species correction, drywall scale, masonry reference.
- Temperature and RH: Built-in thermo-hygrometer or pairing support.
- Display and alerts: Backlit screens, trend graphs, and audible alarms.
- Build quality: IP rating, drop resistance, replaceable pins and pads.
- Power and updates: Rechargeable vs AA, firmware support, and app updates.
- Warranty and service: Easy calibration service, spare parts, responsive support.
If you work in roofing or restoration, add a thermal camera. It does not replace contact meters. It makes them smarter. The best stack of moisture detection tools is the one that matches your jobs and your budget.
Safety, Ethics, and Reporting
Safety comes first. Wear gloves, goggles, and a mask when cutting wet drywall. Use ladders with a spotter. Turn off power when probing near outlets.
Be clear and honest in reports. Moisture detection tools show risks and evidence. They do not diagnose mold types. If you see growth, document it and suggest lab testing if needed.
Your report should include:
- Scope and limits of your inspection
- Tools used and their settings
- Maps, photos, and logged data
- Baseline and comparison points
- Clear next steps and who should act
Transparency builds trust. It also protects you if plans change or hidden damage appears later.
Frequently Asked Questions
What is the best tool to detect moisture behind walls?
Start with a pinless meter to scan the area. Confirm hotspots with a pin meter and use a thermal camera to trace the pattern.
Are pin or pinless meters more accurate?
Both are accurate when used right. Pins give precise depth at a point, while pinless meters are great for fast mapping.
How deep do pinless meters measure?
Most read 0.25 to 1 inch depending on the model and surface contact. Check the spec sheet for depth and note that dense materials can limit penetration.
Do I need RH probes for concrete?
Yes if you are installing flooring over slabs. In-situ RH testing per ASTM F2170 is the trusted method for slab readiness.
Can thermal imaging alone confirm moisture?
No. Thermal shows temperature differences, which suggest moisture. Always confirm with moisture detection tools like pin or pinless meters.
How often should I calibrate my meter?
Check it monthly with a reference block and send it for annual calibration. Calibrate sooner if you see drift or after hard impacts.
Will metal or foil affect readings?
Yes, metal, foil, and corner beads can cause false highs on pinless meters. Confirm with a pin reading or avoid scanning over known metal.
Conclusion
Moisture detection tools help you find water early, prove the cause, and guide the fix. Use a scan-and-confirm method, log your data, and follow recognized standards. The right stack of tools turns guesswork into clear action.
Pick one upgrade to your kit this week, even if it is a simple hygrometer or a pinless meter. Practice on known dry and known wet spots to learn your baselines. If this guide helped, subscribe for more field-tested tips or drop a question in the comments.