Tape plastic to the slab, use a moisture meter, and track humidity.
If water stains, musty smells, or peeling paint have you worried, you’re in the right place. I’ve spent years helping homeowners learn how to test for moisture in basement spaces the smart way. This guide covers simple DIY checks, pro-grade tools, and how to read the results. Stick with me and you’ll know exactly how to test for moisture in basement walls, floors, and air without guesswork.
:max_bytes(150000):strip_icc()/test-concrete-floor-for-moisture-1821688-hero-02-763beb959ad34effa469d04fdb764459.jpg)
Why testing basement moisture matters
Moisture is sneaky. It shows up as a spot, then grows into mold, warping, or a musty smell. Left alone, it can harm your home and health. Testing early saves money and stress.
Learning how to test for moisture in basement areas helps you find the source. It also tells you which fix will work. Is it a small leak, or vapor from the soil, or indoor air issues? The right test gives a clear answer.
When I audit homes, I use a simple plan. Start with easy checks. Add tools as needed. Then confirm. You can do the same with a small kit and a calm approach.

Tools and materials you will need
You can start with items you already have. Add a few budget tools to level up your results.
Basic items many people have:
- Flashlight to see stains and cracks
- Tape and clear plastic for a plastic sheet test
- Aluminum foil for a quick condensation check
- Paper towels for leaks and drip tracking
Helpful tools to get better data:
- Hygrometer to measure relative humidity
- Thermometer or a combined temp and humidity meter
- Pin moisture meter for wood studs and baseboards
- Pinless moisture meter for concrete and drywall
- Calcium chloride kit or in-situ RH test for slab moisture
- Blue painter’s tape and marker for labeling test spots
If you are just starting, a hygrometer and one meter is enough. As you learn how to test for moisture in basement areas, you can add the slab test later.
Step-by-step: how to test for moisture in basement
You do not need to be a pro to start. Follow these steps in order. Take notes as you go.
Visual and smell check
- Walk the space and sniff for a musty odor.
- Look for white powder on walls or floors. That is efflorescence. It signals water movement.
- Check for peeling paint, rust on nails, and swollen trim.
- Note any water lines on walls after rain.
Plastic sheet test for floors and walls
- Cut a 12 by 12 inch clear plastic sheet.
- Tape all edges tight on bare concrete.
- Leave it for 24 to 48 hours.
- If water drops form under the plastic, vapor is coming from the concrete.
- If water forms on top, the room air is humid and condensing.
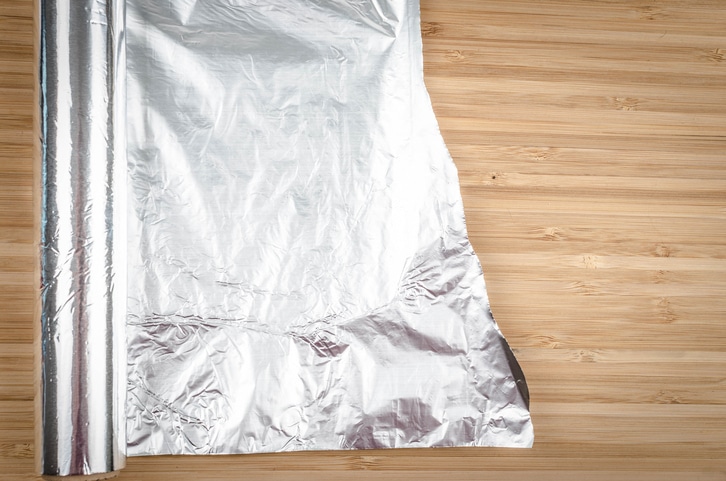
Aluminum foil condensation test
- Tape a square of foil to a cool wall or slab.
- Check in 24 hours.
- Wet under the foil means moisture in the material.
- Wet on top means room air is the issue.
Hygrometer and comfort check
- Place a hygrometer in the center of the room.
- Track relative humidity for 48 to 72 hours.
- Read 30 to 50 percent as normal. Read 60 percent or more as high.
- Note spikes after rain. That is a clue.
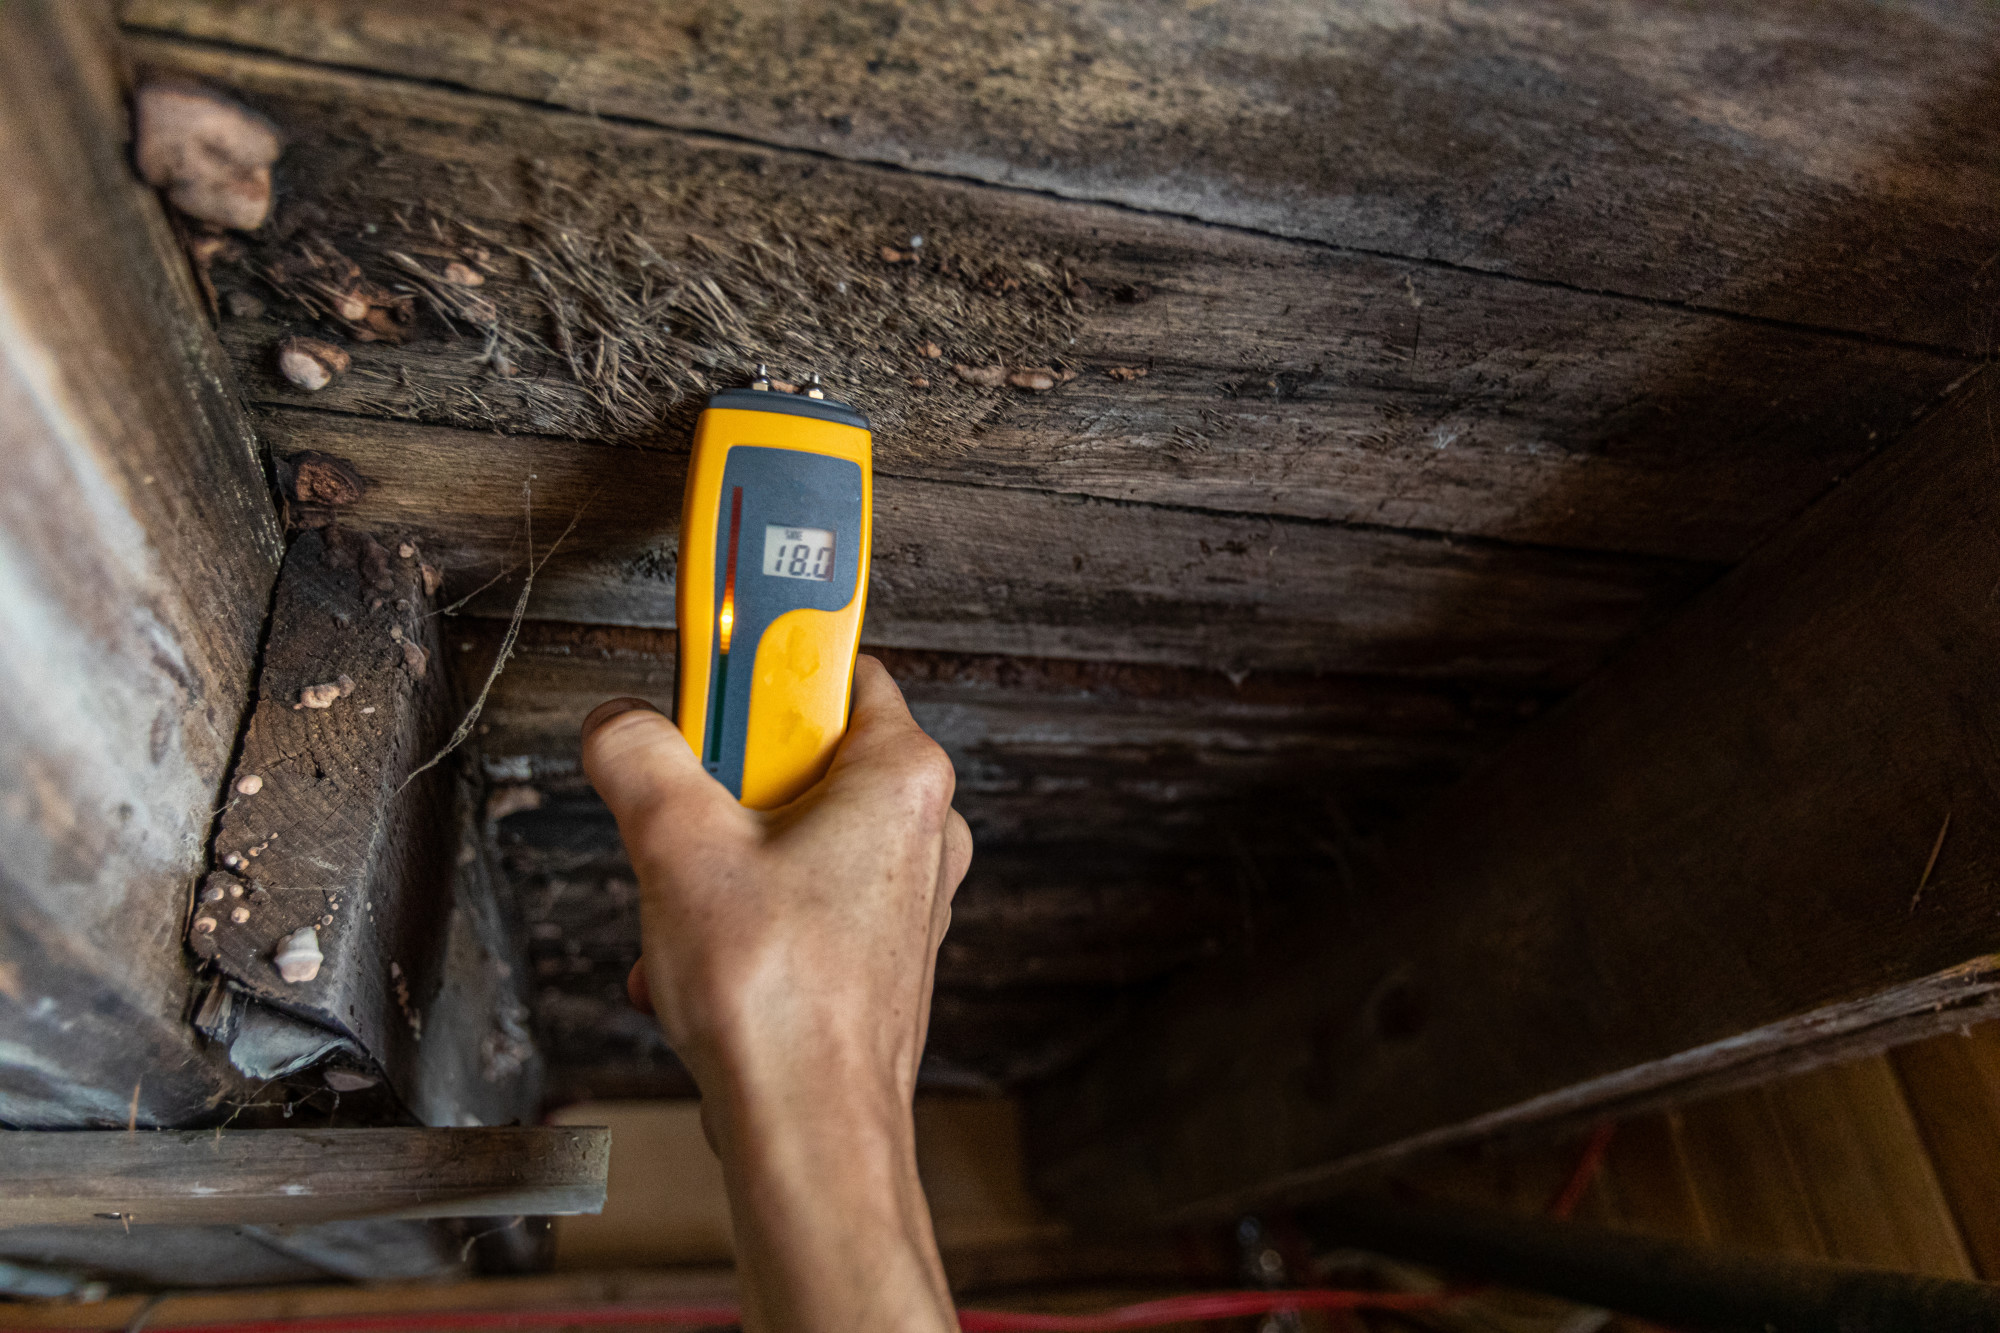
Moisture meter checks
- Use a pin meter on wood trim, studs, or base plates.
- Readings above 16 percent suggest trouble.
- Use a pinless meter on drywall or concrete for quick scans.
- Map several points and mark them with tape.
Paper towel and dye leak test
- Dry a suspect area with a paper towel.
- Place a fresh towel and check for new wet spots.
- Add a drop of food dye near a suspect crack or pipe.
- If the dye shows up, you found a leak path.
Advanced slab tests
- For finishing floors, use a calcium chloride kit to measure vapor emission.
- Or use in-situ RH probes for deeper slab data.
- Follow the kit steps and record the values. Compare to the flooring spec.
I teach homeowners how to test for moisture in basement spaces by stacking tests. Start simple. Confirm with tools. This layer approach avoids false alarms and saves money.

Reading the results and what they mean
Your notes tell a story. Here is how to read it in plain words.
- Wet under plastic or foil on concrete means ground moisture or slab vapor drive.
- Wet on top of plastic or foil means indoor air is humid and condensing on cool surfaces.
- High hygrometer readings with cool surfaces point to condensation risk.
- High moisture in wood near the floor points to capillary rise or a leak.
- Efflorescence lines on walls suggest water is moving through masonry, then drying and leaving salts.
- Spikes after rain suggest poor grading, clogged gutters, or wall leaks.
If you want to know how to test for moisture in basement once and be done, do two rounds. Test in dry weather and after a storm. If both show issues, you likely have a steady source.

Seasonal and climate tips
Moisture changes with the season. That can trick your tests.
- In summer, warm air hits cool walls and floors. Condensation is common.
- In winter, dry air can hide a leak until a thaw.
- After heavy rain or snow melt, hydrostatic pressure can push water in.
- If you live near a body of water, baseline humidity runs high.
I always say this when teaching how to test for moisture in basement spaces. Test at least twice per year. Save your logs. Trends matter more than a single number.
/test-concrete-floor-for-moisture-1821688-hero-02-763beb959ad34effa469d04fdb764459.jpg)
Safety and mold basics
Mold needs moisture, food, and time. Remove moisture and mold slows or stops.
- If you see visible mold larger than a bath towel, consider a pro.
- Wear gloves and a simple mask when checking suspect spots.
- Do not spray bleach on porous materials. It does not reach deep.
- Focus on finding the source first. Cleaning comes after you control moisture.
If you are learning how to test for moisture in basement areas with kids or pets around, keep the room aired out during testing. Open a window for a short time if the weather allows.
When to call a pro
DIY testing covers most cases. Call for help if you see these signs.
- Standing water after light rain
- Cracks that grow fast or bowing walls
- Strong, persistent musty odor
- Electrical hazards near wet areas
- Plans to install wood floors or a finished basement over a damp slab
A qualified pro can do lab-grade slab tests, wall scans, and drainage checks. I still coach clients on how to test for moisture in basement rooms, even if a pro steps in. Your logs make the visit faster and cheaper.

Fix the source: quick prevention checklist
Testing without fixes is like bailing a boat with a cup. Use this checklist.
Outside the home
- Clean gutters and extend downspouts 6 to 10 feet from the house.
- Correct grading so soil slopes away from walls.
- Seal gaps where pipes enter.
Inside the home
- Run a dehumidifier to keep RH near 50 percent.
- Insulate cold water pipes to stop drip.
- Add a vapor retarder under new flooring if the product allows.
- Improve air flow with fans on low or by opening interior doors.
If you ever forget how to test for moisture in basement areas, return to this guide. Run the tests, then check this list. The cycle is test, fix, verify, and maintain.
Frequently Asked Questions of how to test for moisture in basement
How long should I leave the plastic sheet test in place?
Leave it for 24 to 48 hours. Longer times give clearer results, especially after a rain event.
What is a good moisture reading for wood in the basement?
Aim for 8 to 12 percent. Readings above 16 percent suggest a problem that needs action.
Should I test before installing vinyl or wood floors?
Yes, always. Use a slab moisture test that matches the flooring maker’s rules to protect your warranty.
Can a dehumidifier hide moisture problems during testing?
It can lower the room humidity and mask condensation. Turn it off 24 hours before you test, unless you are measuring the normal lived-in state.
Are thermal cameras worth it for moisture?
They show cold spots that can hint at wet areas. Confirm with a moisture meter to avoid false alarms.
Conclusion
You now have a simple, proven plan. Start with sight and smell checks. Add plastic and foil tests. Confirm with a hygrometer and a moisture meter. If needed, run a slab test. This is the core of how to test for moisture in basement spaces with confidence.
Take one small step today. Pick a corner, set the plastic test, and start a log. If you want more guides, subscribe or leave a comment with your test results. I’m here to help you read the signs and fix the source.