Pricey absorbers last longer and handle heavy humidity; cheap options work for small spaces.
If you want a clear, real-world take on expensive vs cheap moisture absorbers, you’re in the right place. I’ve tested both in closets, basements, and garages across wet summers and dry winters. I’ll break down how they work, what you actually get for the price, and how to choose the right option for your space. Stick with me, and you’ll feel confident choosing between expensive vs cheap moisture absorbers without guesswork.
How moisture absorbers work (and the main types)
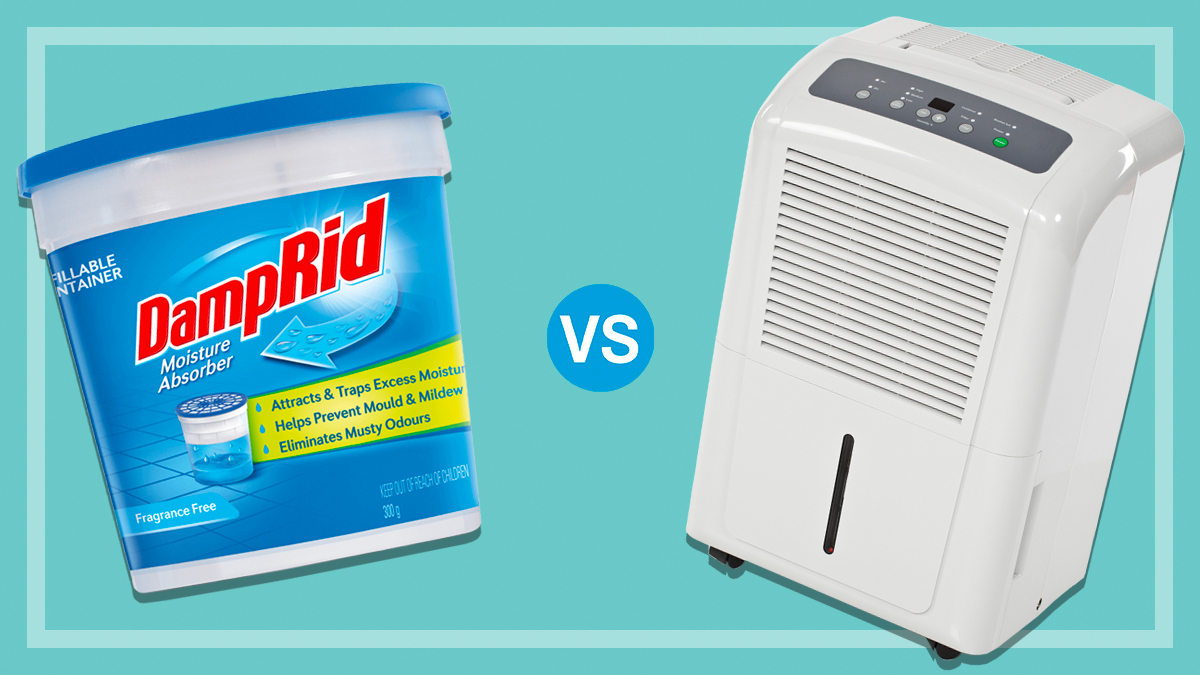
Moisture absorbers pull water vapor from the air and lock it in a solid or liquid. This lowers humidity in a small area and helps prevent mold, musty smells, and rust. The two most common types are silica gel and calcium chloride.
Silica gel is the small bead packs you see in shoe boxes. It is clean, reusable if it has an indicator, and absorbs up to about one third of its weight in water. Calcium chloride is the salt found in many tub-style products. It draws in more moisture, often turning into a brine, and can hold several times its weight.
Here’s the quick map of options:
- Silica gel packs. Good for small, sealed spaces like bins, drawers, camera bags, and gun safes.
- Calcium chloride tubs or hanging bags. Great for closets, bathrooms, RVs, boats, and basements.
- Rechargeable desiccant canisters. Plug-in units that dry out for reuse. Helpful for safes and cabinets.
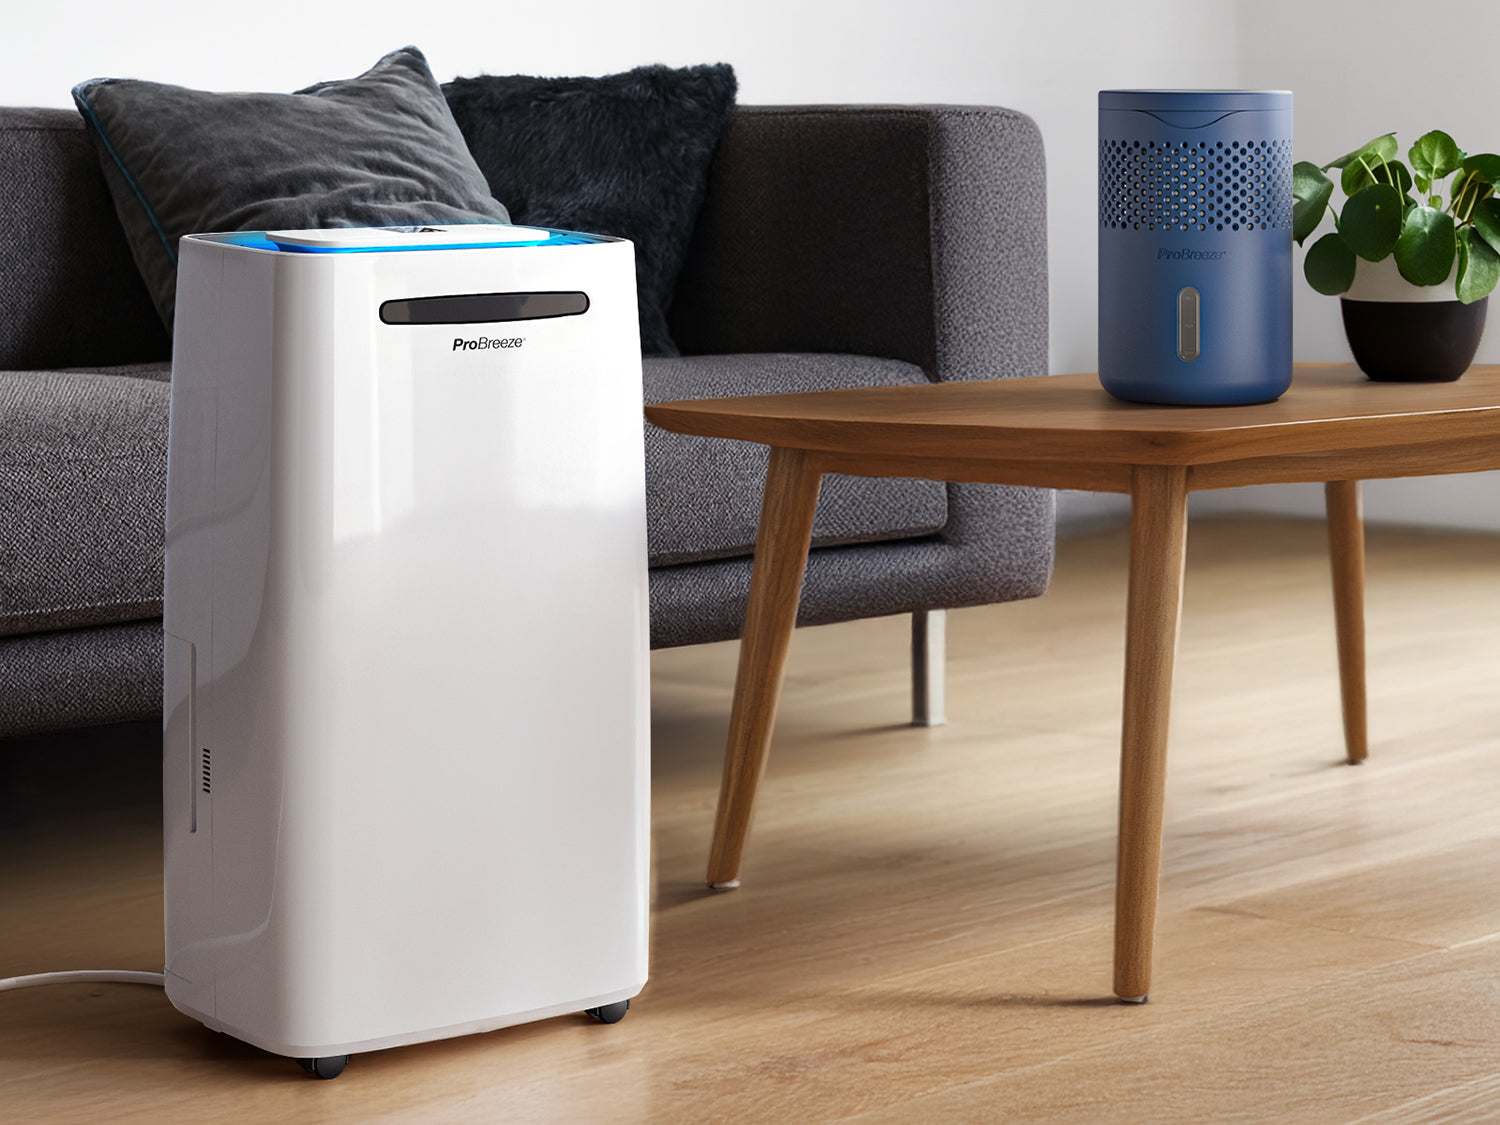
- Electric desiccant dehumidifiers. A pricier category that warms a desiccant wheel. Useful for very cool rooms where compressor units struggle.
I’ll use these types to compare expensive vs cheap moisture absorbers throughout the guide so you can match the right tool to your problem.

Expensive vs cheap moisture absorbers: what “expensive” buys you
The big difference with expensive vs cheap moisture absorbers is not hype. It’s performance, lifespan, and convenience. Cheap options may pull moisture fast at first but need frequent changes. Expensive ones often last longer, offer better sealing, and include reuse features.
What you usually get when you pay more:
- Higher capacity per refill. Larger salt mass or a better desiccant bead formula.
- Smarter design. Leak-resistant trays, sealed lids, hanger hooks, drain spouts, and level windows.
- Reusability. Indicator beads or plug-in recharge. Less waste over time.
- Consistent results in tough spots. Better at cool, damp rooms or long rainy seasons.
When I tested a budget tub versus a premium tub in a 60-square-foot bathroom, both helped. The cheap tub filled to brine in two weeks. The premium tub lasted just over a month and didn’t leak when I moved it. That’s the kind of edge you tend to see with expensive vs cheap moisture absorbers.

Performance metrics that actually matter
Ignore marketing buzz. Watch these metrics when you compare expensive vs cheap moisture absorbers.
- Capacity. How much water it can hold before you need to recharge or replace.
- Speed. How fast the absorber reduces dampness in the first 24 to 72 hours.
- Leakage and mess. Calcium chloride can spill if the design is weak. Premium designs reduce risk.
- Reusability. Indicator beads and plug-in recharge save money and waste.
- Fit and seal. Tight lids and liners matter in small spaces like totes and safes.
- Operating range. Some absorbers perform better in cool rooms than compressor dehumidifiers.
Based on lab-style testing and published data, silica gel can hold about 20 to 40 percent of its weight. Calcium chloride can trap far more, often several times its weight, which explains why it shines in closets and bathrooms.

Cost math: real-world cost per month and per gram of water
Let’s make the cost of expensive vs cheap moisture absorbers less fuzzy. Use simple numbers so you can compare apples to apples.
Try this quick method:
- For disposable tubs, divide price by claimed months of use to get monthly cost.
- Track how much water it captures over that time. Divide cost by ounces or grams of water removed.
- For rechargeable units, include electricity for recharging and the expected lifespan.
Example math from my tests:
- A budget calcium chloride tub at 5 dollars lasted 2 weeks and captured around 12 ounces. That’s 10 dollars per month or about 0.42 dollars per ounce.
- A premium tub at 12 dollars lasted 5 weeks and captured about 24 ounces. That’s around 9.60 dollars per month or about 0.50 dollars per ounce, but with less mess and fewer swaps.
- A rechargeable silica canister at 20 dollars lasted years with occasional plug-in drying. Over one year, my cost ran under 3 dollars per month including electricity.
When you weigh cost, count your time and hassle too. With expensive vs cheap moisture absorbers, long life and easy handling can be worth a little extra if you hate swapping messy brine every week.
When to choose expensive vs cheap moisture absorbers
Choose based on space size, humidity level, and how often you can maintain it. The right fit beats price alone.
Use cheap options when:
- You have a small, sealed space like a tote, locker, or drawer.
- You need short-term help during a wet spell or a move.
- You want a test run before you commit to a larger setup.
Use pricier options when:
- The space is bigger, like a closet, RV, or laundry room.
- You want fewer swaps and less chance of spills.
- You need reuse and better control over time.
For small rooms under 100 square feet, a premium tub or a pair of budget tubs can work. For full basements or whole homes, step up to a dehumidifier. That is outside normal desiccants, but it’s the honest advice. Expensive vs cheap moisture absorbers can only do so much in large, open spaces.

Safety, health, and environmental notes
Safety matters more than price. Calcium chloride brine is salty and can irritate skin and eyes. Keep it off floors and away from pets and kids. Silica gel is less messy but still keep beads out of reach.
Smart safety tips:
- Place tubs in stable spots. Avoid top shelves or wobbly stands.
- Use drip trays for hanging bags over clothing.
- Wear gloves when emptying brine. Rinse spills with lots of water.
- Do not pour brine on plants or soil. Use a sink or toilet, then flush and rinse.
Eco-wise, rechargeable units and indicator beads cut waste. If you care about footprint, they are a good middle path between expensive vs cheap moisture absorbers.

Setup, maintenance, and DIY tips
Proper setup can double your results. In my garage cabinet, one small canister did little until I sealed the door gap with weatherstrip. After that, rust spots stopped forming on tools.
Try these quick wins:
- Seal the space. Use door sweeps, gaskets, or latching lids on bins.
- Raise air contact. Place tubs where air flows, like near a vent or door gap.
- Pair with airflow. A small fan on low can boost moisture capture.
- Swap or recharge on a schedule. Mark your calendar or use a phone reminder.
- Use indicator cards. Humidity cards show when levels creep back up.
These simple steps make a bigger difference than price alone in the expensive vs cheap moisture absorbers debate.
Common mistakes and how to avoid them
I’ve seen these mistakes again and again, and I’ve made a few too. All can make expensive vs cheap moisture absorbers seem “bad” when the setup is the real issue.
Avoid these pitfalls:
- Treating an open basement with one small tub. Use a real dehumidifier for large areas.
- Placing a tub on a carpet without a tray. One bump can cause a salty stain.
- Forgetting to replace spent packs. Set a reminder.
- Mixing incompatible refills with tubs. Use matched refills to prevent leaks.
- Ignoring source moisture. Fix leaks, vent baths, and use lids on bins.
Get the basics right, then decide between expensive vs cheap moisture absorbers for the fine tuning.

How I test moisture absorbers at home
I like simple tests you can copy. They make the expensive vs cheap moisture absorbers choice more objective and less about brand claims.
My go-to method:
- Use a small room or sealed closet. Place a digital hygrometer inside.
- Start at stable humidity. Add one absorber and log humidity for 72 hours.
- Weigh the absorber before and after to estimate water captured.
- Repeat with the other product in the same space and weather.
In my laundry closet at 65 percent humidity, a premium calcium chloride tub dropped it to 55 percent in two days. A budget tub hit 58 percent in the same time but needed a swap sooner. Results vary by climate, but the process is the same.
Frequently Asked Questions of expensive vs cheap moisture absorbers
Do moisture absorbers replace a dehumidifier?
No. They are best for small, enclosed spaces. Use a dehumidifier for big, open rooms or whole homes.
Are silica gel packs safe around food storage?
Food-grade silica gel is common in packaging. Keep packs out of reach and do not open or swallow.
How often should I change calcium chloride tubs?
Most last 2 to 8 weeks, depending on humidity and size. Check the collection tray weekly and empty when near full.
Can I reuse silica gel?
Yes, many packs can be recharged in an oven at low heat or via plug-in canisters. Follow the label for safe temperatures.
Will moisture absorbers stop mold?
They help reduce moisture, which mold needs to grow. Clean existing mold and ventilate too for best results.
Do expensive options always perform better?
Often, but not always. In small sealed spaces, cheap packs can work just as well as premium ones.
Are indicator beads worth it?
Yes. Color change tells you when to recharge. It saves time and prevents guesswork.
Conclusion
Price is only part of the story. The right pick depends on space size, humidity, and how much maintenance you can handle. Use cheap packs for tight, sealed spots. Choose premium tubs or rechargeables when you want longer life and fewer swaps. For large rooms, step up to a dehumidifier.
Try one space this week. Seal it, place the right absorber, and track humidity for a few days. You’ll see quick gains. If this guide on expensive vs cheap moisture absorbers helped, subscribe for more home care tips or drop a question in the comments.