Place moisture absorbers in dark, closed, humid spots with little airflow.
If you have damp closets, musty basements, or foggy car windows, you’re in the right place. I’ll show you exactly where to place moisture absorbers so they actually work. I’ve tested tubs, packs, and rechargeable units in homes, rentals, and gear bags. This guide breaks down the best locations room by room and explains why placement matters more than brand. By the end, you’ll know where to place moisture absorbers for the fastest, safest results.
How moisture absorbers work (and why placement matters)
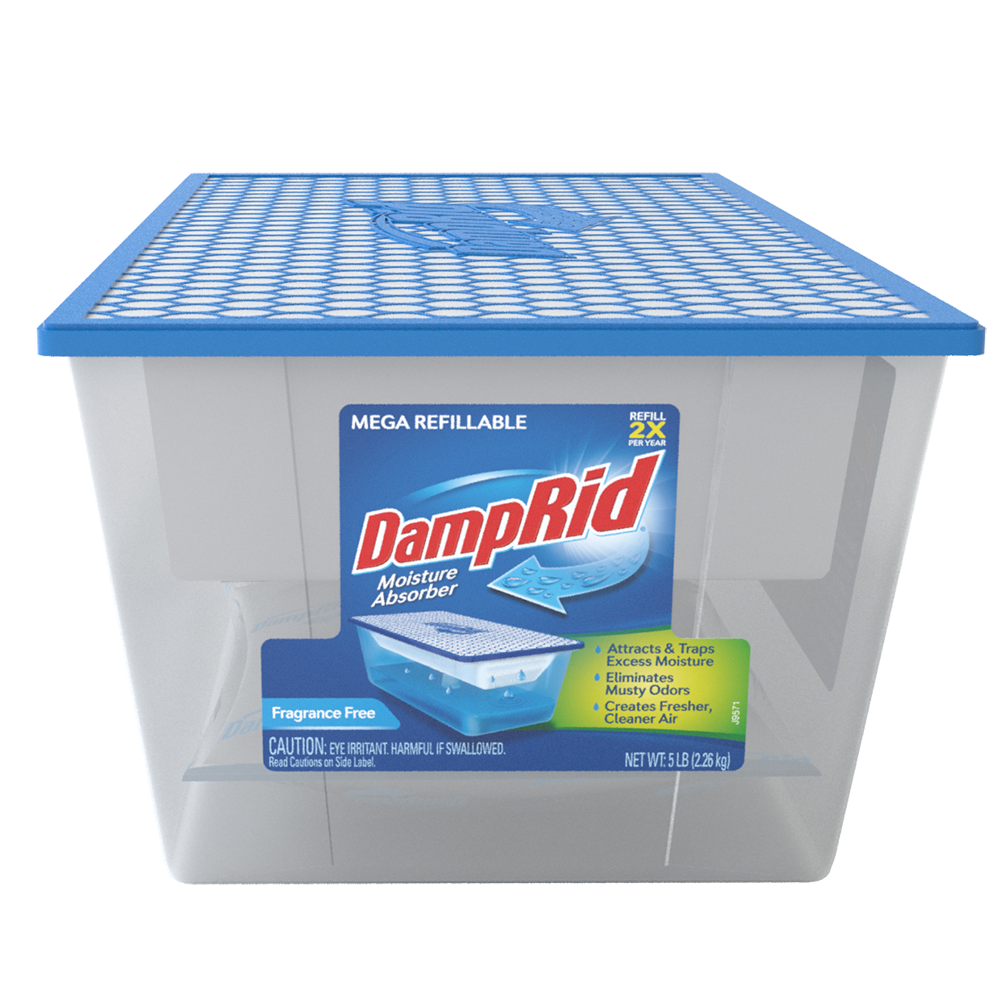
Moisture absorbers pull water from the air and trap it as a solid or liquid. Calcium chloride turns humidity into salty brine. Silica gel and clay hold water in their pores. Activated charcoal helps with odors and mild damp.
Placement shapes how fast air reaches the absorber. Tight spots have higher humidity. Closed areas also have less airflow. That makes them perfect for these tools. If you toss one in a big open room, it may barely move the needle.
Use a cheap hygrometer. Aim for 40% to 55% relative humidity indoors. Mold risk climbs above 60%. Moist air loves cold corners, under sinks, and behind boxes. That is exactly where to place moisture absorbers.
Room-by-room: where to place moisture absorbers for best results
Closets and wardrobes
- Back lower shelf or floor corner near exterior walls. Moist air sinks.
- Shoe racks, inside boot trays, or behind hanging clothes.
- For walk-ins, place one near the door and one in the far corner.
Bathrooms
- Under the sink, behind the toilet, or on a shelf away from splashes.
- Small tub on the window ledge if it sweats.
- Use after showers if the fan is weak.
Kitchens and pantries
- Under-sink cabinet, near the trap and garbage disposal.
- Pantry floor back corner or behind bulk containers.
- Not next to open flames or a hot oven.
Basements and crawl spaces
- On shelves along cold exterior walls.
- Near sump pits and low corners where damp collects.
- In storage zones, not on bare floor if floods happen.
Attics
- Near vents, around the hatch, and beside insulation piles.
- Place on a tray to catch brine if using calcium chloride.
- Check twice a month in rainy seasons.
Laundry rooms
- Behind or beside washers and utility sinks.
- On a shelf above the dryer if lint is an issue.
- Keep away from direct heat and steam paths.
Garages and sheds
- In tool chests, cabinets, and storage bins.
- Near exterior doors where air leaks occur.
- Under workbenches and by lawn gear.
Cars, RVs, and boats
- Car: front footwells or under seats. One in trunk if musty.
- RV: inside cabinets, under beds, and in pass-through storage.
- Boats: cabin lockers, head compartments, and near keel areas.
Storage bins and boxes
- One small pack per sealed bin. Works great with clothing and linens.
- For documents, use silica gel and keep bins off concrete floors.
- Check color-change beads and swap as needed.
Safes and equipment cases
- Gun safes: one near the floor and one on a shelf.
- Camera cases: one medium silica gel pack near lenses.
- Instrument cases: use balanced packs to avoid over-drying wood.
Each of these spots is a smart answer to where to place moisture absorbers. Humid air pools there. Airflow is slow. You will see fast gains in those zones.
Simple placement rules that always work
Think small space, not open rooms. Trapped humid air is your target. That is the core idea behind where to place moisture absorbers.
Follow these rules:
- Put units low and in corners. Moist air is heavier near cool floors.
- Keep 2 to 4 inches of space around the unit for air to circulate.
- Do not block with coats, bags, or boxes.
- Use a stable tray under liquid-forming products to prevent spills.
- Avoid direct sun, heaters, and vents that dry the media too fast.
- For drawers and bins, one small pack per compartment works best.
- Rotate units between problem spots every few months to compare results.

How many to use and what size you need
Each product lists a coverage area. Many tubs cover a small room. Some claim 100 to 300 square feet in normal conditions. Real life varies with climate, leaks, and airflow. This is why knowing where to place moisture absorbers matters so much.
Try this simple sizing plan:
- Closets and small baths: one small tub or two medium packs.
- Bedrooms or home offices: two tubs in opposite corners if doors stay closed.
- Basements: one tub every 100 to 150 square feet along exterior walls.
- Garages: one unit per bay plus one in each cabinet run.
- Cars: one under each front seat plus a small pack in trunk.
- Bins and cases: one small pack per 5 to 10 gallons of volume.
Use a hygrometer to tune your plan. If RH stays above 60%, add one more unit. If it drops below 35%, remove or reduce.
Replacement, maintenance, and monitoring
Absorbers slow down as they fill. Calcium chloride becomes brine. Silica gel packs change color when saturated. Clay feels heavy and hard.
Set a reminder to check every two weeks at first. Then check monthly. Dump brine when the chamber is near full. Recharge silica gel packs in an oven or a plug-in station if they are made for that. Wipe dust and watch for leaks. Move the unit if one spot fills faster. That is a hint about where to place moisture absorbers next time.
Safety, materials, and disposal
Know your media:
- Calcium chloride works fast but forms salty liquid. Keep away from pets, kids, metal tools, and wood floors. If spilled, dilute with lots of water and wipe dry. Some areas allow brine down the drain with more water. Check local rules.
- Silica gel is effective and tidy. It is low-tox but can be a choking risk. Use color-change types to know when to recharge.
- Activated charcoal helps with odors. It can shed dust, so keep it in a pouch or box.
- Clay desiccants are simple and reusable. They work slower.
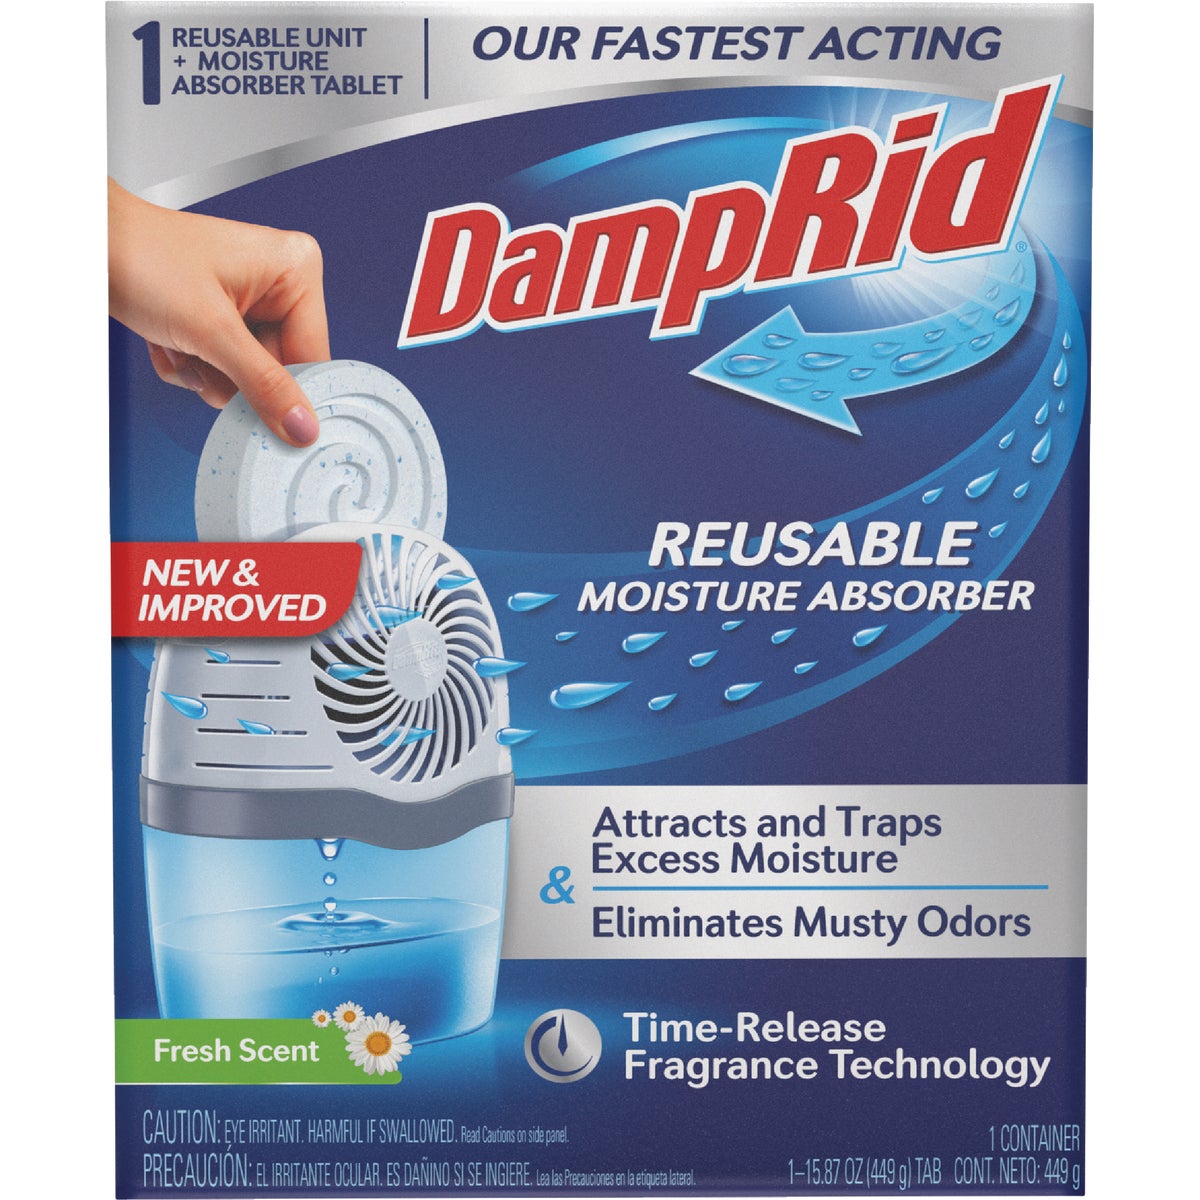
- Rechargeable electric units use heat to dry the crystals. Place them upright as directed.
Use trays under any liquid type. Label units by room and date. That will help you learn where to place moisture absorbers in your home for the long run.

Seasonal and climate tips
Humid summers
- Target basements, closets, and bathrooms.
- Boost airflow with fans or an open door when you can.
- Swap or recharge more often.
Wet winters
- Cold corners and window zones need help.
- Cars fog fast; add packs under seats.
- Watch for over-drying in heated rooms.
Coastal or lake areas
- Use more units near exterior walls and lower floors.
- Boats and RVs need packs even when stored.
- Keep spares for storm season.
Dry regions
- You may only need spot control in closets and safes.
- Avoid driving RH too low for wood instruments.
- Track RH with a meter, not guesswork.
These patterns will guide you on where to place moisture absorbers as seasons change.
Common mistakes to avoid (learned the hard way)
I once placed a calcium chloride tub under a slow leak. It overflowed and left a salty ring. Lesson learned: fix leaks first.
Avoid these pitfalls:
- Using one unit in a big open room. It will not keep up.
- Hiding the unit behind thick coats or boxes.
- Placing it where pets can reach it.
- Setting it on bare metal shelves. Brine can corrode.
- Ignoring the hygrometer. Numbers beat hunches.
Move things around if results stall. That is how you find where to place moisture absorbers for your space.
Real-world examples from the field
In a rental with a musty basement, I lined three tubs along the north wall. RH fell from 68% to 52% in a week. The rest of the room stayed stable.
My camera gear lives in a sealed cabinet. I set two rechargeable packs on the top shelf. Lenses stopped fogging. In my car, a pair of small bags under the seats ended morning fog.
These wins came from testing. I noted which spots filled fast. That told me where to place moisture absorbers next time, without guesswork.
Troubleshooting: signs you should move or add units
Watch for these clues:
- The unit stays dry for weeks in a damp room. Airflow might be too strong. Move to a tighter spot.
- Brine fills in days. That area needs a larger unit or a second one.
- Musty smell remains. Add charcoal or improve airflow.
- Mold shows up anyway. You may need a dehumidifier plus sealing work.
- Rust on tools or foggy windows. Shift units closer to those problem zones.
Track changes for two weeks after each move. You will dial in where to place moisture absorbers fast.
Frequently Asked Questions of where to place moisture absorbers
How do I know where to place moisture absorbers in a new home?
Start with closed, cool, and dark spots. Check under sinks, closets on exterior walls, and any room that smells musty.
Can I put moisture absorbers in open-plan living rooms?
Yes, but use more units and focus on corners and near windows. A portable dehumidifier may work better for large open spaces.
Is it safe to put them near electronics?
Use silica gel or rechargeable packs near electronics, not liquid-forming salts. Keep units on a tray and away from vents and fans.
How close should absorbers be to walls?
Leave 2 to 4 inches for airflow. This gap helps moisture reach the media and avoids wall damage.
How long do moisture absorbers last?
Two weeks to three months, depending on humidity, size, and placement. Check often at first, then monthly.
Should I use them if I already have a dehumidifier?
Yes, in micro-zones like closets, safes, and cabinets. The dehumidifier handles the room; absorbers handle tight spots.
What’s the best type for closets and shoes?
Silica gel or clay packs work best for fabrics and leather. They do not leak and are easy to recharge.
Can moisture absorbers remove mold?
They cannot clean existing mold. Fix leaks, clean the area, then use absorbers to keep humidity in a safe range.
Conclusion
You now know where to place moisture absorbers for real results. Aim for closed, cool spots with slow air, and size your units to match the space. Use a hygrometer, track your changes, and adjust as needed.
Start today. Pick three problem zones and place units with a small tray and a label. Check in two weeks. Share your results, subscribe for more home tips, and ask your questions in the comments.