Bake silica gel at 250–300°F (120–150°C) for 1–2 hours, then store airtight.
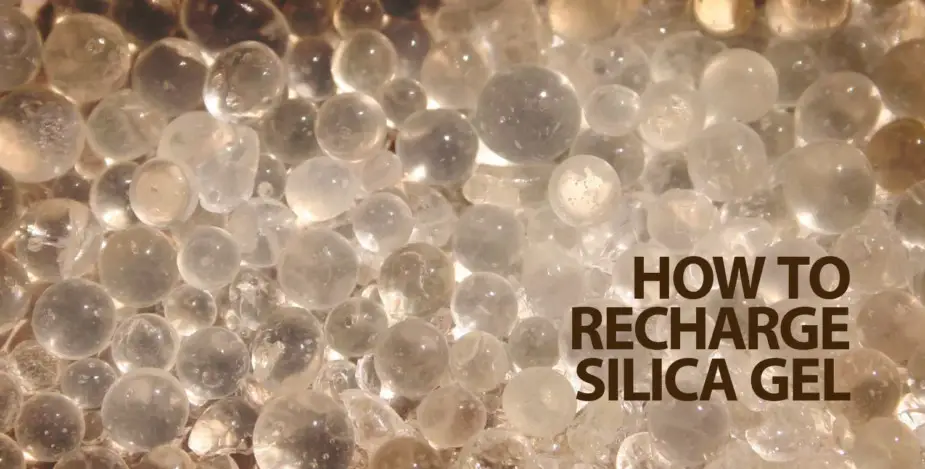
If you want a simple, safe way to keep gear dry, learning how to recharge silica gel is a game-changer. I’ve reactivated hundreds of packets for cameras, leather goods, ammo, and food storage, and I’ll walk you through each method step by step. We’ll cover oven, microwave, dehydrator, and air fryer techniques, plus safety tips, mistakes to avoid, and how to tell when you’re done. By the end, how to recharge silica gel will feel easy and repeatable for you.

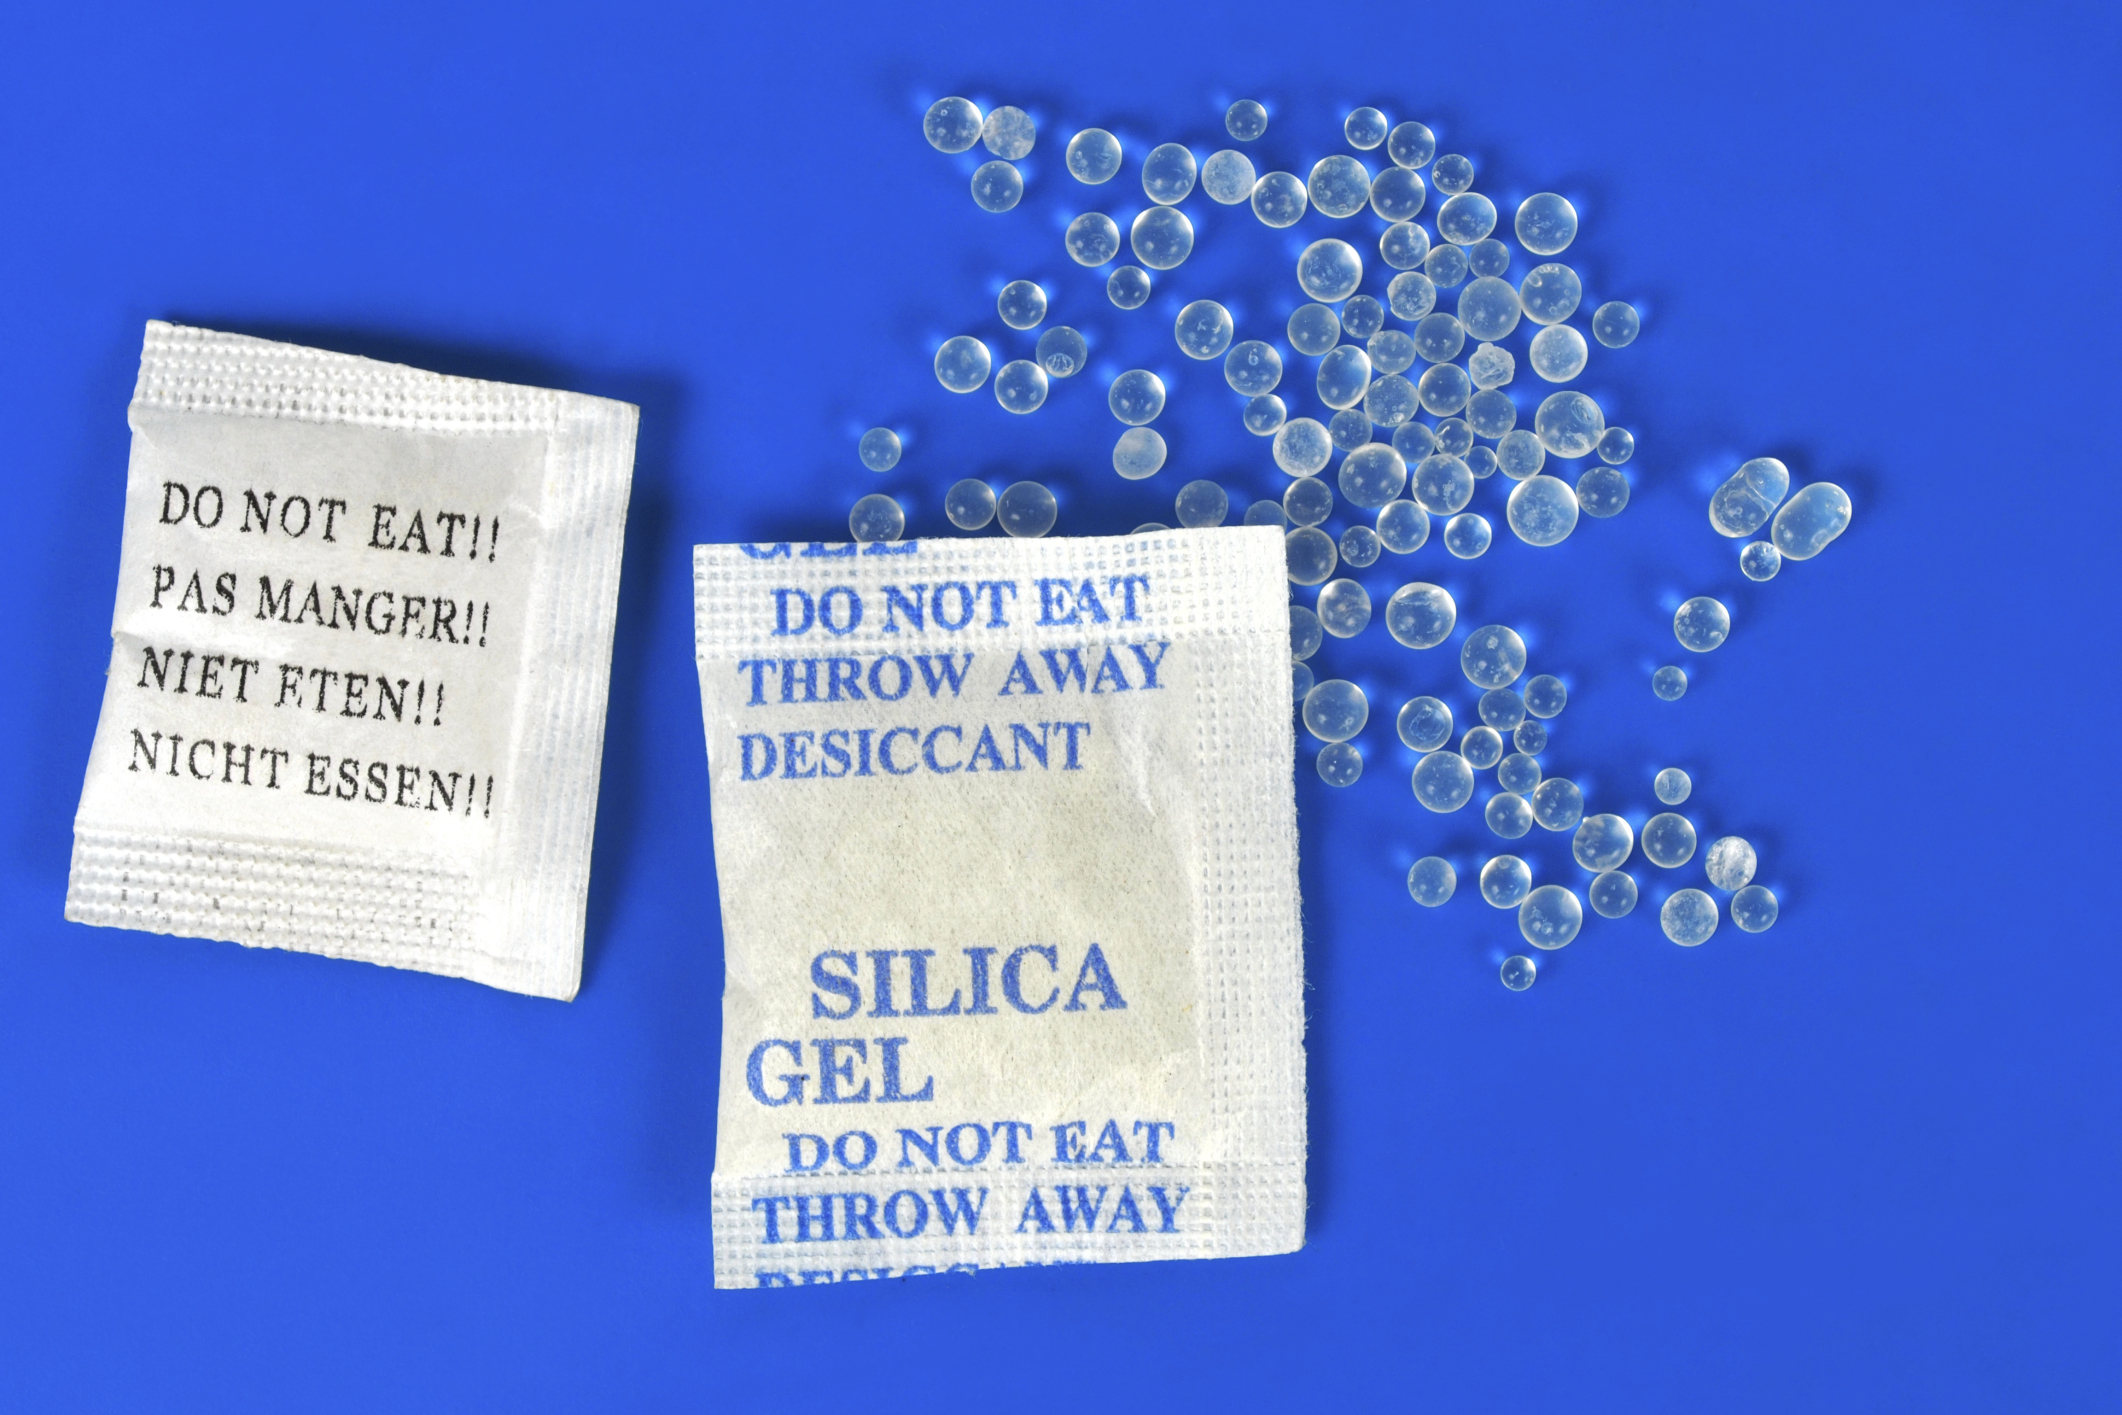
What silica gel is and why recharging matters
Silica gel is a porous form of silica that traps moisture in millions of tiny pores. It is non-toxic and great at protecting items from humidity, mold, and rust. Over time it saturates and stops working unless you remove the trapped water.
Recharging drives out that moisture so the beads work like new. Knowing how to recharge silica gel saves money and cuts waste. It also lets you trust your desiccant when it matters most, like with camera lenses or long-term storage.
How to tell when silica gel needs recharging
You do not need fancy tools to know when to recharge. Use one or more of these checks:
- Indicator color: Blue beads turn pink when wet. Orange beads turn green when wet.
- Performance: Foggy lenses, musty boxes, or damp gun cases hint the gel is saturated.
- Weight: Wet beads feel heavier. If you track weight, a drop after heating confirms success.
- Humidity card: A simple RH card inside your bin shows rising humidity when the gel is done.
When in doubt, learn how to recharge silica gel on a schedule. I recharge packets that protect sensitive gear every 1–3 months.

Your options: methods to recharge silica gel
There are several safe ways to bring silica gel back to life. Choose what fits your tools and time.
- Oven method: The most reliable way. Even heat and easy to scale for many packets.
- Microwave method: Fast for small batches. Use short bursts and stir often.
- Dehydrator method: Gentle and low risk. Great if you can wait a bit longer.
- Air fryer method: Works like a mini convection oven. Use low heat and a shallow tray.
- Sun-only method: Least reliable. Can help a little, but heat control is weak and dye can fade.
I reach for the oven 90% of the time. If I am rushing, I use the microwave but watch it like a hawk. Learning how to recharge silica gel with each method lets you adapt to what you have.

Step-by-step: how to recharge silica gel in an oven
Use this process for both loose beads and packets. Always check the label on the packet material first.
- Preheat to 250–300°F or 120–150°C. This range is standard in manufacturer datasheets.
- Prep a tray. Use a metal baking sheet with foil. Avoid plastic.
- Spread in a thin layer. One bead thick gives better airflow and even drying.
- Heat for 1–2 hours. Stir halfway for even results.
- Watch indicators. Pink should turn blue. Green should turn orange.
- Cool and seal. Let the beads cool until just warm, then store airtight right away.
Pro tip from my own routine: I warm a clean glass jar in the oven for the last 5 minutes. Then I pour in the hot beads, close the lid, and let it cool sealed. This prevents the beads from pulling moisture from the air while they cool.
Fast alternatives: how to recharge silica gel without a full oven
Sometimes you just need a quick fix. Here is what works and how to do it safely.
Microwave method
- Use a microwave-safe glass or ceramic dish.
- Set to low or 30–50% power.
- Heat in 30–60 second bursts, stirring between each round.
- Stop as soon as color changes or the beads feel very hot and dry.
Dehydrator method
- Set to 120–140°F or 50–60°C.
- Spread beads thinly.
- Dry 3–6 hours, checking color every hour.
Air fryer method
- Set to 200–250°F or 95–120°C.
- Use a shallow metal pan or basket liner.
- Dry 30–60 minutes, shaking every 10–15 minutes.
I only use the microwave for small, non-Tyvek packets or loose beads. Some packet materials can scorch in a microwave. When learning how to recharge silica gel this way, go slow, be patient, and check often.

Safety first: mistakes to avoid when you recharge
Keeping safety in mind helps the beads last longer and keeps your gear safe.
- Do not overheat. Above 300°F or 150°C can damage dyes and weaken packets.
- Watch the packet material. Tyvek can handle about 250°F or 121°C. Cloth bags handle more, but inks and glues may not.
- Avoid open flames. Use controlled heat only.
- Do not use plastic trays. They can warp or leach.
- Beware dyes and dust. Blue indicating gel often uses cobalt chloride. Avoid dust exposure and wash hands after handling.
- Keep beads away from kids and pets. They look like candy.
From my early mistakes: I once baked packets at 350°F and the ink browned. The beads still worked, but the smell lingered. Since then, I stay under 300°F and everything comes out clean.

How often and how long to recharge silica gel
There is no single schedule because humidity, temperature, and load vary. Use these practical rules.
- Light duty storage: Recharge every 2–4 months.
- Camera bags and lenses: Check monthly, recharge every 1–2 months or after a rainy trip.
- Gun safes and tools: Recharge every 1–3 months, more often in summer.
- Food storage: Recharge before sealing seasonal bins or anytime the RH card climbs.
As for time, plan 1–2 hours in an oven and 30–60 minutes in an air fryer. Microwaves are faster but less even. If you are new to how to recharge silica gel, start with the oven until you learn your gear’s quirks.

Storing and using recharged silica gel
Dry beads grab moisture the second they touch air. A little planning keeps them effective.
- Seal while warm. Move beads straight into airtight jars or cans.
- Use tight containers. Mason jars with gasket lids work well.
- Add an RH card. It shows when to recharge again at a glance.
- Label the date. Track cycles to spot aging beads.
I keep a few small jars ready to go. When I load a camera bag or ammo can, I grab one jar, pour a packet in, and I am done. It turns how to recharge silica gel into a simple routine.

Troubleshooting common issues
Not all beads behave the same. Here is how to solve common problems.
- No color change: You may have non-indicating beads. Use time and weight. If they get lighter after heating, they dried.
- Beads crack or turn brown: You overheated them. Lower the temperature and stir more often.
- Moisture returns fast: Your container might leak. Check seals or add more silica gel.
- Packet scorched: Switch to loose beads in an oven-safe tray or reduce microwave power.
When you master how to recharge silica gel and store it right, most of these issues disappear.
Frequently Asked Questions of how to recharge silica gel
Can I recharge silica gel in a microwave?
Yes, but use low power and short bursts. Stir often and stop as soon as the beads are hot and the indicator color shifts.
How many times can I recharge silica gel?
Dozens of cycles are normal, sometimes more than a hundred. Retire beads when they crumble, dust, or stop changing color.
What temperature is best for recharging?
Aim for 250–300°F or 120–150°C in a conventional oven. This range is widely recommended and protects both beads and packet materials.
Is indicating silica gel safe?
It is safe for typical use, but avoid breathing dust and wash hands. Blue indicating beads can contain cobalt chloride; handle with care.
Can I recharge silica gel in sunlight?
Sunlight helps a little but is not reliable. Heat control is poor, and indicator dyes can fade, so use an oven or dehydrator instead.
Do I need to remove beads from packets before heating?
Not always. Many Tyvek or cloth packets are oven safe at 250°F, but check labels. If unsure, move beads to a metal tray for recharging.
How do I know when non-indicating beads are dry?
Use time, weight, and performance. They should feel very hot after heating, weigh less, and keep containers dry longer afterward.
Conclusion
Recharging silica gel is simple, fast, and cost-effective. Set a safe temperature, spread the beads thin, watch the color, and store them airtight while still warm. With a repeatable routine, your gear stays dry, and your desiccant lasts for years.
Put this guide to work today. Try one batch in the oven and build your own schedule from there. If you found this helpful, share it, subscribe for more hands-on guides, or drop your questions in the comments so I can help you dial in your process.