Mix baking soda or rock salt in vented containers to absorb moisture cheaply.
Want a simple, low-cost way to tame damp rooms and musty smells? You’re in the right place. I’ll show you how to make moisture absorber at home using safe, everyday items, plus pro tips from years of fixing humid closets, bathrooms, cars, and basements. If you want to master how to make moisture absorber at home, stick around for tested methods, use cases, and clear steps anyone can follow.
Why excess moisture happens (and how DIY absorbers help)
Indoor air holds water vapor. When humidity stays high, you get foggy windows, musty odor, and mold risk. The EPA advises keeping indoor humidity between 30% and 50%. Moisture absorbers pull water from the air into a solid or liquid, which helps protect clothes, electronics, walls, and air quality.
Here’s the science in plain words. Some salts and minerals are hygroscopic. They love water and pull it in until they clump, gel, or drip. Calcium chloride can pull in several times its weight. Silica gel holds about 25–40% by weight. Baking soda and rock salt work too, but they’re slower and better for small spaces.
If you want a fast start on how to make moisture absorber at home, it helps to match the right ingredient to your space and humidity level.
What you need to get started
You can build a moisture absorber from basic items you already have. Before you try how to make moisture absorber at home, gather a few containers and breathable covers.
Common absorbents:
- Baking soda
- Rock salt
- Calcium chloride pellets or flakes
- Activated charcoal
- Uncooked rice
- Silica gel beads
Helpful containers and tools:
- Glass jar with a metal lid or plastic tub with a snap lid
- Small drill or nail to make ventilation holes
- Old cotton socks, muslin bags, coffee filters, or mesh sachets
- Rubber bands, string, or tape
- A second container or bowl to catch liquid for drip systems
- Labels and a date marker

Method 1: Baking soda jar dehumidifier (safe and simple)
When people ask how to make moisture absorber at home with pantry items, I always start here. Baking soda is cheap, safe, and great for closets, pantries, or cabinets.
Steps:
- Fill a small jar with 1 cup of baking soda.
- Poke 6–10 small holes in the lid.
- Screw on the lid and place the jar in the damp area.
- Replace or stir the baking soda every 2–4 weeks, or when clumpy.
Pro tips:
- For shoes or gym bags, fill two coffee filters with 2 tablespoons each and tie them shut.
- Baking soda absorbs odors as well as some moisture. It’s ideal for fridges and small boxes.
Personal note: I keep a jar under the bathroom sink. It cut the musty smell in a week without any mess.
:max_bytes(150000):strip_icc()/SPR-diy-dehumidifier-5104638-01-b908de4adb564319877d55bd9e74bac9.jpg)
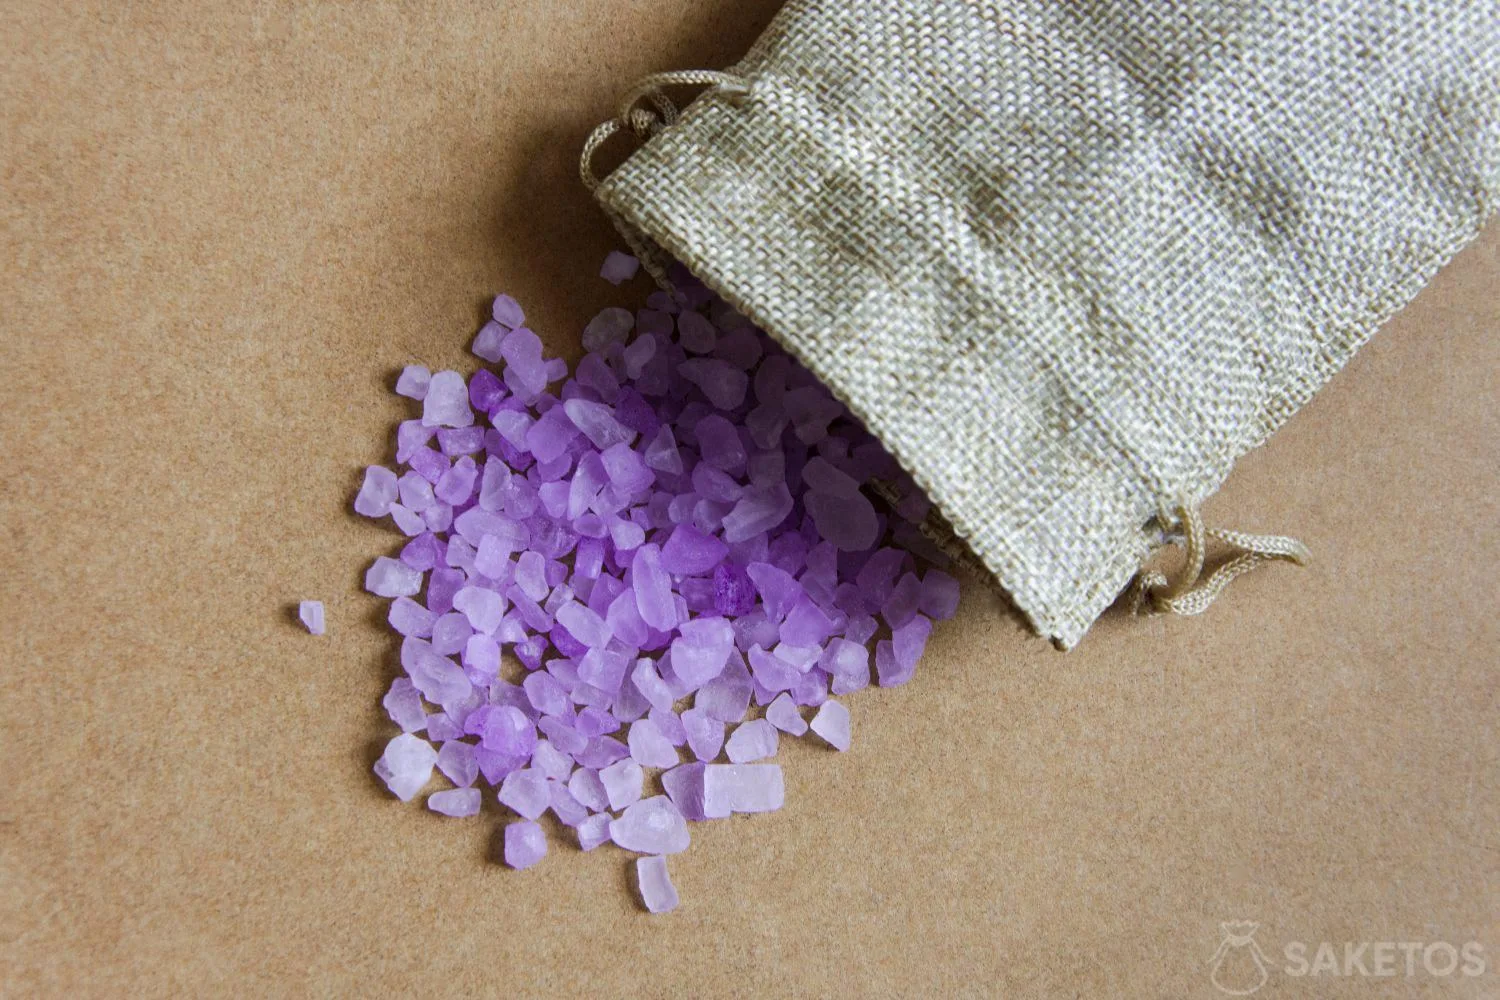
Method 2: Rock salt bucket trap (higher capacity)
Rock salt works well in bigger spaces like basements and sheds. It draws water and can drip brine, so use a catch bucket. This is a solid option when learning how to make moisture absorber at home for larger rooms.
Steps:
- Take two plastic buckets that nest. Drill 10–15 small holes in the bottom of the top bucket.
- Fill the top bucket with 3–5 cups of rock salt.
- Set the drilled bucket inside the undrilled one to catch liquid.
- Place on a raised surface in a corner with airflow.
- Check the bottom bucket weekly and empty brine safely.
Pro tips:
- Line the top bucket with mesh or fabric to prevent salt spills.
- Replace salt when it shrinks and hardens.
Safety: Brine can rust metal. Keep it off tools and away from pets.

Method 3: Calcium chloride drip system (super effective)
If you want fast results and wonder how to make moisture absorber at home for a damp basement, calcium chloride is a powerhouse. It can absorb several times its weight and will quickly liquefy.
Steps:
- Use two containers: a top container with holes and a bottom one to catch liquid.
- Pour 1–2 cups of calcium chloride pellets into the top container.
- Place it in a safe, stable spot. Keep it away from metal surfaces and fabric.
- Check every few days. Empty the brine when it collects below.
Safety:
- Wear gloves. Do not touch your eyes or face.
- Keep away from kids and pets. It can irritate skin and corrode metal.
- Do not mix with other chemicals.
Pro tip: If you see rapid pooling, that means it’s working. In very damp rooms, use two units far apart.
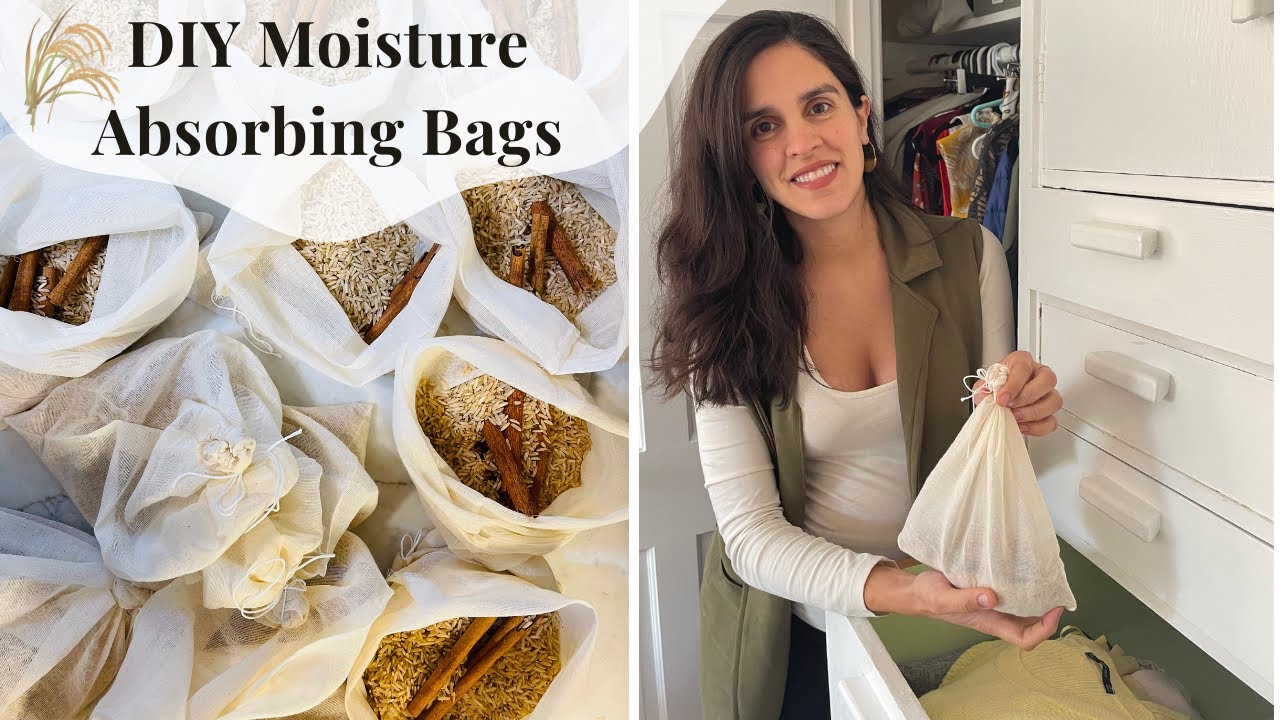
Method 4: Charcoal and rice sachets (odor plus moisture)
Charcoal helps with odor. Rice adds gentle moisture control. This is handy for drawers, gym bags, and cars.
Steps:
- Fill a cotton sock or muslin bag with 2 tablespoons activated charcoal and 2 tablespoons rice.
- Tie it tight and make 2–3 sachets per drawer or bag.
- Replace or recharge charcoal every 2–3 months by setting it in sun for a few hours.
Pro tips:
- Use only activated charcoal. It has more surface area.
- For cars, tuck two sachets under seats. It helps after a rainy week.

Method 5: Silica gel reactivable packs (long-term and tidy)
Silica gel beads are clean and reusable. Many electronics ship with them. If you want a neat, low-mess way for how to make moisture absorber at home, this is it.
Steps:
- Fill a small breathable pouch with 1–2 cups of silica gel beads.
- Place in camera bags, gun safes, or storage bins.
- Recharge beads in an oven at 200–250°F (93–121°C) for 1–2 hours when color indicators shift or beads feel saturated.
Pro tips:
- Color-changing beads make recharging easy.
- Use several small packs rather than one big one for better coverage.
Safety: Do not overheat. Keep beads out of reach of kids and pets.

Where to place and how much to use
Placement matters as much as the recipe. When planning how to make moisture absorber at home, size and airflow decide success.
Rules of thumb:
- Closets and cabinets: One small jar or sachet per 3–5 square feet.
- Bathrooms: One jar near the toilet or vanity. Add a second during rainy season.
- Basements: Use a bucket system every 8–10 feet or per room corner.
- Cars: Two sachets under seats; one in trunk.
Placement tips:
- Put absorbers off the floor on a tray or shelf.
- Allow airflow. Do not seal inside a box unless that is the goal.
- Avoid placing brine systems near metal tools or electronics.

Safety, disposal, and reuse tips
You asked how to make moisture absorber at home, but safe disposal seals the deal. Each material needs a simple plan.
Baking soda:
- Safe to toss in trash or use as a sink cleaner when spent.
Rock salt:
- Let brine evaporate outside in a safe spot, then trash the dry residue.
- Do not pour heavy brine on lawns or near plants.
Calcium chloride:
- Wear gloves. Empty brine into a sealable container and dispose per local guidance.
- Keep away from aluminum and steel surfaces to prevent corrosion.
Silica gel:
- Recharge in oven. Store in airtight jars between uses.
Charcoal:
- Recharge in sun. When spent, wrap and place in trash.
Troubleshooting and mistakes to avoid
Common issues:
- No results: The container has no holes or no airflow. Add ventilation and move it higher.
- Soaked floor: You used a drip method without a catch bucket. Always add a lower bin.
- Bad odor stays: Add activated charcoal, clean surfaces, and increase airflow.
- Mold returns: Clean the area first with a mild cleaner. Absorbers help, but they do not kill mold.
Mistakes to avoid:
- Placing brine near tools or electronics.
- Overfilling top containers.
- Forgetting to check and replace materials on schedule.
Cost, performance, and when to upgrade to a dehumidifier
Quick comparison:
- Baking soda: Very cheap. Best for small spaces and odor.
- Rock salt: Cheap, decent capacity. Good for closets and small rooms.
- Calcium chloride: High capacity and fast. Best for basements and bathrooms.
- Silica gel: Clean and reusable. Great for bags, safes, and boxes.
- Charcoal and rice: Odor control plus light moisture help.
Performance notes from manufacturer data and lab tests:
- Silica gel holds about 25–40% of its weight in water.
- Calcium chloride can hold several times its weight.
- Rock salt and baking soda work slower and hold less.
When to upgrade:
- If indoor humidity stays above 60% even with DIY units.
- If there is visible mold growth or water intrusion.
- If you must cover large open areas, use a compressor or desiccant dehumidifier and follow EPA humidity targets.
Final tip: Even when you upgrade, keep small DIY units in closets and bins. That combo works well. This balanced approach is central to how to make moisture absorber at home that truly lasts.
Frequently Asked Questions of how to make moisture absorber at home
How long do homemade moisture absorbers last?
Most jars last 2–6 weeks, depending on humidity and room size. Check weekly and replace or recharge when clumpy, wet, or reduced in volume.
Is baking soda strong enough for a bathroom?
It helps, but performance is modest. Use two jars or switch to a calcium chloride drip system for faster results.
Can I reuse silica gel beads?
Yes. Dry them in an oven at 200–250°F for 1–2 hours. Store in an airtight jar when cool.
Is calcium chloride safe to use indoors?
Yes, with care. Wear gloves, keep away from kids and pets, and protect metal surfaces from brine.
Where should I place absorbers in a closet?
Use the top shelf or hang a sachet near the center. Keep space around it for airflow and avoid pushing it into a corner.
Conclusion
You now know how to make moisture absorber at home with gear you already have. Pick the method that fits your space, set it up in minutes, and keep an eye on it weekly. Small changes add up fast and can save your clothes, walls, and gear.
Start with one area today. Build a couple of jars or a rock salt trap. Track humidity, tweak placement, and share your results. Want more guides like this? Subscribe, ask a question, or drop a comment with your setup and I’ll help you tune it.