Choose 1lb for small spaces; pick 5lb for big, damp rooms and longer runtime.
If you are weighing 1lb vs 5lb moisture absorber bags, you are in the right place. I test gear like this in closets, boats, RVs, and storage units. I’ll break down what works, what fails, and how to pick the best size for your space. By the end, you’ll know exactly when 1lb vs 5lb moisture absorber bags make sense and how to get the most from them.

How moisture absorber bags work
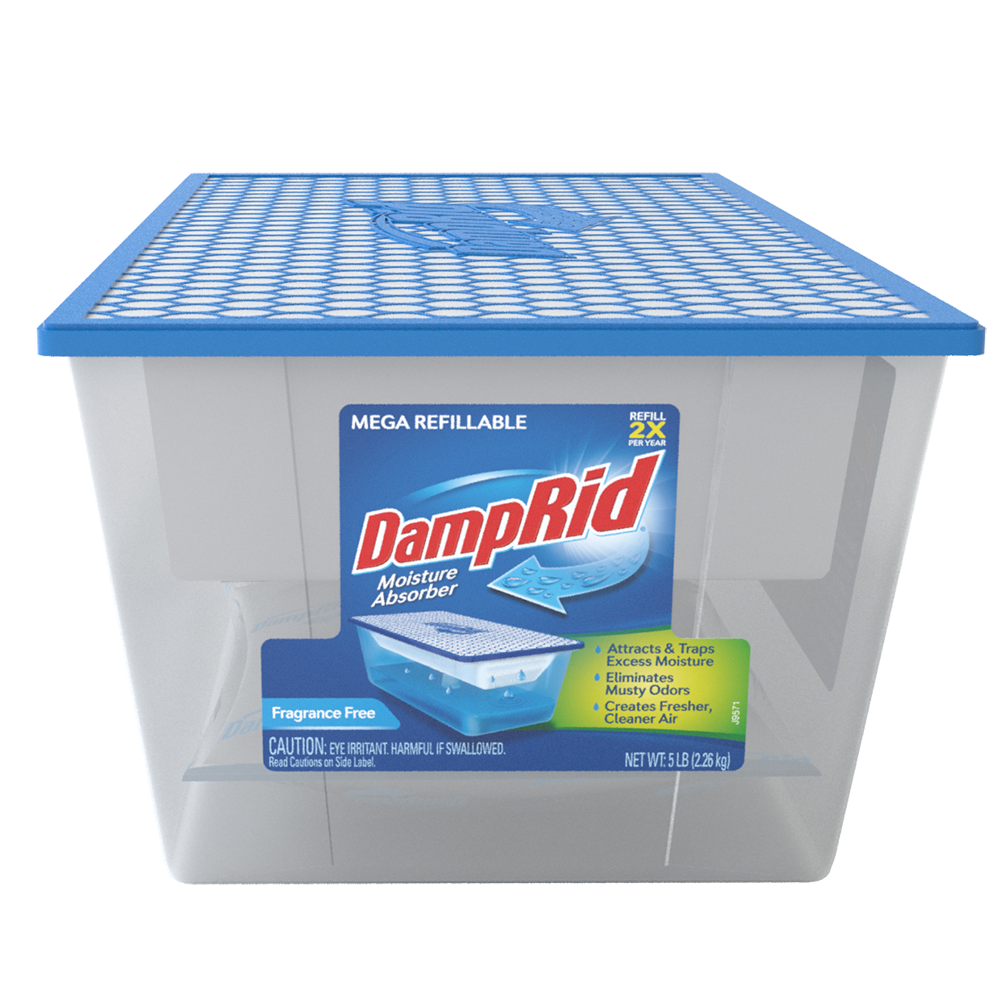
Moisture absorber bags pull water vapor out of the air. Most use calcium chloride, silica gel, or clay. Each one behaves a bit differently.
- Calcium chloride draws in water and turns it into a brine. It works fast, even in high humidity.
- Silica gel traps moisture in its pores. It is great for protecting gear and electronics.
- Clay or charcoal blends work slower. They are budget options for mild dampness.
In practice, calcium chloride bags are the most common in homes, boats, and basements. Silica gel is popular for safes and camera cases. This matters when you compare 1lb vs 5lb moisture absorber bags, because the fill type affects runtime, spill risk, and placement.
1lb vs 5lb moisture absorber bags at a glance
- 1lb bags suit small, enclosed spaces. Think closets, cabinets, cars, and safes.
- 5lb bags suit larger or wetter areas. Think basements, boats, RVs, and crawl spaces.
- 1lb bags are lighter and easier to tuck into tight spots.
- 5lb bags last longer and need fewer changes in tough conditions.
From field use, 1lb bags often last a few weeks to a couple of months in small spaces. 5lb bags can go longer in big rooms, but actual runtime depends on humidity, leaks, and airflow. This is the core of 1lb vs 5lb moisture absorber bags decisions.
When to choose 1lb
Pick 1lb bags when the space is small and sealed. You want quick, simple control with easy placement.
- Closets and wardrobes
- Gun safes and camera cabinets
- Car interiors and trunks
- Tents, suitcases, and storage totes
- Small laundry rooms and pantries
Why I like them: 1lb bags fit anywhere. They are low risk and low cost. They shine in seasonal closets and small storage. For 1lb vs 5lb moisture absorber bags in a studio or small closet, the 1lb wins nine times out of ten.

When to choose 5lb
Pick 5lb bags when the space is large or very damp. You want longer runtime and fewer swaps.
- Basements, crawl spaces, and garages
- RVs and travel trailers
- Boats and cabins
- Storage units and sheds
- Rooms with past leaks or musty smells
What I see in the field: A single 5lb bag can hold a damp basement over until you fix airflow. It will not replace a compressor dehumidifier in peak summer. But for off-season care, 5lb is a workhorse. In 1lb vs 5lb moisture absorber bags for boats and RVs, 5lb usually wins.
Sizing, coverage, and runtime made simple
There is no universal chart. Humidity and airflow change everything. Use this simple plan, then adjust with a hygrometer.
- For spaces under about 100 square feet, start with 1lb.
- For 100 to 300 square feet, start with 5lb.
- For bigger or very damp rooms, use one 5lb per zone.
- Aim for indoor relative humidity of 40 to 55 percent.
Check the bag weekly at first. If it fills fast, size up or add a second bag. This test-and-tune method beats guesswork and improves every 1lb vs 5lb moisture absorber bags choice.

Cost and value: which size saves more?
Bigger bags often cost less per ounce of absorber. They also last longer between swaps.
- 1lb is cheaper up front. Best if you only need a small amount.
- 5lb is cheaper over time. Best if you fight damp for months.
My rule: If you will replace a 1lb bag more than twice in the same space, stepping up to 5lb pays off. That is another tie-breaker in 1lb vs 5lb moisture absorber bags when budget matters.

Safety, materials, and placement tips
Calcium chloride is effective but can be messy if tipped. Treat it with care.
- Keep away from kids and pets.
- Use a drip tray if the bag can leak brine.
- Do not place on metal surfaces. Brine can corrode metal.
- Avoid direct contact with fabrics or wood.
- Ventilate the area and fix water leaks first.
Silica gel is less messy and great near gear. It can be recharged in some products. Read labels for heat limits. These safe-use habits apply to all 1lb vs 5lb moisture absorber bags.

Real-world examples from my setups
- Boat cabin in winter: One 5lb bag kept mildew down for six weeks. I added a small solar vent and got eight weeks the next season.
- Closet with leather jackets: A single 1lb bag worked fine. The hygrometer stayed near 50 percent.
- Storage unit: Two 5lb bags helped, but a small electric dehumidifier plus one 5lb bag worked far better.
These tests taught me to pair 1lb vs 5lb moisture absorber bags with airflow. Moisture control is a team sport.

How to use them for best results
- Measure the space and note how damp it feels.
- Choose 1lb vs 5lb moisture absorber bags based on size and moisture level.
- Place the bag high enough to avoid spills and low enough to catch rising damp air.
- Keep it upright and secure. Use a tray for calcium chloride types.
- Check weekly at first. Replace when saturated or per label.
- Dispose according to the product label and local rules. Many labels advise flushing brine with plenty of water, but always confirm.
For long-term jobs, log humidity once a day for a week. Tune the number of bags until you get steady 40 to 55 percent.
Eco-friendly options and storage
- Pick refillable canisters to cut plastic waste.
- Choose silica gel packs you can recharge in a low oven, if the label allows.
- Store spare bags in airtight bins until use.
- Fix leaks and improve drainage. Desiccants work best on air moisture, not standing water.
These habits boost the value of both 1lb vs 5lb moisture absorber bags while reducing waste.
Buying checklist for 1lb vs 5lb moisture absorber bags
- Absorbent type. Calcium chloride for heavy damp. Silica gel for gear and safes.
- Anti-spill design. Look for double-sealed seams and leak-resistant pouches.
- Mount style. Hanging, standing, or bucket systems for different spaces.
- Runtime claims. Use as a guide only; verify with a hygrometer.
- Refill availability. Refill packs save money over time.
- Warranty or satisfaction guarantee. Helpful if a batch leaks.
Use this checklist every time you compare 1lb vs 5lb moisture absorber bags online.
Common mistakes to avoid
- Relying on bags to fix an active leak
- Placing bags in wide open, windy rooms
- Letting brine touch metal or fabric
- Skipping routine checks and waiting for odors
- Ignoring ventilation and temperature swings
Avoid these, and your 1lb vs 5lb moisture absorber bags will work much better.
Frequently Asked Questions of 1lb vs 5lb moisture absorber bags
How many 1lb bags do I need for a closet?
Start with one 1lb bag for a standard closet. If humidity stays high after a week, add a second bag or move up to 5lb.
Will a 5lb bag replace a dehumidifier?
No, not in peak humidity or large, leaky spaces. It helps as a passive aid or off-season backup.
Are calcium chloride bags safe around pets?
Keep them out of reach. The brine can irritate skin and eyes and should not be ingested.
Can I reuse or recharge these bags?
Silica gel can often be recharged per label instructions. Calcium chloride types are single-use and should be replaced when spent.
Where should I place the bag for best results?
Place near the damp zone with some airflow, but not in a strong draft. Keep it upright, secure, and away from metal.
Conclusion
Choosing between 1lb vs 5lb moisture absorber bags comes down to space size, dampness, and how often you want to swap bags. Use 1lb for small, sealed areas and 5lb for larger or wetter zones. Pair them with airflow, fix leaks, and track humidity, and they will do their best work. Ready to dial in your setup? Grab a hygrometer, pick your size, and start testing. Share your results or questions in the comments so others can learn from your space too.